7 Advanced Smartphone Camera Tricks You Didn’t Know
 In today’s digital age, our smartphones have become indispensable tools, not just for communication, but also for capturing life’s fleeting moments.
While many of us use our phone cameras daily, few truly delve into their full potential. This article will help you unlock hidden features: 7 advanced smartphone camera tricks for stunning photos, transforming your casual snapshots into works of art.
Get ready to elevate your mobile photography game and impress your friends and family with truly remarkable images.
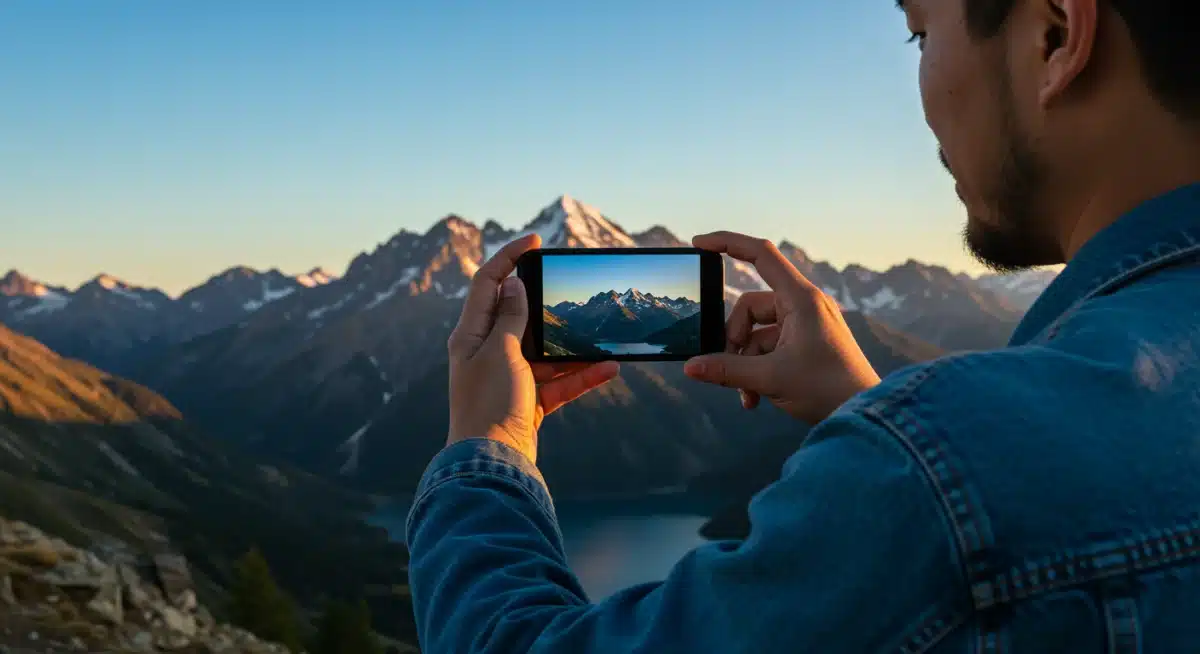
Mastering Manual Mode: Your Gateway to Pro Shots
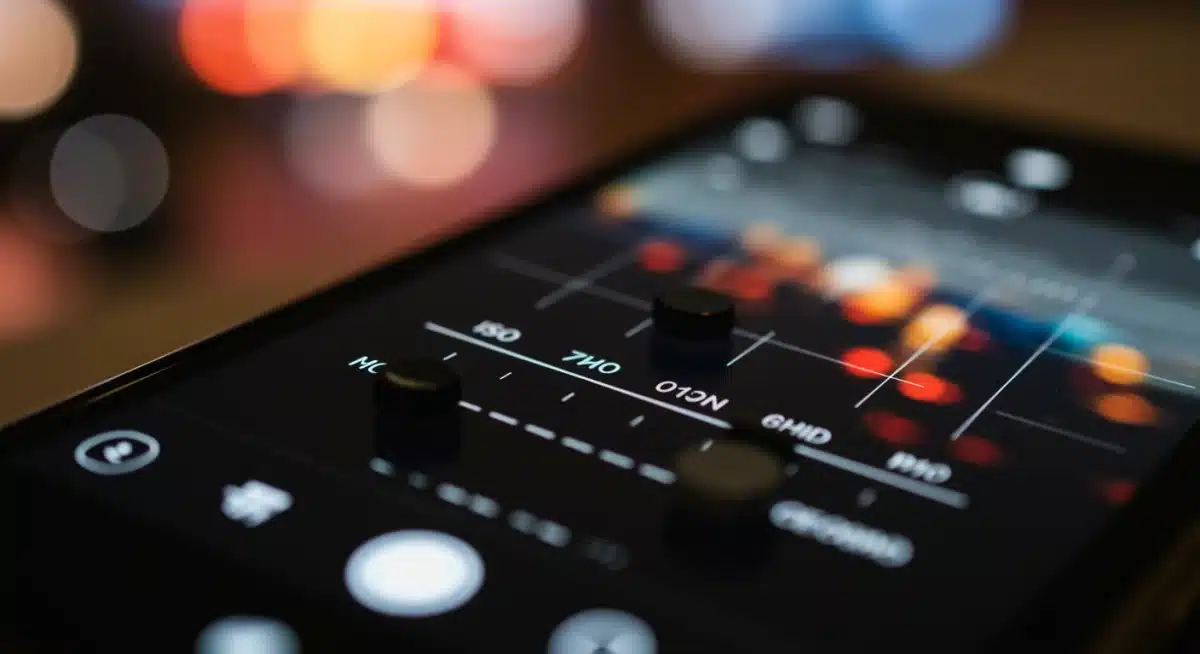
While auto mode is convenient, your smartphone’s manual mode is where true photographic magic happens.
It allows you to take control over crucial settings like ISO, shutter speed, and white balance, giving you the power to dictate how your image looks rather than letting the phone decide.
This granular control is essential for achieving specific artistic effects and adapting to challenging lighting conditions.
Understanding each setting is the first step. ISO controls the sensor’s sensitivity to light; a lower ISO means less noise but requires more light, while a higher ISO is good for dark environments but can introduce grain.
Shutter speed determines how long the camera’s sensor is exposed to light, affecting motion blur. White balance adjusts the color temperature, ensuring your whites look white under different light sources.
ISO and Noise Control
Managing ISO is critical for image quality, especially in low light. Pushing the ISO too high can introduce digital noise, making your photos look grainy.
However, sometimes a higher ISO is necessary to capture a usable image in very dark settings. The trick is to find the sweet spot between brightness and noise.
Lower ISO for Bright Scenes: Use ISO 50-200 for well-lit outdoor shots to maximize detail and minimize noise.
Moderate ISO for Indoors: ISO 400-800 often works well for indoor environments with decent lighting.
Higher ISO for Low Light: Only increase ISO to 1600 or higher when absolutely necessary, and be prepared for some noise.
By consciously adjusting these settings, you move beyond the limitations of automatic modes.
This allows you to capture images that are not just technically sound but also creatively aligned with your vision, showcasing the true potential of your smartphone’s camera.
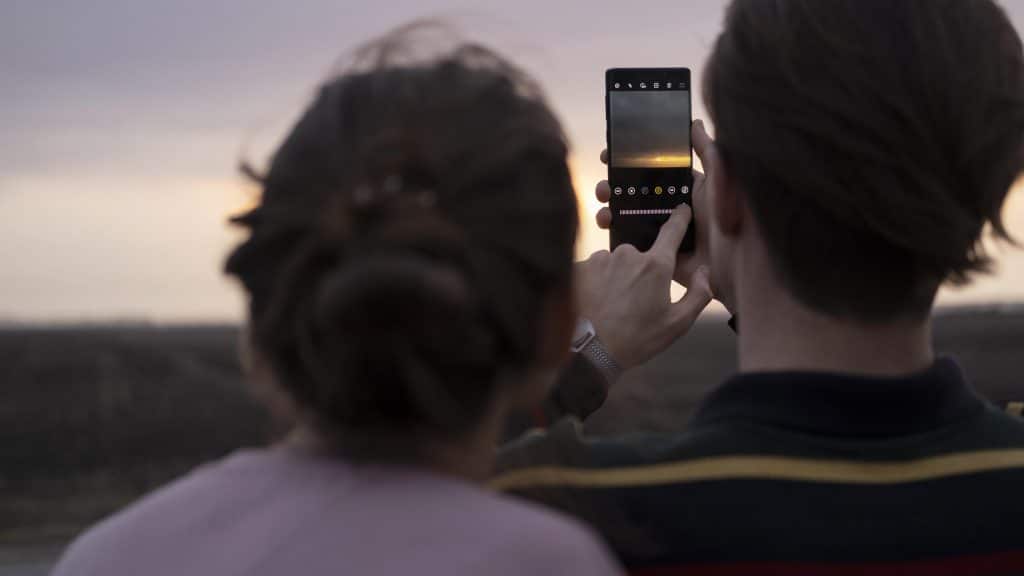
Harnessing Long Exposure for Artistic Effects
Long exposure photography, once the domain of DSLRs, is now surprisingly accessible on many smartphones.
This technique involves keeping the camera’s shutter open for an extended period, allowing more light to enter the sensor and creating stunning motion blur effects.
Think silky smooth waterfalls, light trails from cars, or star-filled night skies.
Many modern smartphones come with a dedicated long exposure mode built into the camera app, sometimes labeled as ‘Light Painting’ or found within ‘Pro’ or ‘Manual’ settings.
If your phone lacks this feature, third-party apps like ‘Slow Shutter Cam’ or ‘ProCam’ can fill the gap, offering even more control over the exposure duration and other parameters.
Essential Tools for Long Exposure
To achieve sharp and captivating long exposure shots, a few accessories are virtually indispensable. Stability is paramount, as even the slightest shake will blur your entire image.
Tripod: A sturdy tripod is non-negotiable. It keeps your phone perfectly still throughout the exposure.
Remote Shutter: Using a remote shutter release (Bluetooth trigger or self-timer) prevents camera shake from pressing the screen.
ND Filter (Optional): Neutral Density filters reduce the amount of light entering the lens, allowing for longer exposures in brighter conditions.
Experimenting with different shutter speeds is key to finding the right balance for your desired effect. A few seconds might blur moving water, while several minutes are needed for star trails.
The creative possibilities are vast when you master long exposure, allowing your smartphone to capture scenes in a way that the human eye cannot perceive.
Unlocking the Power of RAW Format Photography
Most smartphone cameras default to saving photos in JPEG format, a compressed file type designed for convenience and easy sharing.
While JPEG images look good straight out of the camera, this compression permanently discards a large portion of the data captured by your phone’s image sensor. As a result, your ability to edit and refine the photo later is significantly limited.
RAW format changes everything. A RAW image is an uncompressed file that preserves nearly all the data your smartphone’s sensor records at the moment of capture.
This extra information gives you far greater control during post-processing, making RAW ideal for photographers who want to push their images to the next level.
When shooting in RAW, you can recover detail in overexposed highlights and underexposed shadows, correct white balance with precision, and adjust exposure, contrast, and color tones without degrading image quality.
Edits that would normally introduce noise, banding, or color artifacts in a JPEG remain clean and natural in a RAW file.
Think of RAW as a digital version of a photographic negative. It gives you complete creative freedom over the final look of your image rather than locking you into the camera’s automatic processing choices.
This is especially valuable for challenging lighting situations, such as sunsets, night scenes, or high-contrast environments.
Many modern flagship smartphones now support RAW capture directly within their native camera apps, typically located in Pro, Manual, or Advanced modes.
When paired with powerful editing apps like Adobe Lightroom or Snapseed, RAW photography transforms your smartphone into a serious creative tool—capable of producing images with depth, detail, and professional polish.
By mastering RAW photography, you unlock the full potential of your smartphone camera and gain the flexibility to shape every photo exactly as you envision it.
Why RAW Matters for Editing
When you edit a JPEG, you’re essentially re-editing an already processed and compressed file. Each edit further degrades the image quality. With RAW, you’re working with the purest form of image data, allowing for extensive adjustments without loss of quality.
Greater Dynamic Range: Recover more detail in bright and dark areas.
Precise White Balance: Correct color casts accurately after the fact.
Enhanced Color Grading: Achieve specific color palettes with more control.
While RAW files are larger and require dedicated editing software (like Adobe Lightroom Mobile or Snapseed), the benefits for serious mobile photographers are immense.
Embracing RAW format photography is a crucial step towards achieving truly professional-looking results from your smartphone.
Exploring Advanced Portrait Modes and Bokeh Effects
Portrait mode has become a staple feature on many smartphones, simulating the shallow depth of field (bokeh) typically achieved with larger camera lenses.
However, many users only scratch the surface of what these modes can do. Advanced portrait modes often offer more than just background blur; they provide control over the intensity of the blur, lighting effects, and even depth editing after the shot.
Some phones allow you to adjust the ‘aperture’ (f-stop) value in portrait mode, letting you fine-tune the amount of background blur. A lower f-stop creates a creamier, more pronounced bokeh, while a higher f-stop retains more background detail.
Experimenting with these settings can dramatically change the mood and focus of your portrait shots, making your subject truly pop.
Post-Capture Depth Editing
One of the most exciting advancements in smartphone portrait photography is the ability to edit depth and focus after the image has been taken.
This means you can adjust the blur intensity, change the focal point, or even add creative lighting effects to your portraits long after the moment has passed.
Refocusing: Tap on different parts of the image to shift the area of sharp focus.
Blur Intensity: Increase or decrease the background blur to suit your artistic vision.
Lighting Effects: Some phones offer studio-like lighting effects, simulating different light sources.
By delving into these advanced controls, you can transform a simple portrait into a sophisticated image that rivals those taken with much larger, more expensive equipment.
Don’t just settle for the default portrait mode; explore its deeper capabilities to create truly stunning and personalized portraits.
Utilizing Pro Video Features for Cinematic Clips
While the focus is often on still photography, modern smartphones are also incredibly capable video cameras. Many devices offer ‘Pro Video’ modes that unlock a suite of advanced controls, allowing you to capture cinematic-quality footage.
These features go far beyond simply pressing record and can dramatically improve the production value of your mobile videos.
In Pro Video mode, you can manually adjust settings like white balance, ISO, exposure compensation, and even focus peaking.
Some phones also offer features like log gamma profiles, which provide a flatter image that’s ideal for color grading in post-production, similar to what professional videographers use with dedicated cameras.
The ability to lock exposure and focus is also crucial for preventing distracting shifts during recording.
Key Pro Video Settings to Master
Understanding these settings is vital for producing high-quality video content. Each control plays a significant role in the final look and feel of your cinematic clips.
Manual White Balance: Ensures consistent color temperature across different scenes.
Exposure Lock: Prevents automatic brightness changes during recording, leading to smoother transitions.
External Microphone Support: Crucial for crisp, clear audio, often overlooked but vital for video quality.
By taking advantage of these pro video features, you can move beyond simple home videos and start creating compelling, professional-looking content directly from your smartphone.
The control over various parameters allows for a more intentional and polished final product, making your mobile videos stand out.
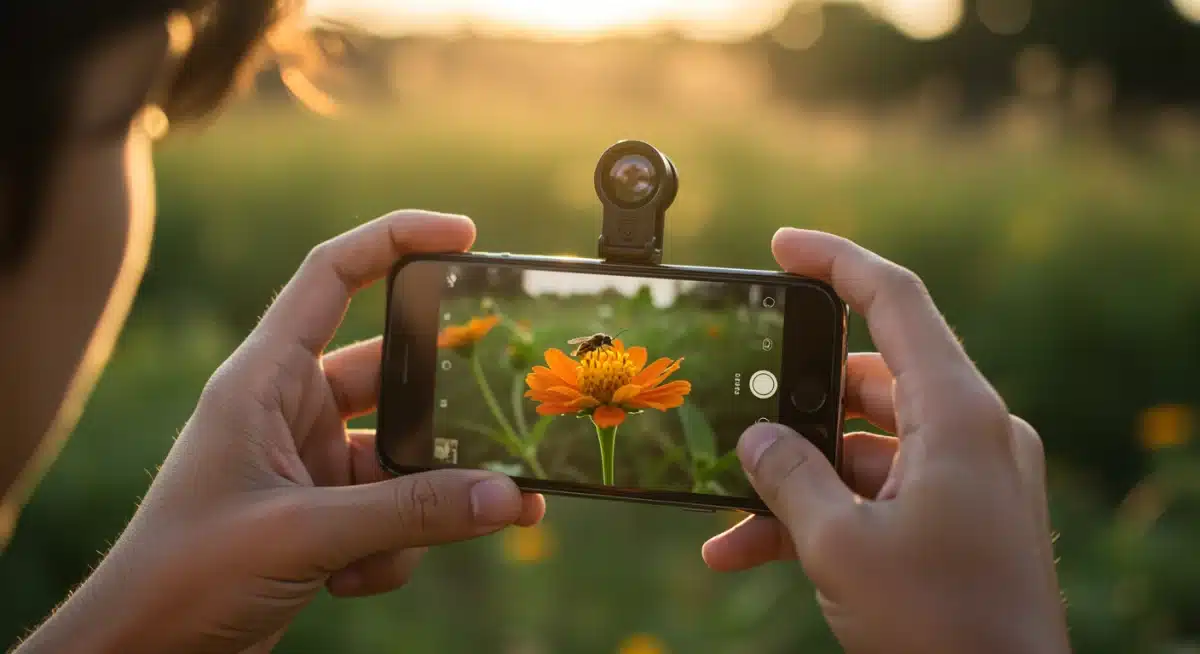
Harnessing External Lenses and Accessories
While smartphone cameras have improved dramatically, they still have inherent optical limitations due to their compact size. This is where external lenses and accessories come into play, significantly expanding your creative possibilities.
These add-ons can transform your phone into a versatile camera system, capable of capturing a wider range of shots.
Common external lenses include wide-angle, telephoto, macro, and fisheye options. Wide-angle lenses are great for landscapes and architectural shots, allowing you to capture more of the scene.
Telephoto lenses bring distant subjects closer without digital zoom degradation. Macro lenses enable stunning close-ups of tiny details, revealing a world often unseen. Fisheye lenses create a unique, distorted perspective.
Choosing the Right Accessories
Beyond external lenses, a wide range of accessories can significantly elevate your smartphone photography and videography experience.
The right tools provide greater stability, improved lighting, and enhanced control—allowing you to capture professional-looking content in a variety of environments.
Gimbals are especially valuable for video creators. They stabilize your smartphone in real time, eliminating shaky footage and delivering smooth, cinematic motion.
Whether you’re filming travel scenes, vlogs, or action shots, a gimbal helps maintain fluid movement that’s difficult to achieve by hand alone.
Portable LED lights can dramatically transform your results, particularly in low-light or indoor settings.
Compact and adjustable, these lights allow you to control brightness and color temperature, improving skin tones, reducing harsh shadows, and enhancing overall image clarity.
They’re ideal for portraits, product photography, and social media content.
Tripod mounts are another essential accessory, providing stability for long exposures, night photography, time-lapse shots, and group photos.
Attaching your smartphone to a standard tripod eliminates motion blur and allows for precise framing—especially useful when shooting landscapes or recording hands-free videos.
Additional accessories like external microphones, remote shutters, and lens cleaning kits further enhance quality and convenience, particularly for creators who shoot both photos and video.
Investing in high-quality accessories unlocks entirely new creative possibilities for your smartphone. These tools help overcome the physical limitations of built-in hardware, enabling sharper images, smoother video, and more dynamic compositions.
With the right setup, mobile photography goes beyond convenience—it becomes a powerful, versatile creative platform capable of producing truly impressive results.
Advanced Editing Techniques on Mobile Devices
Capturing a great photo is only half the battle; the other half lies in post-processing. Modern mobile editing apps are incredibly powerful, rivaling desktop software in many aspects.
Learning advanced editing techniques on your smartphone can transform good photos into stunning masterpieces, enhancing colors, sharpening details, and correcting imperfections.
Apps like Adobe Lightroom Mobile, Snapseed, and VSCO offer a comprehensive suite of tools, from basic exposure and color adjustments to selective editing, healing brushes, and advanced curve adjustments.
Understanding how to use these tools effectively can make a significant difference in the final impact of your images, bringing out hidden details and creating a cohesive aesthetic.
Key Advanced Editing Tools
To truly master mobile editing, familiarize yourself with these powerful tools that go beyond simple filters and presets.
Curves Adjustment: Fine-tune tonal range and contrast with precision.
Selective Adjustments: Apply edits to specific areas of an image without affecting others.
Healing/Clone Tools: Remove unwanted objects or blemishes seamlessly.
By investing time in learning these advanced editing techniques, you gain complete control over the artistic expression of your photographs. Post-processing isn’t about altering reality, but about enhancing the story and mood you intended to convey, making your smartphone photos truly unforgettable.
| Trick | Benefit for Photos |
|---|---|
| Manual Mode | Gain full control over exposure, focus, and white balance for precise artistic vision. |
| Long Exposure | Create stunning motion blur effects, light trails, and capture low-light scenes. |
| RAW Capture | Retain maximum image data for extensive, non-destructive post-processing. |
| External Lenses | Expand focal lengths (wide, telephoto, macro) and creative perspectives. |
Frequently Asked Questions About Smartphone Photography
While all manual settings are important, mastering exposure (the combination of ISO, shutter speed, and aperture, if available) is arguably the most crucial.
It dictates the brightness and overall mood of your photo, allowing you to adapt to various lighting conditions and achieve your desired artistic effect.
Yes, a tripod is almost always essential for long exposure. Even the slightest movement during an extended shutter opening will result in blurry images.
A sturdy tripod ensures your smartphone remains perfectly still, allowing the camera to capture crisp, motion-blurred effects or light trails effectively.
The main advantage of RAW is its uncompressed nature, retaining significantly more image data than JPEG. This gives you far greater flexibility in post-processing, allowing for more extensive adjustments to exposure, white balance, and colors without introducing image degradation or artifacts, resulting in higher quality final images.
Absolutely. External lenses can dramatically expand your smartphone’s photographic capabilities by providing optical zoom, wider fields of view, or macro magnification that built-in lenses cannot. They can reduce distortion, improve sharpness, and open up new creative avenues for various types of photography, from landscapes to close-ups.
Modern mobile editing apps like Adobe Lightroom Mobile and Snapseed are incredibly powerful and, when used skillfully, can produce professional-level results.
They offer advanced tools for color grading, selective adjustments, and detail enhancement, making it possible to refine your images to a very high standard directly on your smartphone or tablet.
Conclusion
The journey to mastering smartphone photography is both exciting and endlessly creative. By moving beyond simple point-and-shoot habits and exploring these 7 advanced smartphone camera tricks, you’re no longer just capturing moments—you’re intentionally crafting visual stories.
Each setting, adjustment, and technique gives you greater control over how your images look and feel.
From the precision of manual mode and the artistic impact of long exposure to the flexibility of shooting in RAW and enhancing your setup with external lenses, your smartphone proves to be a remarkably powerful photographic tool.
These advanced features allow you to shape light, motion, depth, and detail in ways once limited to professional cameras.
The true magic happens when you experiment fearlessly. Try new angles, play with light, refine your compositions, and explore editing workflows that elevate your photos even further.
With practice, patience, and creativity, your everyday smartphone can transform into a portable studio capable of producing truly stunning and memorable images.
The world around you is your canvas—and with the right techniques, your smartphone is more than ready to paint masterpieces, one photo at a time.


