DIY Paint Job: Refresh Your Living Room for Under $100 This Weekend

 A fresh coat of paint can dramatically transform your living room for under $100 this weekend, making it feel new and inviting without a significant financial outlay or professional help.
Are you dreaming of a refreshed living space but think a complete overhaul is out of reach? Think again! A DIY Paint Job: Refresh Your Living Room for Under $100 This Weekend is not only possible but entirely achievable with a little planning and effort. This guide will show you how to transform your living room, breathing new life into your home without breaking the bank.
Planning your budget-friendly living room transformation
Embarking on a painting project requires more than just picking a color; careful planning is the cornerstone of a successful and budget-friendly transformation. Understanding your space, estimating material needs, and setting realistic expectations are crucial steps that will save you time and money.
Before you even think about opening a paint can, take a moment to assess the current state of your living room. Consider the existing wall conditions, the amount of natural light, and the overall mood you want to create.
This initial assessment will guide your color choice and help you identify any specific challenges, such as patching holes or dealing with stubborn stains, ensuring a smoother process from start to finish.
Choosing the right paint for your budget
Selecting paint isn’t just about color; it’s also about finish, durability, and cost-effectiveness. For a budget under $100, focusing on quality yet affordable options is key. Many reputable brands offer excellent interior paints that provide good coverage and a lasting finish without the premium price tag.
Flat/Matte finish: Best for hiding imperfections, but less washable.
Eggshell/Satin finish: More durable and washable, ideal for living rooms.
Primer-in-one paints: Can save a step and money, especially for similar color changes.
Remember, a gallon of good quality paint typically covers around 350-400 square feet with one coat. Measure your walls to estimate how many gallons you’ll need, factoring in two coats for optimal coverage.
Don’t forget to account for any necessary primer, especially if you’re making a dramatic color change or painting over dark walls.
Beyond the paint itself, consider other essential supplies. Brushes, rollers, painter’s tape, drop cloths, and a paint tray are non-negotiables.
Look for value packs or sales at your local hardware store to keep costs down. Sometimes, stores offer discounted ‘oops’ paints, which can be a treasure trove for unique colors at a fraction of the cost, perfect for an adventurous DIYer.
By meticulously planning your budget and carefully selecting your materials, you ensure that your living room refresh stays well within the $100 limit.
This strategic approach transforms what could be a daunting task into an exciting and manageable weekend project, setting you up for success before the first drop of paint even hits the wall.
Essential tools and materials for a budget-friendly refresh under $100
Achieving a professional-looking paint refresh doesn’t require a long list of expensive tools. With a smart selection of essentials, you can prepare everything you need for a successful refresh while staying comfortably under the $100 mark.
The key is to invest in quality where it truly matters and choose cost-effective alternatives for less critical items.
Your local hardware store or discount retailer is the ideal place to source supplies for your refresh. Watch for sales, bundle deals, and store-brand products, which often deliver solid performance at a lower cost. Spending wisely on the right tools now can prevent frustration, uneven results, and costly mistakes later.
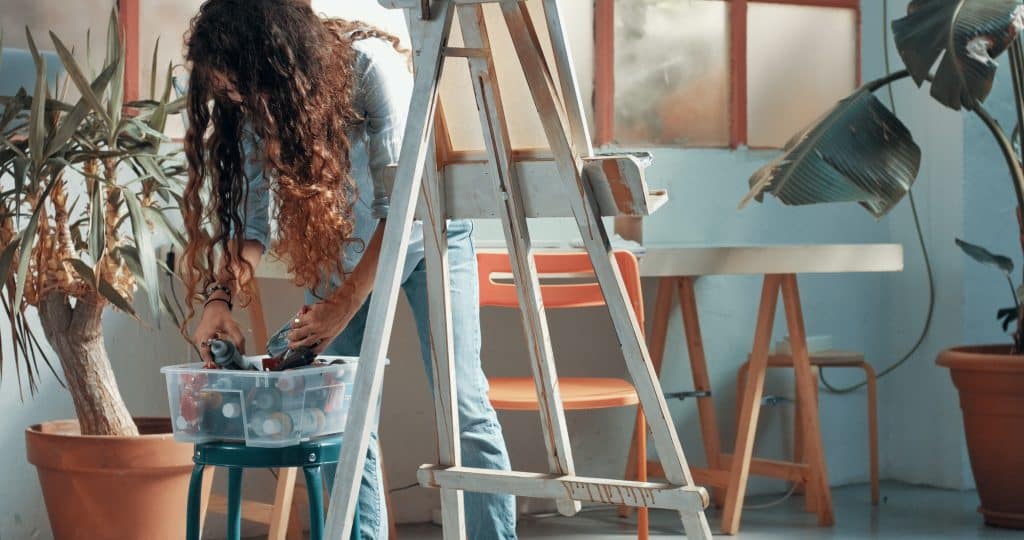
Must-have supplies list for a smooth refresh
Before starting your paint refresh, gather all materials in advance. This keeps the process efficient, avoids unnecessary interruptions, and helps you control your budget from start to finish.
Paint: One gallon of interior latex paint (eggshell or satin finishes work best for living rooms). Look for sales or discounted “oops” paint.
Primer (optional but recommended): A quart or gallon, especially for dramatic color changes or uneven surfaces.
Painter’s tape: High-quality tape is essential for clean edges and a polished refresh. One or two rolls are usually enough.
Paint rollers: A roller frame and two to three medium-nap roller covers for smooth wall coverage.
Paint brushes: One angled brush (2–2.5 inches) for cutting in and detail work.
Paint tray and liners: A sturdy tray with disposable liners for quick cleanup after your refresh.
Drop cloths or tarps: Protect floors and furniture. Old sheets or plastic sheeting work just as well.
Spackle and putty knife: For filling nail holes and small wall imperfections before painting.
Sanding sponge or paper: Fine-grit for smoothing patched areas and ensuring an even refresh.
Cleaning supplies: Rags, a bucket, and mild detergent for wall prep.
When choosing paint for your refresh, consider the size of your living room and the number of coats needed. Most living rooms require one to two gallons.
Many reliable interior paints cost around $30–$40 per gallon, making it easy to stay within budget without sacrificing quality. Store-brand paints often offer excellent coverage and durability at a lower price.
To save even more, repurpose what you already own. Old bedsheets make excellent drop cloths, and basic household cleaning supplies work perfectly for wall preparation.
Being resourceful allows you to direct most of your budget toward quality paint and good brushes or rollers—two essentials that make the biggest difference in achieving a smooth, long-lasting refresh.

By making strategic choices in your tool and material selection, you can easily gather everything needed for your DIY living room paint project for under $100. This careful approach ensures that your budget is respected while still allowing for a high-quality finish that will make your living room feel brand new.
Preparing your living room for painting
Proper preparation is arguably the most critical phase of any painting project, often determining the longevity and quality of the final result. Skimping on prep work can lead to uneven finishes, peeling paint, and a less-than-professional appearance, negating all your hard work. Dedicating sufficient time to this stage will pay dividends.
Before you even think about cracking open a paint can, take a systematic approach to clear the room, clean the walls, and make any necessary repairs. This meticulous preparation creates a clean, smooth canvas for your new color, ensuring optimal adhesion and a flawless finish that will stand the test of time.
Clearing and cleaning the space
Begin by removing all furniture, decor, and wall hangings from the living room. If large furniture cannot be moved out entirely, push it to the center of the room and cover it thoroughly with drop cloths or plastic sheeting. Protecting your belongings from paint splatters is much easier than cleaning them afterward.
Dust and cobwebs: Use a duster or vacuum with a brush attachment to remove all loose debris.
Wash walls: Clean walls with a mild detergent solution (like TSP substitute) and a sponge to remove grime, grease, and fingerprints. Rinse thoroughly and allow to dry completely.
Remove switch plates and outlet covers: This allows for a cleaner edge and prevents paint from getting on them.
Once the room is clear and the walls are clean, inspect your surfaces for any imperfections. Small nail holes, cracks, or dings are common and easily fixable. Use spackle or wall putty to fill these blemishes, applying it with a putty knife.
Allow the spackle to dry according to the manufacturer’s instructions, then lightly sand the patched areas until they are smooth and flush with the wall surface. This step is crucial for achieving a uniform texture once painted.
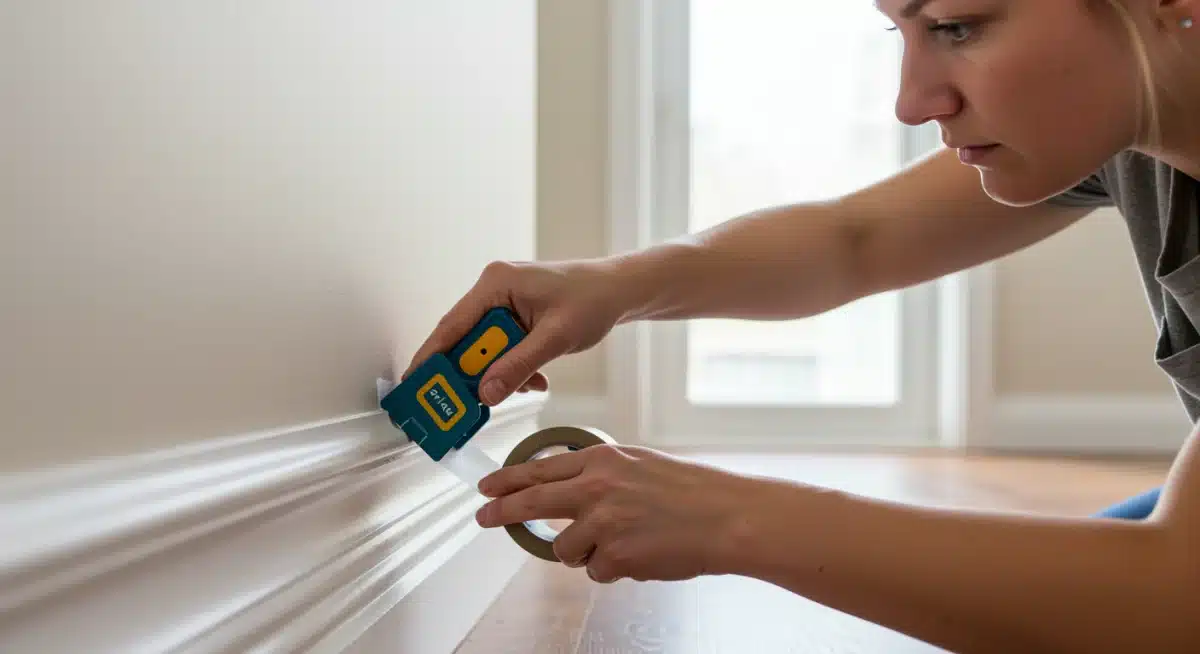
Finally, apply painter’s tape to all areas you want to protect, such as baseboards, window frames, door casings, and ceiling lines. Press the tape firmly to create a tight seal, preventing paint from bleeding underneath.
Using high-quality painter’s tape will make a significant difference in the sharpness of your lines and the overall professional look of your finished project. Taking these preparatory steps seriously ensures your living room is perfectly primed for its stunning new coat of paint.
Choosing the perfect paint color for ambiance
The right paint color can profoundly influence the mood and perception of space in your living room. It’s more than just aesthetics; color affects how you feel in a room, impacting everything from perceived size to overall comfort.
Selecting the perfect hue is a critical step in your DIY project, especially when aiming for a refreshed ambiance on a budget.
Consider the existing elements in your living room: flooring, furniture, and natural light. These factors play a significant role in how a chosen color will appear on your walls.
A color that looks great in a brightly lit showroom might appear entirely different in your living room’s unique lighting conditions. Take the time to observe how different shades interact with your space throughout the day.
Color psychology and room dynamics
Understanding basic color psychology can help you make an informed decision. Certain colors evoke specific feelings, and knowing this can guide you toward creating the desired atmosphere in your living room.
Warm colors (reds, oranges, yellows): Create a cozy, energetic, and inviting atmosphere. They can make a large room feel more intimate.
Cool colors (blues, greens, purples): Promote calmness, serenity, and relaxation. They tend to make a small room feel more open and spacious.
Neutrals (grays, beiges, whites): Offer a versatile backdrop, creating a sophisticated and timeless look. They are excellent for highlighting furniture and decor.
For a budget-friendly refresh, consider starting with neutral tones. Grays, beiges, and off-whites are incredibly versatile and can instantly brighten a room, making it feel larger and more contemporary.
These colors also provide a perfect canvas for introducing pops of color through accessories like pillows, throws, and artwork, which can be changed seasonally or as your taste evolves, offering maximum flexibility without repainting.
Before committing to a gallon, purchase small sample pots of your top two or three color choices. Paint swatches on different walls in your living room, observing them at various times of day and under different lighting conditions.
This allows you to see how the colors truly interact with your space and existing decor, preventing costly mistakes. Remember, the goal is to create a harmonious and inviting environment that reflects your personal style and enhances your living experience. A well-chosen color can make your living room feel entirely new without requiring extensive redecoration.
The step-by-step painting process
With all your preparations complete and your chosen color ready, it’s time for the exciting part: applying the paint. A systematic approach to painting ensures a smooth, even finish and helps prevent common DIY pitfalls. Remember, patience and proper technique are your best allies in achieving a professional-looking result.
Start by ensuring your paint is well-mixed. If you’ve just purchased it, the store might have shaken it for you. Otherwise, use a stirring stick to thoroughly mix the paint, ensuring the color is consistent throughout the can. This prevents streaking and ensures uniform color application across your walls.
Techniques for a flawless finish
The order in which you paint can significantly impact the quality of your finish. Always work from top to bottom, starting with the ceiling (if you’re painting it) and then moving to the walls, followed by trim.
Cutting in: Use your angled brush to paint a strip along the edges of the ceiling, corners, and trim. This technique, known as ‘cutting in,’ creates clean lines where the roller cannot reach. Load your brush with paint, tap off excess, and use steady hand movements.
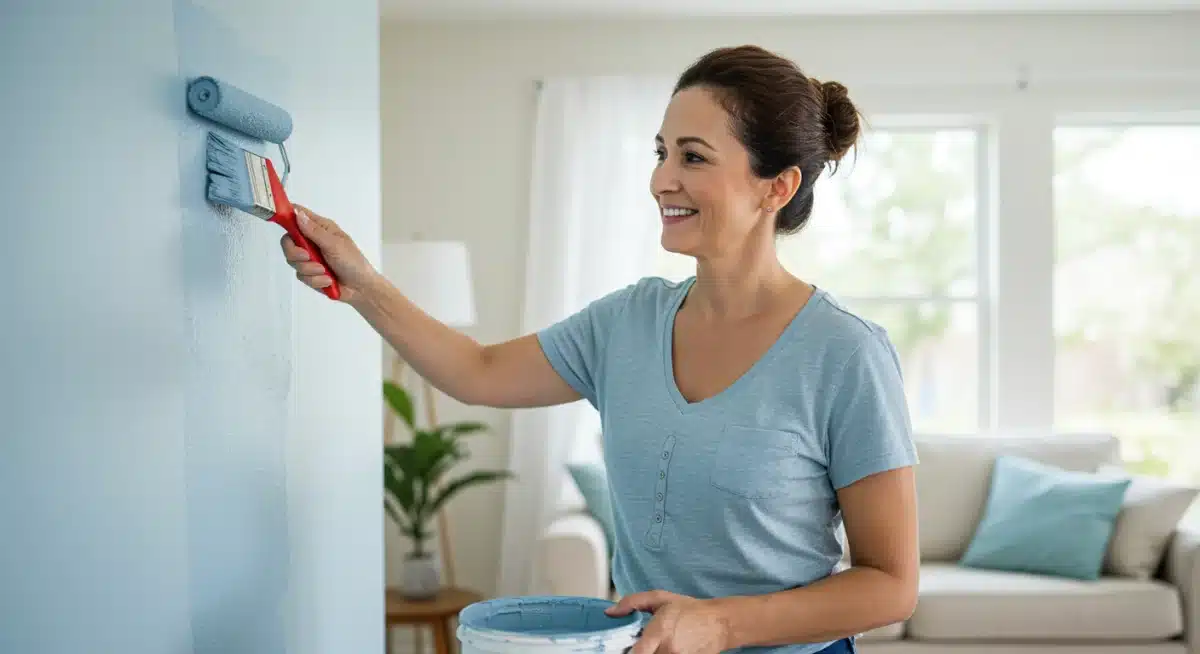
Rolling walls: Pour paint into your roller tray. Dip the roller, ensuring it’s evenly coated but not dripping. Apply paint to the wall in a ‘W’ or ‘M’ pattern, then fill in the pattern with vertical strokes. Overlap each stroke slightly to avoid roller marks.
Two coats are better: Most walls will require two coats of paint for optimal coverage and color depth. Allow the first coat to dry completely (check paint can for drying times, typically 2-4 hours) before applying the second.
After applying the final coat and before the paint is completely dry, carefully remove the painter’s tape to complete a clean refresh.
Pull the tape away slowly at a 45-degree angle to avoid lifting or peeling the fresh paint. Waiting until the paint is fully cured can cause the tape to bond too tightly, leading to torn paint and uneven edges. Proper timing is essential for achieving crisp, professional-looking lines that elevate your living room refresh.
Once the painting is finished and the tape is removed, allow the paint to cure fully before moving furniture back or re-hanging decor. Although paint may feel dry within a few hours, a true refresh requires patience—latex paint can take several days or even weeks to fully harden.
Giving the paint adequate time to cure protects your walls from scuffs, dents, and premature wear, ensuring your refreshed living room looks flawless for years.
Post-painting cleanup and final touches
The painting is complete, and your living room already feels like a total refresh. While the hardest part is done, post-painting cleanup and final touches play a crucial role in finishing the project properly.
Thorough cleanup helps preserve your tools and prepares your space for daily use, while small design updates bring the refresh together beautifully.
Avoid rushing this stage. Start by gathering and organizing all your tools and supplies. A structured cleanup process makes the transition from painting to enjoying your refreshed space smooth and stress-free.
Cleaning tools and enhancing your space
Cleaning brushes and rollers immediately after your refresh ensures they stay in good condition for future projects. For latex paint, warm water and mild soap are usually enough. Rinse thoroughly until the water runs clear, then hang brushes to dry and stand roller covers upright to maintain their shape.
Dispose of paint responsibly: Follow local guidelines for disposing of leftover paint—never pour it down drains.
Clean spills promptly: Remove splatters or drips while they’re still wet to prevent permanent marks.
Reinstall fixtures: Carefully replace outlet covers, switch plates, and light fixtures once walls are fully dry.
With tools cleaned and stray marks removed, begin reintroducing furniture slowly to protect your refreshed walls. This is also a perfect moment to declutter or rearrange decor. A fresh paint refresh often reveals new layout possibilities or highlights pieces you already own in a new way.
To enhance the refreshed look, consider adding a few low-cost decorative updates. New throw pillows, a cozy blanket, or simple wall art can complement your wall color and elevate the entire room without stretching your budget. These finishing touches maximize the impact of your refresh while keeping costs under control.
Maintaining your newly painted living room
A successful paint refresh doesn’t end when the brushes are cleaned. Long-term beauty depends on proper maintenance. Caring for your painted walls ensures your refreshed living room stays vibrant, polished, and inviting over time.
In the early days after painting, allow the walls to fully cure. Even though they may feel dry, paint needs several weeks to harden completely. During this period, treat surfaces gently and avoid scrubbing or pressing furniture against walls to protect the refresh.
Tips for long-lasting paint and quick fixes
Consistent, gentle care keeps your refreshed living room looking its best:
Gentle cleaning: Use a soft cloth or sponge with mild soap and water. Avoid abrasive cleaners that can dull the finish.
Spot cleaning: Address marks or spills quickly to prevent stains from setting.
Touch-up paint: Save a small amount of leftover paint for future fixes. Label it with the room name and date for easy use.
Minor scuffs are inevitable over time, but quick touch-ups help maintain a seamless refresh. Use a small brush and feather the edges for a natural blend, applying paint in good lighting to ensure color consistency.
Finally, protect your walls by using furniture pads, avoiding sharp objects near painted surfaces, and adding discreet wall protectors in high-contact areas. With these simple habits, your DIY paint refresh will remain a standout upgrade—proving that a budget-friendly project can deliver long-lasting style and satisfaction.
| Key Point | Brief Description |
|---|---|
| Budget Planning | Carefully select affordable paint and tools to stay under $100, checking for sales and store brands. |
| Surface Preparation | Clean and repair walls, then tape off trim to ensure a smooth, professional finish. |
| Color Selection | Choose colors that enhance ambiance and test samples to see how they look in your living room’s lighting. |
| Application & Cleanup | Apply paint systematically, remove tape when wet, and clean tools for reuse while disposing of waste properly. |
Frequently Asked Questions About DIY Painting
Can I really paint my living room for under $100?
Yes! With smart planning, a full living room refresh for under $100 is totally achievable. Choose budget-friendly paint brands, reuse items like old sheets or drop cloths, and focus only on essential tools. Watching for store sales and discounts can stretch your budget even further.
How do I choose the best paint color for a small living room?
For a visual refresh in smaller living rooms, light and cool shades—such as soft blues, gentle greens, or light grays—work best. These colors reflect light and make the space feel more open and airy. Always test paint samples on your walls to see how they look throughout the day.
What’s the most important step in painting preparation?
Proper wall prep is the foundation of a successful refresh. Cleaning the walls and repairing holes or cracks ensures the paint adheres evenly and delivers a smooth, polished finish. Skipping this step often results in visible flaws and reduced paint durability.
How long does it take for paint to fully cure?
Although walls may feel dry within hours, a complete paint refresh takes time to settle. Latex paint typically needs 2–4 weeks to fully cure. During this period, avoid heavy cleaning or pressing furniture against the walls to protect the finish.
Should I use a primer if my paint has “primer-in-one”?
For light color changes, a primer-in-one paint can support a quick refresh. However, if you’re covering dark colors, glossy surfaces, or patched areas, using a separate primer is still the best way to ensure even coverage, strong adhesion, and a long-lasting result.
Conclusion
Embarking on a DIY Paint Job: Refresh Your Living Room for Under $100 This Weekend is a rewarding project that proves significant home transformations don’t always require a hefty budget.
By meticulously planning, selecting economical yet quality materials, and diligently following preparation and application steps, you can achieve a stunning, professional-looking result. This guide has demonstrated that with a little effort and smart choices, anyone can revitalize their living space, creating an environment that feels fresh, inviting, and uniquely their own.
The satisfaction of stepping back and admiring your handiwork, knowing you accomplished it affordably, is truly unparalleled. So, gather your supplies, pick your color, and get ready to enjoy a beautifully refreshed living room this weekend.


