12 Creative and Budget-Friendly Ideas to Transform Your Home
Por: katia alves em junho 27, 2025
Have you ever looked at a corner of your home and thought, “This could be used better”? Or felt that something was missing to give your space more personality—without spending a fortune? Then this post is for you! Home hacks DIY (do it yourself) are creative, sustainable, and budget-friendly solutions that help you revamp, organize, and personalize any space.
Whether you want to save space, reuse materials, or simply make your home cozier, you’ll find 12 practical and charming ideas here that anyone can do with a bit of time and creativity. Let’s get started!
1. Organizer Using Recycled Cans
Turn trash into treasure
Those tin cans you usually toss out can become multi-functional organizers with just a little DIY effort.
How to make:
-
Remove the labels, wash thoroughly, and sand the edges to avoid cuts.
-
Paint with spray or acrylic paint in your favorite color.
-
Mount the cans on a wooden board, wall, or magnetic surface.
Great for:
-
Holding pens and pencils in the office
-
Organizing kitchen utensils
-
Small planters for herbs
-
Paintbrush holders in the studio
It’s eco-friendly, attractive, and functional.
2. Light Curtain with String Lights
Cozy charm with a magical touch
String lights aren’t just for the holidays. Hung behind a light curtain, they create a warm and dreamy atmosphere.
Tips for setup:
-
Use sheer or white curtains.
-
Distribute the string lights evenly behind the fabric.
-
Combine with neutral-colored furniture for a minimalist look.
Perfect for bedrooms, reading nooks, or relaxing corners.
3. Pallet Headboard
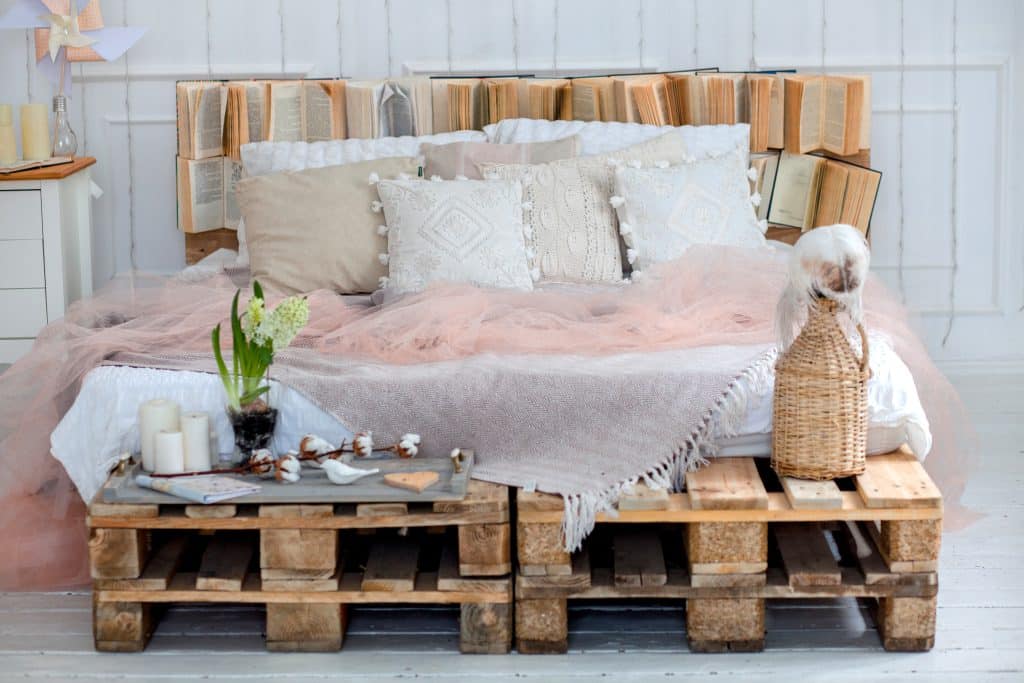
Rustic Charm Meets DIY Style
A pallet headboard is one of the most popular DIY furniture projects—and for good reason. It’s affordable, versatile, sustainable, and adds a unique, handcrafted touch to any bedroom. Whether you prefer a rustic farmhouse look, boho vibes, or a minimalist aesthetic, you can customize your pallet headboard to match your style perfectly.
🔧 Why Use Pallets?
Wood pallets are:
-
Free or inexpensive (often available at supermarkets, warehouses, or construction sites)
-
Sturdy and durable
-
Easy to sand, paint, stain, or repurpose
-
A sustainable choice—you’re reusing wood that might otherwise be discarded
🛠 What You’ll Need:
-
1 to 3 standard wood pallets (depending on the size of your bed)
-
Sandpaper or an electric sander
-
Wood stain or paint (optional)
-
Varnish or wood sealant (for protection)
-
Screws, nails, and a drill
-
Mounting brackets or heavy-duty wall hooks (optional)
-
Tape measure, pencil, level
📝 Step-by-Step Instructions:
-
Choose and Prepare Your Pallets:
-
Make sure the pallets are in good condition—avoid cracked or moldy boards.
-
Clean the wood thoroughly using a damp cloth and let it dry.
-
Sand all surfaces to smooth out splinters and rough edges.
-
-
Customize the Look:
-
Stain the wood for a natural rustic look.
-
Paint in solid colors for a more modern or playful feel.
-
Use whitewash or distressing techniques for a vintage aesthetic.
-
-
Design Layout:
-
You can use a single horizontal pallet for a minimalist style or stack two vertically for a tall, dramatic look.
-
Some DIYers cut and rearrange the slats for geometric or panel designs.
-
-
Mount or Anchor:
-
Lean it between the bed and the wall (easy and renter-friendly).
-
Attach it to the bed frame with screws.
-
Mount it to the wall using brackets or a French cleat system for more stability.
-
-
Decorate and Personalize:
-
Add string lights, fairy lights, or LED strips for cozy lighting.
-
Hang small photos, dreamcatchers, or artwork.
-
Install small shelves or hooks for headphones, books, or small plants.
-
🎨 Styling Ideas:
| Style | Color/Finish | Details |
|---|---|---|
| Rustic Farmhouse | Dark stain or natural wood | Mason jar sconces, lanterns |
| Boho Chic | Whitewash or pastel paint | Macramé hangings, soft lighting |
| Minimalist | Matte black or solid neutral | Clean lines, geometric layout |
| Industrial | Grey stain or raw wood | Exposed screws, metal accents |
✅ Benefits at a Glance:
-
Budget-Friendly: Costs a fraction of store-bought headboards.
-
Eco-Conscious: Upcycles reclaimed materials.
-
Fully Customizable: Color, size, and style are entirely up to you.
-
Beginner-Friendly: Requires only basic tools and skills.
-
Portable and Easy to Replace: Great for renters or frequent movers.
🧼 Maintenance Tips:
-
Use a dry cloth or duster regularly to keep it clean.
-
Apply a sealant to protect against moisture and wood damage.
-
Avoid placing drinks or plants directly on the wood without coasters.
🏡 Ideal For:
-
Bedrooms needing a focal point or accent wall
-
Guest rooms or Airbnb spaces
-
Kids’ and teens’ rooms with a touch of personality
-
Anyone who wants a stylish upgrade without overspending
4. Coffee Table from Crates
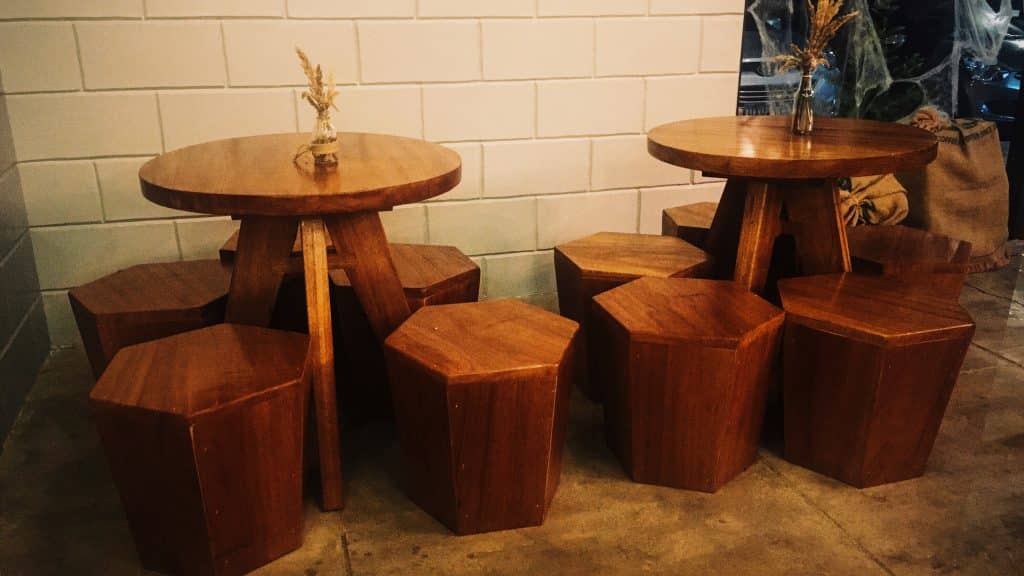
Rustic style meets function
Create a stylish and functional coffee table using four wooden crates.
How to do it:
-
Sand and paint the crates.
-
Arrange them in a square with the openings facing outward.
-
Add wheels to the base for mobility, if desired.
-
Place a glass or wooden top for a polished finish.
It’s beautiful—and the inner spaces are great for storing books, throws, or decor items.
🪑 Shelf with Old Belts
Industrial Charm Meets Upcycled Design
Want to add a functional yet stylish element to your wall without spending a fortune? A DIY shelf made with old leather belts is the perfect fusion of vintage character and industrial flair. This project not only brings a touch of rustic charm to your space but also allows you to reuse materials you may already have at home.
With just two old belts and a wooden plank, you can create a statement piece that’s both decorative and practical—ideal for books, small plants, candles, or framed photos.
♻️ Why Use Belts as Shelf Straps?
Using belts as shelf supports is a brilliant upcycling idea. Here’s why:
-
They’re strong and flexible: Leather belts can hold a good amount of weight when properly secured.
-
They add texture and uniqueness: Each belt comes with its own patina, buckles, and personality.
-
They’re eco-friendly: Instead of throwing out old or unused belts, you give them a second life.
🛠 Materials You’ll Need:
-
2 sturdy leather or faux leather belts (ideally matching in size)
-
1 wooden board or plank (pre-sanded and cut to the desired length)
-
Screws or wall anchors
-
A screwdriver or drill
-
Wall plugs (if installing on drywall)
-
A level (to ensure your shelf sits straight)
-
Optional: stain or paint for the wooden board
📝 Step-by-Step Instructions:
-
Prep Your Materials:
-
Choose a wooden plank that suits your wall width (usually 50–90 cm long).
-
Sand the wood if needed and apply stain or paint for your desired look. Let it dry.
-
-
Position the Belts:
-
Loop each belt to form a “sling” or strap that will cradle each end of the board.
-
Decide how low or high the shelf should hang by adjusting the buckle holes.
-
-
Mark the Wall:
-
Use a pencil and a level to mark where the screws will go.
-
Make sure the belts are evenly spaced and level across the wall.
-
-
Mount the Belts:
-
Attach each belt to the wall using screws or anchors for better support. Secure the top hole or loop of each belt tightly to ensure the weight is distributed evenly.
-
-
Add the Shelf:
-
Slide the wooden board through the belt loops.
-
Adjust the belts if necessary to ensure the board sits flat and stable.
-
🧩 Style Variations:
| Look | Wood Finish | Belt Type | Ideal For |
|---|---|---|---|
| Rustic/Boho | Natural or distressed wood | Worn leather belts | Living rooms, reading nooks |
| Modern Minimalist | Matte black or white | Sleek faux-leather belts | Home office, entryway |
| Industrial | Dark stained wood | Thick vintage belts with buckles | Lofts, bathrooms |
| Playful/Eclectic | Painted wood in bright color | Mismatched belts | Kids’ rooms, creative spaces |
✅ Benefits of the Belt Shelf:
-
Budget-friendly: Reuse items you already own or can get secondhand.
-
Stylish and unique: Adds personality and visual interest to plain walls.
-
Customizable: You control the shelf height, wood finish, and belt style.
-
Beginner-friendly DIY: Requires few tools and minimal effort.
-
Removable and renter-friendly: If mounted with adhesive hooks or tension rods, this shelf can be made temporary.
📌 Pro Tips:
-
If your belts are too worn or cracked, reinforce them with extra stitching or glue where needed.
-
Want a double shelf? Add another pair of belts and stack two boards vertically.
-
For a cleaner look, trim excess belt ends or hide them behind the board.
-
Use belts with adjustable buckles to fine-tune shelf height after installation.
🌿 Ideal Uses:
-
In the living room: As a statement display for books, art, or vintage decor.
-
In the bathroom: Hold candles, skincare, or rolled towels with a spa-like vibe.
-
In the hallway or entryway: Display small plants, key bowls, or photos.
-
In a studio or office: Store stationery, notebooks, or tech gadgets stylishly.
🌎 Sustainable Bonus
This project is not only creative but also sustainable. By giving new purpose to materials like old belts and scrap wood, you’re reducing waste while creating something beautiful and functional.
6. Foldable Ironing Board Behind the Door<
| Feature | Benefit |
|---|---|
| Magnetic suspension | Keeps spices off countertops and drawers |
| Custom layout | Arrange jars by preference, style, or use |
| Transparent jars | Easily see contents at a glance |
| Easy to clean | Wipe jars and panel with a damp cloth |
| Decorative and functional | Adds style while keeping your kitchen organized |
| Modular and expandable | Easily add more jars or move them around |
Smart space-saving idea
For those living in small spaces, this clever hack is a game-changer: a foldable ironing board that attaches behind a door or to a wall.
Materials:
-
Lightweight wooden board
-
Strong hinges
-
Locking mechanism
-
Wall support bracket
It’s compact, discreet, and easy to use.
7. Wine Cork Bulletin Board
Memorable, sustainable, and stylish
Turn wine corks into a DIY message board that’s perfect for your kitchen, home office, or entryway.
How to make:
-
Use an old or new frame.
-
Glue corks side by side horizontally or vertically.
-
Use strong glue like hot glue or universal adhesive.
Use it for notes, grocery lists, photos, or recipes.
8. Rope-Framed Mirrors
Nautical or boho-style decor on a budget
Add a chic touch to round mirrors using jute or sisal rope.
DIY steps:
-
Apply hot glue around the mirror’s edge.
-
Carefully wrap the rope in circles, building up layers.
-
Attach a hanger or wall mount at the back.
Looks beautiful in bathrooms, entryways, or hallways.
9. 🔧 Magnetic Spice Rack
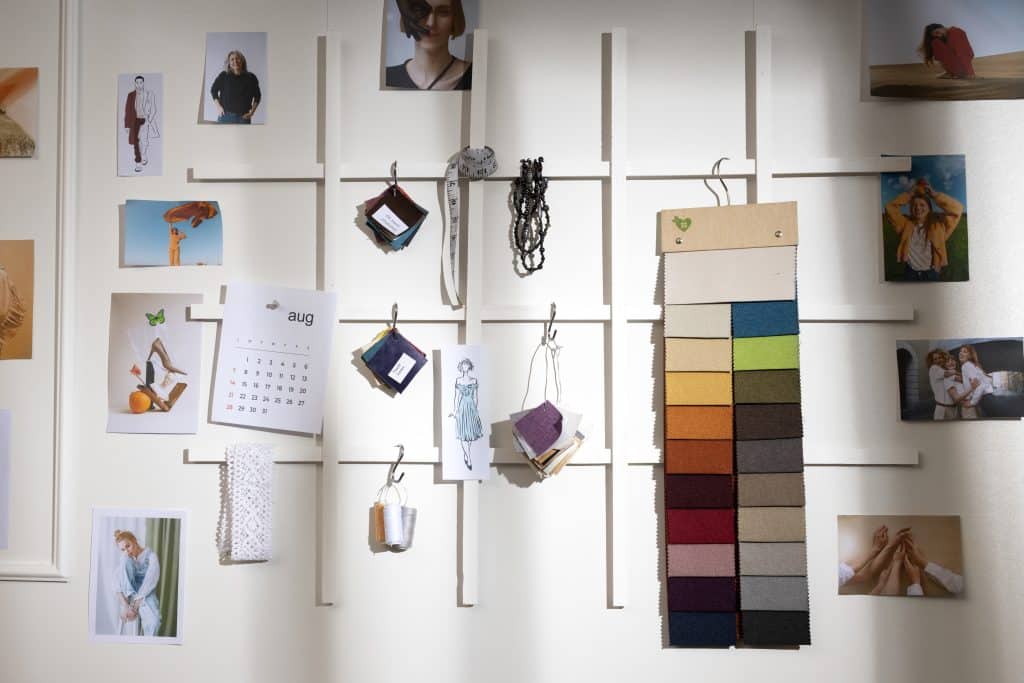
Modern Organization for Your Kitchen with a Creative Twist
A magnetic spice rack is one of the most practical, stylish, and space-saving DIY hacks you can bring into your kitchen. It doesn’t just keep your seasonings organized—it turns them into a decorative feature while maximizing vertical or unused wall space.
Whether you live in a small apartment or simply want a cleaner countertop, this DIY is a perfect blend of form and function.
🧲 How It Works
The idea is simple: instead of cluttering your shelves or drawers with spice jars, you mount a metal panel (or use your fridge) and attach magnetized jars containing your favorite spices. They stay in place, easy to grab, and add a sleek, modern touch to your kitchen.
🛠 Materials You’ll Need:
-
Small clear jars with metal lids (or plastic lids if using adhesive magnets)
-
Strong round magnets or magnetic tape
-
Labels (chalkboard, printed, or handwritten)
-
A metal board or sheet (galvanized steel, for example)
-
Screws and wall anchors (if mounting on drywall)
-
Optional: Paint or decorative frame for the metal panel
📝 Step-by-Step Guide:
-
Choose the Right Jars:
Opt for small, lightweight jars—ideally with screw-top lids. Clear glass or plastic is ideal so you can see the contents. -
Attach Magnets:
Use strong neodymium magnets on the lids or the bottoms of the jars. For heavier jars, you may need two magnets per jar to ensure a secure hold. -
Label Your Spices:
Use waterproof or chalkboard labels to identify each spice. You can place them on the bottom or side of the jar for easy viewing. -
Install the Metal Panel:
Mount a galvanized metal sheet on a kitchen wall, cabinet door, backsplash, or inside the pantry. Make sure it’s level and secure. -
Arrange and Display:
Once your panel is mounted and jars are filled, simply stick them to the board. Arrange alphabetically, by frequency of use, or by color for a visual pop!
🧼 Bonus Tip: Easy Refills
When refilling, just twist off the lid without removing the jar from the board. It’s quick and keeps everything tidy.
💡 Optional Enhancements:
-
Add LED lighting above the panel for extra visibility.
-
Use color-coded labels to separate herbs, spices, and blends.
-
Mount a second metal sheet inside a cabinet door for a hidden option.
-
Paint or frame your panel to match your kitchen decor.
✅ Benefits at a Glance:
| Feature | Benefit |
|---|---|
| Magnetic suspension | Keeps spices off countertops and drawers |
| Custom layout | You choose the arrangement that suits your style |
| Transparent jars | Makes it easy to see what you need at a glance |
| Easy to clean | Simply wipe the panel and jars with a damp cloth |
| Decorative and functional | Turns spices into a stylish visual element |
| Modular and expandable | Add more jars or move them around as needed |
🏠 Ideal For:
-
Small kitchens with limited cabinet space
-
Renters (use adhesive metal sheets or stick-on panels)
-
Cooking enthusiasts who use many spices frequently
-
Minimalist homes where everything has its place
🌿 Sustainable Twist:
Upcycle baby food jars or glass containers you already have. Combine that with eco-friendly magnets and non-toxic paints for a sustainable kitchen upgrade.
10. Pegboard Organizer
Smart, Customizable Storage for Any Room
A pegboard organizer is one of the most flexible and functional DIY home hacks you can install. Originally used in garages and workshops, pegboards have found their way into modern homes, studios, kitchens, and even minimalist offices as versatile vertical storage systems that can be customized, expanded, and styled to suit your space and needs.
It’s a modular organization solution that helps reduce clutter and keeps your most-used items easily accessible—without sacrificing style.
🧰 What Is a Pegboard?
A pegboard is a flat panel—usually made of wood, metal, or plastic—with evenly spaced holes that allow you to insert:
-
Hooks
-
Shelves
-
Baskets
-
Containers
-
Pegs and brackets
These accessories can be moved around and rearranged at any time, making the pegboard a perfect DIY solution for evolving needs and spaces.
🔧 What You’ll Need:
-
Pegboard panel (MDF, metal, or plastic)
-
Mounting hardware (screws, spacers, anchors)
-
Pegboard hooks, metal baskets, and small shelves
-
Optional: paint, frame, LED strip lights, or decals
📝 Installation Steps:
-
Choose the Location:
-
Consider walls near your desk, kitchen counter, entryway, craft table, or garage.
-
For renters, you can lean it against a wall or mount using adhesive hooks or strips.
-
-
Mount the Board:
-
Use spacers behind the board to create a gap between the wall and panel (so hooks can slide in properly).
-
Secure it with screws and wall anchors for stability.
-
-
Customize the Layout:
-
Plan the placement of hooks, bins, and shelves based on your items.
-
Rearrange anytime without tools—total flexibility!
-
🏡 Use It In:
| Room | Pegboard Purpose |
|---|---|
| Home Office | Organize stationery, chargers, headphones, scissors |
| Kitchen | Hang utensils, spices, measuring cups, small pans |
| Craft Room | Hold threads, tools, brushes, glue, or beads |
| Entryway | Keys, sunglasses, mail, bags |
| Garage | Store tools, extension cords, gloves |
| Kids’ Room | Art supplies, toys, hats, or school materials |
🎨 Styling Ideas:
-
Paint the pegboard to match your wall or add bold color for contrast.
-
Add a frame for a more polished, finished look.
-
Use color-coded bins or hooks to organize categories.
-
Install LED strip lights around the edges for a cool visual effect.
✅ Benefits at a Glance:
| Feature | Advantage |
|---|---|
| Fully customizable | Adjust layout as your needs change |
| Space-saving | Utilizes vertical wall space, freeing up surfaces |
| Multipurpose use | Fits into any room—kitchen, office, garage, or bedroom |
| Easy to install | Beginner-friendly with minimal tools required |
| Affordable and durable | Pegboards are long-lasting and cost-effective |
🧽 Maintenance Tips:
-
Wipe down occasionally with a damp cloth to remove dust or kitchen grease.
-
Check hooks and screws for tightness if holding heavier items.
-
Rearrange seasonally for fresh utility or aesthetics.
🛍 Budget Tips:
-
Buy pegboard sheets at hardware stores or repurpose old ones from workshops.
-
Use repurposed items as accessories: old mugs for holders, tin cans for supplies, or wooden dowels for rails.
-
You can even make your own pegboard with a piece of plywood and a drill.
11. Curtains from Old Sheets or Towels
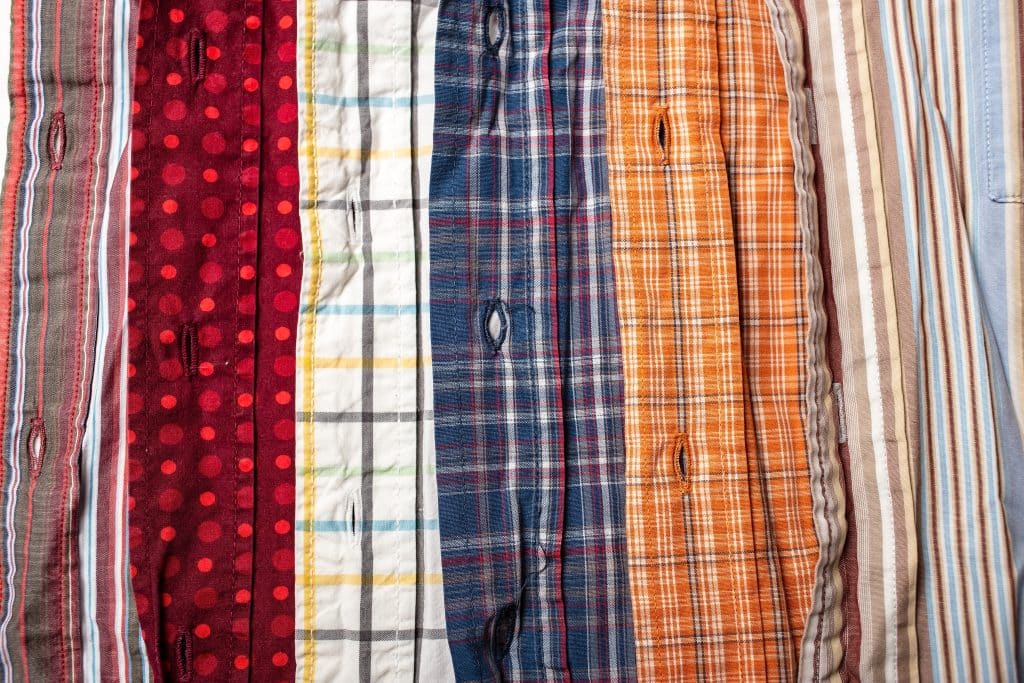
Smart reuse with personal style
Old sheets or towels can be repurposed into beautiful, breezy curtains.
How to make:
-
Cut to the size of your window.
-
Hem the edges or create loops for hanging.
-
Use curtain rings or clips to mount them.
An eco-conscious and affordable solution for any room.
12. Vertical Garden with Plastic Bottles
Grow your greens anywhere
Don’t have a backyard? No problem. With this DIY, you can build a vertical herb garden using plastic bottles.
How to do it:
-
Cut the bottles in half and poke holes for drainage.
-
Add small stones, soil, and your choice of plants.
-
Use string, hooks, or a wire frame to hang them on a wall or balcony.
It’s perfect for growing basil, mint, parsley, and more—right in your kitchen or apartment.
🛠️ Why Choose DIY Home Hacks?
Opting for DIY home hacks isn’t just about fixing or decorating—it’s about embracing a smarter, more intntional way of living. These simple projects bring multiple benefits beyond aesthetics. Here’s why so many people are turning to do-it-yourself solutions to upgrade their homes:
✨ Save Money
Let’s face it—furnishing and decorating a home can be expensive. DIY home hacks help you cut costs by repurposing what you already have or using low-cost materials in creative ways. Instead of buying a new storage unit or trendy decor, you can turn leftover wood, empty jars, or even old furniture into something functional and beautiful.
Example:
Instead of purchasing a $100 coffee table, you could build one using free wooden crates and some paint—spending less than $20 in total.
It’s not just budget-friendly—it’s budget-smart.
♻️ Be Sustainable
In a world increasingly focused on environmental responsibility, DIY projects are a great way to reduce waste and lower your ecological footprint. Many home hacks involve upcycling—giving new life to items like wine corks, plastic bottles, fabric scraps, or worn-out furniture.
Why it matters:
-
You divert materials from landfills.
-
You reduce the need for new manufacturing.
-
You adopt a more mindful approach to consumption.
It’s creativity in service of the planet.
🎨 Unleash Your Creativity
Your home is a reflection of your personality, and nothing makes it more unique than decor crafted by your own hands. DIY home hacks allow you to experiment with colors, textures, shapes, and layouts in a way that store-bought items never could.
You become the designer and maker, bringing custom touches to every corner of your space—from hand-painted planters to rope-wrapped mirrors or custom pegboard walls.
Bonus: It’s also a great way to unwind and stimulate your mind after a long day.
💪 Feel Empowered
There’s a special kind of pride that comes from walking into a room and seeing something you built or transformed yourself. Even small DIY projects can provide a boost of confidence and a sense of accomplishment.
You’re not just improving your home—you’re proving to yourself that you’re capable, resourceful, and creative.
Plus, many people find DIY to be therapeutic, offering a productive outlet to reduce stress and stay focused.
🧩 Bonus Benefit: Make It Fit Your Space Perfectly
Sometimes, store-bought furniture just doesn’t fit right—literally or stylistically. With DIY, you can custom-build items to match your space, dimensions, and taste exactly. No compromises.
From floating shelves that fit that awkward wall niche, to under-bed storage boxes or a fold-down desk—you create what works for your lifestyle
Final Thoughts: You Can Transform Your Home with Your Own Hands
With these 12 DIY home hacks, you can bring new life to your home using creativity, practicality, and resourcefulness. You don’t need to be a woodworking expert or have a huge budget—just a bit of patience and the will to try.
If you’re new to DIY, start with the simpler projects like the recycled can organizer or the cork board. Once you gain confidence, move on to bigger ideas like the pallet headboard or the pegboard system.
Every project is an opportunity to learn something new, repurpose what you already have, and make your space truly your ow
