DIY Air Quality Improvement: 4 Affordable Home Solutions
Are you looking for ways to breathe easier at home without spending a fortune? In 2026, ensuring good indoor air quality is more important than ever, and fortunately, you don’t need expensive gadgets or professional services to make a real difference.
This article will guide you through practical and budget-friendly strategies for DIY air quality improvement, proving that a healthier home environment is well within your reach.
Understanding Indoor Air Quality and Its Impact
Indoor air quality (IAQ) refers to the air quality within and around buildings and structures, especially as it relates to the health and comfort of building occupants.
Poor IAQ can stem from various sources, including pollutants from building materials, household products, outdoor air infiltration, and even our daily activities. Understanding these sources is the first step towards creating a healthier living space.
The impact of poor indoor air quality can range from minor irritations like headaches and fatigue to more serious long-term health issues, including respiratory diseases and cardiovascular problems. Children, the elderly, and individuals with pre-existing health conditions are particularly vulnerable.
Recognizing these risks underscores the importance of proactive measures to maintain a clean and fresh indoor environment.
Common Indoor Air Pollutants
Many factors contribute to subpar indoor air. Identifying these common pollutants is crucial for effective mitigation. From microscopic particles to invisible gases, they can silently compromise your home’s atmosphere.
Volatile Organic Compounds (VOCs): Emitted by paints, cleaning supplies, and furnishings.
Dust Mites: Microscopic organisms thriving in dust, carpets, and upholstery, triggering allergies.
Pet Dander: Tiny flecks of skin shed by pets, a common allergen.
Mold and Mildew: Fungi that grow in damp areas, releasing spores that can cause respiratory issues.
Pollen: Enters from outside, especially during allergy season, exacerbating respiratory symptoms.
By understanding what you’re up against, you can better target your DIY efforts. The goal isn’t just to mask odors but to eliminate the root causes of poor air quality, leading to tangible health benefits for everyone in your household.
Solution 1: Enhance Natural Ventilation
One of the simplest and most effective strategies for DIY air quality improvement is maximizing natural ventilation. This involves strategically opening windows and doors to allow fresh outdoor air to circulate through your home, expelling stale, pollutant-laden indoor air. Many people underestimate the power of a good cross-breeze, but it can significantly reduce concentrations of indoor pollutants.
Beyond just opening windows, consider the timing and duration. Early mornings and evenings are often ideal, especially during warmer months, when outdoor air quality tends to be better and temperatures are more moderate. Even a few minutes of cross-ventilation daily can make a noticeable difference in how your home feels and smells, contributing to overall well-being.
Strategic Window Opening Techniques
To truly harness the power of natural ventilation, it’s not enough to just crack a window. Thoughtful placement and timing can optimize airflow and pollutant removal. Consider the direction of prevailing winds and create pathways for air to move freely.
Cross-Ventilation: Open windows on opposite sides of your home to create a powerful airflow.
Stack Effect: Open lower windows and upper windows (or skylights) to allow warm, stale air to rise and exit, drawing in cooler, fresh air from below.
Fan Assistance: Place a box fan in a window facing outwards to pull stale air out, or facing inwards to draw fresh air in.
Remember that while ventilation is key, be mindful of outdoor air quality. On days with high pollen counts or air pollution alerts, it might be better to keep windows closed and rely on other purification methods. Balance is essential for effective and safe ventilation.
Solution 2: Incorporate Air-Purifying Plants
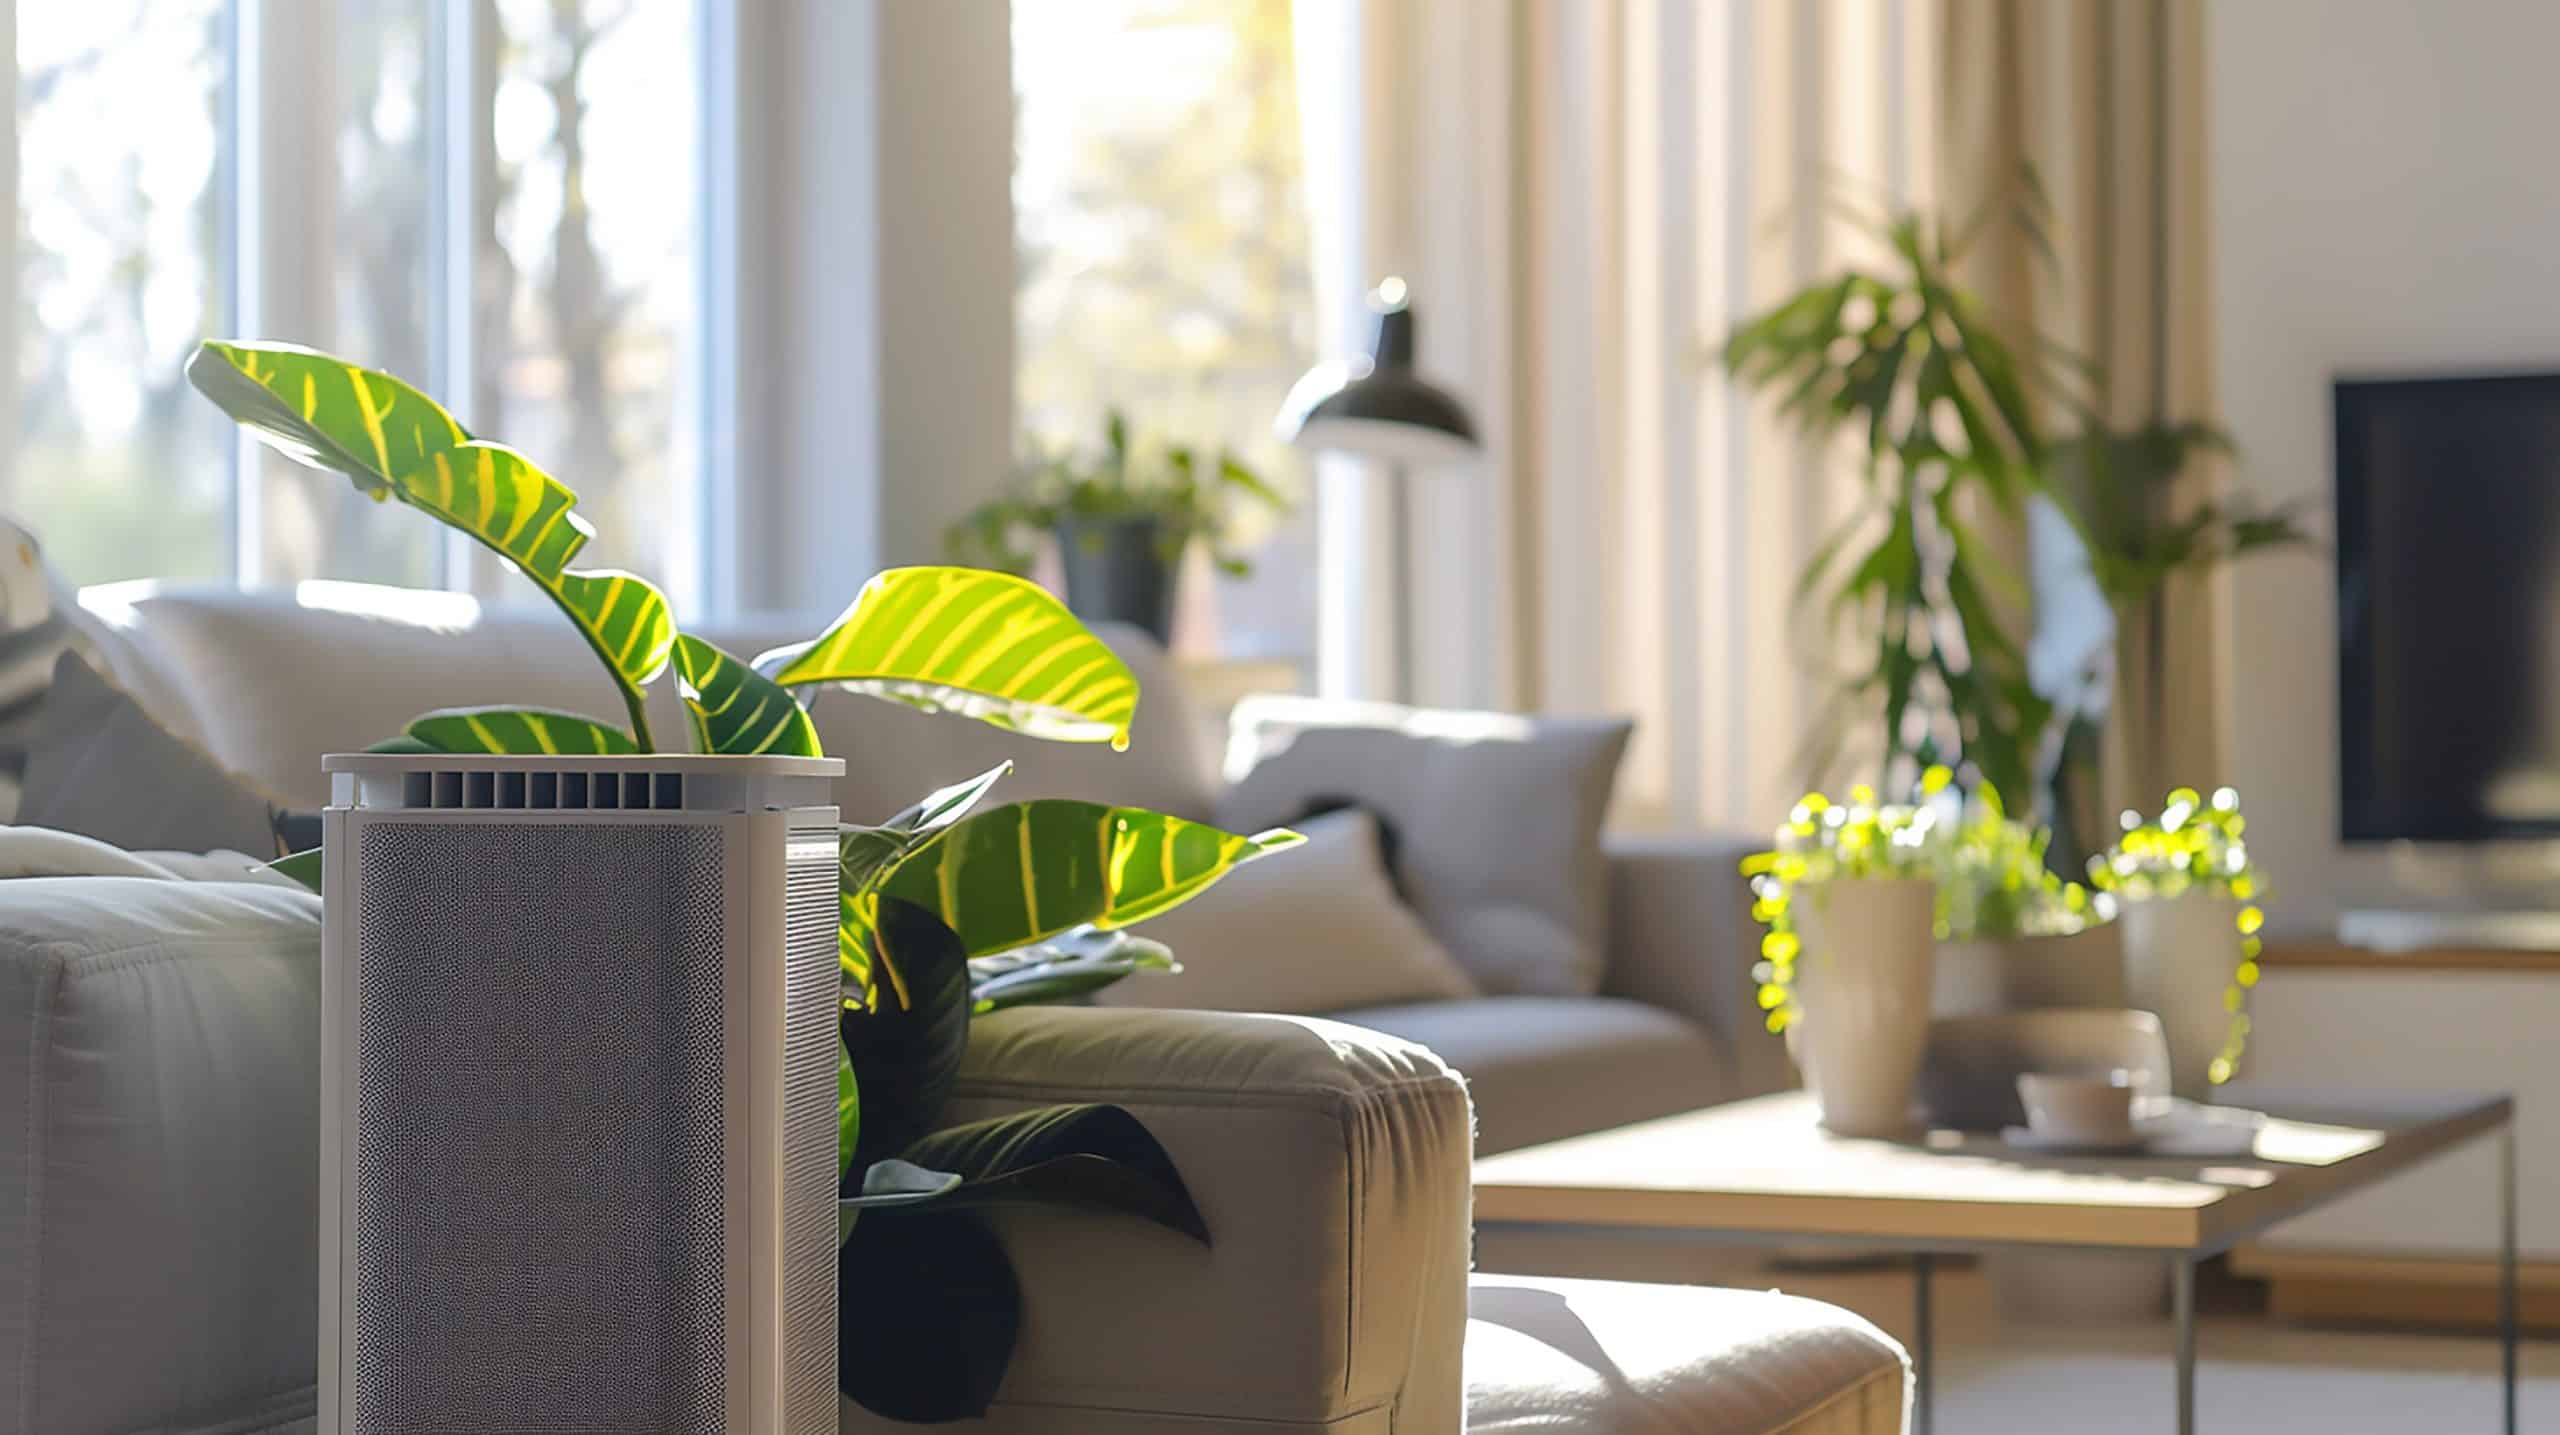
Nature offers some incredible tools for DIY air quality improvement, and houseplants are among the most beautiful and effective. Certain plants have a remarkable ability to absorb common indoor air pollutants through their leaves and roots, converting them into nutrients.
This natural filtration system not only cleans the air but also adds a touch of greenery and life to your living spaces.
While plants alone cannot solve severe air quality issues, they play a significant supportive role, especially in conjunction with other methods.
They also boost humidity, reduce stress, and improve overall mood, making them a fantastic addition to any home. Choosing the right plants and caring for them properly will maximize their air-purifying potential.
Many studies, including those by NASA, have highlighted specific plants for their ability to remove toxins like formaldehyde, benzene, and trichloroethylene.
These plants are often low-maintenance, making them perfect for busy homeowners looking for an easy way to enhance their indoor environment. Consider placing them in areas where you spend a lot of time, such as bedrooms and living rooms.
Top Air-Purifying Houseplants
When selecting plants for air purification, look for varieties known for their effectiveness and ease of care. A diverse collection can tackle a wider range of pollutants and add aesthetic appeal to your home.
Snake Plant (Sansevieria trifasciata): Excellent at removing benzene, formaldehyde, trichloroethylene, and xylene. Tolerates low light.
Spider Plant (Chlorophytum comosum): Effective against formaldehyde and xylene. Easy to grow and propagate.
Peace Lily (Spathiphyllum): Filters out ammonia, benzene, formaldehyde, and trichloroethylene. Requires moderate light and consistent moisture.
Pothos (Epipremnum aureum): Known for removing formaldehyde, benzene, and carbon monoxide. Very hardy and adaptable.
Remember to keep your plants healthy, as healthy plants are more effective at purification. Regularly dust their leaves to ensure their pores aren’t blocked, allowing them to absorb pollutants efficiently. Also, avoid overwatering, which can lead to mold growth in the soil.
Solution 3: Regular and Thorough Cleaning Practices
It might seem obvious, but consistent and thorough cleaning is a cornerstone of effective DIY air quality improvement. Dust, pet dander, mold spores, and other allergens accumulate rapidly in homes, becoming airborne and contributing to respiratory issues.
A regular cleaning regimen minimizes these indoor pollutants at their source, preventing them from circulating in your air.
Focus not just on visible dirt but also on hidden areas where dust and allergens tend to collect. This includes upholstery, carpets, curtains, and even ceilings. The type of cleaning products you use also matters; opt for natural, unscented options to avoid adding more chemical pollutants to your indoor environment.
Targeted Cleaning for Better Air
Certain cleaning tasks have a more direct impact on air quality than others. Prioritizing these can yield significant improvements with less effort. Think about where pollutants are most likely to settle and become airborne.
Vacuum Regularly: Use a vacuum with a HEPA filter to capture fine particles like dust, pet dander, and pollen from carpets and rugs.
Dust with Damp Cloths: Damp cloths trap dust instead of scattering it into the air, which dry dusting often does.
Wash Bedding Weekly: Hot water washing helps eliminate dust mites and their allergens from sheets, pillowcases, and blankets.
Clean Air Vents and Ducts: Periodically clean your HVAC vents and consider professional duct cleaning if you suspect significant build-up.
Don’t forget to clean high-traffic areas and surfaces frequently. Kitchens and bathrooms, in particular, can harbor mold and mildew if not regularly sanitized and dried. A clean home is inherently a healthier home, impacting the air you breathe daily.
Solution 4: Build a Homemade Air Purifier
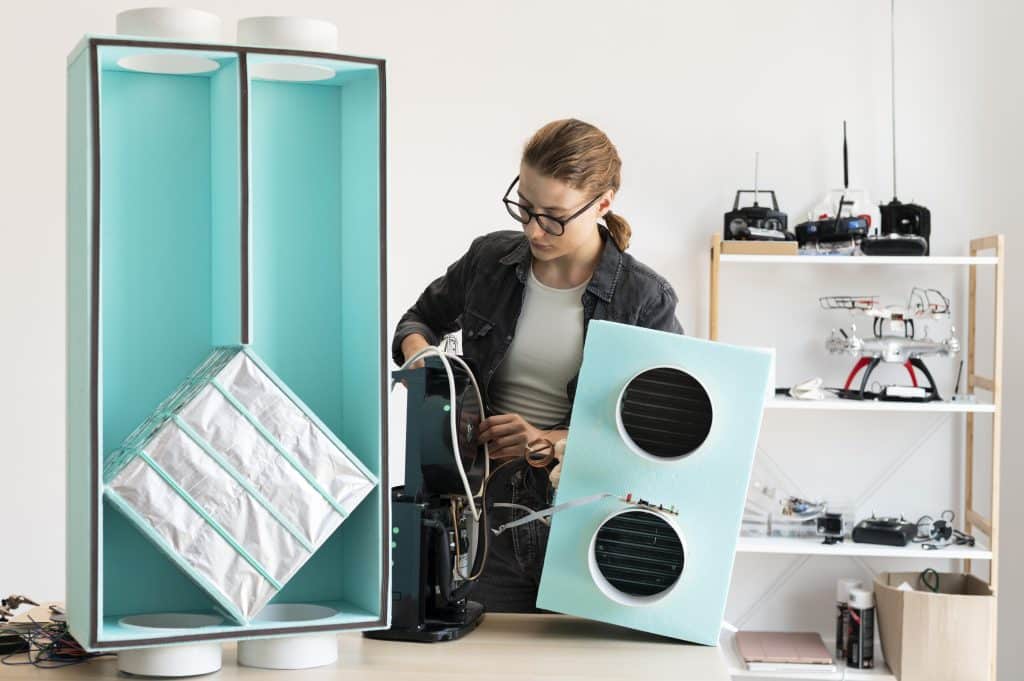
While commercial air purifiers can be costly, a highly effective and affordable DIY air quality improvement solution is to build your own. The concept is simple: combine a standard box fan with high-efficiency particulate air (HEPA) or MERV-rated furnace filters.
This creates a powerful filtration system capable of capturing airborne particles like dust, pollen, pet dander, and even some mold spores.
This method has gained popularity due to its low cost and impressive performance, often rivaling more expensive commercial units.
It’s an excellent option for those on a budget who still want to significantly reduce airborne pollutants in specific rooms or even larger open-plan areas. The materials are readily available at most hardware stores.
Steps to Construct Your DIY Air Purifier
Building a homemade air purifier is straightforward, requiring minimal tools and time. The key is selecting the right filters and ensuring a good seal to maximize efficiency. Here’s a basic guide:
Gather Materials: You’ll need a standard 20-inch box fan, four 20x20x1 inch MERV 13 (or higher) furnace filters, and duct tape.
Assemble the Cube: Tape the four filters together to form a cube, with the arrows indicating airflow pointing inwards towards the center of the cube.
Attach to Fan: Place the box fan on top of the filter cube, ensuring the fan’s airflow direction aligns with the filters’ arrows (pulling air through the filters).
Seal Gaps: Use additional duct tape to seal any gaps between the fan and the filter cube, preventing unfiltered air from bypassing the system.
Once assembled, place your DIY air purifier in the room where you want to improve air quality. Run it on a medium to high setting. Remember to regularly check and replace the filters, typically every 1-3 months, depending on usage and air quality conditions, to maintain optimal performance.
Maintenance and Monitoring for Lasting Improvement

Implementing DIY air quality improvement solutions is a great start, but maintaining those improvements requires ongoing effort and a bit of monitoring. Air quality is dynamic, influenced by everything from daily activities to seasonal changes.
Therefore, a consistent approach to maintenance is crucial for long-term success. Think of it as an ongoing commitment to your home’s health.
Regularly assessing your indoor environment helps you identify new challenges or areas where your current strategies might need adjustment. This proactive stance ensures that your efforts continue to yield a healthy, comfortable living space. Don’t just set it and forget it; actively participate in maintaining your home’s clean air.
One often overlooked aspect is humidity control. High humidity can lead to mold growth, while excessively low humidity can dry out nasal passages and make you more susceptible to airborne irritants. Investing in a simple hygrometer can help you monitor humidity levels and adjust them as needed, possibly with a dehumidifier or humidifier.
Tips for Ongoing Air Quality Maintenance
To ensure your home consistently benefits from your DIY efforts, integrate these practices into your routine. Small, consistent actions add up to significant long-term gains in air quality.
Filter Replacement: Adhere to manufacturer recommendations for HVAC filters and your DIY purifier filters.
Regular Cleaning Schedule: Stick to a consistent cleaning routine, focusing on dust, pet dander, and potential mold areas.
Monitor Humidity: Keep indoor humidity between 30-50% to prevent mold and minimize allergen proliferation.
Ventilation Habits: Continue to ventilate daily, adjusting for outdoor conditions.
Consider using an inexpensive indoor air quality monitor to get a better sense of your home’s air. These devices can track particulate matter, VOCs, and CO2 levels, providing valuable feedback on the effectiveness of your DIY strategies. This data can empower you to make informed decisions and fine-tune your approach for optimal results.
Beyond the Basics: Advanced DIY Considerations
Once you’ve mastered the fundamental DIY air quality improvement techniques, you might wonder if there’s more you can do. Indeed, there are several advanced, yet still affordable, considerations that can further elevate your home’s air quality.
These often involve a slightly deeper dive into your home’s infrastructure or materials, but the benefits can be substantial, leading to a truly pristine indoor environment.
These advanced steps don’t necessarily require professional help, though some might benefit from it. They focus on preventing pollutants from entering or forming in the first place, addressing issues at a more foundational level. Thinking proactively about your home’s design and material choices can have a lasting positive impact on the air you breathe.
Addressing Specific Air Quality Challenges
Some homes face unique air quality challenges that require more targeted solutions. Identifying these specific issues is key to implementing the right advanced DIY strategies.
Radon Testing: If you live in an area prone to radon, consider an affordable DIY radon test kit. Mitigation can be professional but awareness is the first step.
Low-VOC Products: When renovating or buying new furniture, choose low-VOC paints, glues, and materials to minimize chemical off-gassing.
Sealing Air Leaks: Caulk and weatherstrip around windows and doors to prevent unfiltered outdoor air and pollutants from entering.
Exhaust Fan Usage: Always use exhaust fans in bathrooms and kitchens to vent moisture and cooking fumes directly outside, preventing mold and grease buildup.
Improving indoor air quality is not a one-time project. Even after implementing affordable DIY solutions, regular maintenance and monitoring are essential for keeping your home’s indoor environment comfortable and reducing the buildup of dust, moisture, and other airborne contaminants. Creating a simple routine can help ensure that your improvements continue working effectively throughout the year.
One of the easiest places to start is with your home’s HVAC system. Check filters regularly and replace or clean them according to the manufacturer’s recommendations. A dirty or clogged filter can restrict airflow and reduce the system’s ability to capture airborne particles.
Homes with pets, frequent cooking, renovation projects, or higher levels of dust may require more frequent attention.
| Key Solution | Brief Description |
|---|---|
| Natural Ventilation | Open windows and doors strategically for fresh air circulation, reducing indoor pollutants. |
| Air-Purifying Plants | Introduce specific houseplants that naturally absorb common indoor toxins and improve humidity. |
| Regular Cleaning | Implement consistent cleaning routines, focusing on dust, pet dander, and mold prevention with natural products. |
| Homemade Air Purifier | Construct an effective, low-cost air filter using a box fan and MERV-rated furnace filters to capture airborne particles. |
Frequently Asked Questions About DIY Air Quality
Aim to ventilate your home daily for at least 5-10 minutes, especially in the mornings or evenings when outdoor air is cooler and cleaner. Cross-ventilation by opening windows on opposite sides of your home is most effective for a quick air exchange.
While plants do absorb some airborne toxins, their impact is generally supplementary. They are best used as part of a broader strategy that includes ventilation, cleaning, and filtration. They also offer aesthetic and psychological benefits.
For DIY box fan purifiers, MERV 13 (Minimum Efficiency Reporting Value) furnace filters are highly recommended. They strike a good balance between effective particle capture and allowing sufficient airflow without overworking the fan.
Regular vacuuming with a HEPA filter, frequent washing of pet bedding, and using air purifiers (either commercial or DIY) are key. Also, consider bathing pets regularly and designating pet-free zones in your home.
While essential oils can provide pleasant aromas, they don’t purify the air and can even introduce VOCs. For true air quality improvement, focus on eliminating pollutants rather than masking them. Use diffusers sparingly and with good ventilation.
Conclusion
Achieving excellent indoor air quality in your home doesn’t have to be an expensive endeavor. By embracing these four affordable DIY air quality improvement solutions—enhancing natural ventilation, strategically placing air-purifying plants, committing to regular and thorough cleaning, and constructing a homemade air purifier—you can significantly transform your living environment.
These practical steps, coupled with diligent maintenance and monitoring, empower you to create a healthier, fresher, and more comfortable space for you and your family to thrive in 2026 and beyond.