DIY Home Theater: Set Up Projector & Screen Under $400
 Setting up an impressive home theater with a projector and screen for under $400 is a realistic goal, empowering enthusiasts to create an immersive cinematic experience without breaking the bank.
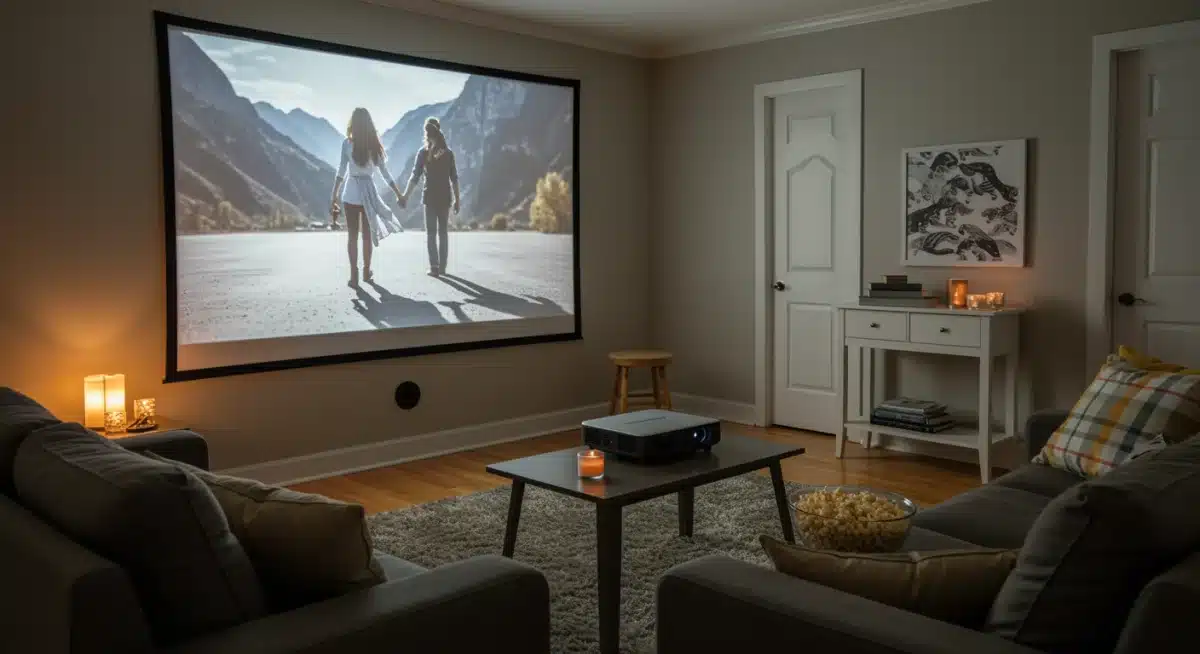
Imagine transforming your living room, basement, or even a bedroom into your very own cinematic paradise.
The dream of a big-screen experience at home is no longer reserved for those with deep pockets. With a little planning and smart shopping, you can achieve a fantastic DIY home theater setup with a projector and screen for under $400.
This guide will show you how to make that dream a reality, proving that high-quality entertainment can be incredibly affordable.
Understanding Your Home Budget and Priorities
Before jumping into specific product recommendations, it’s essential to understand how your home theater budget of $400 should be allocated and which features matter most to you.
Having clear priorities from the start allows you to make confident, informed choices and avoid overspending on features that won’t significantly improve your home viewing experience.
At the sub-$400 level, smart compromises are part of the process. You won’t be building a premium home cinema with a 4K laser projector or immersive Dolby Atmos built-in—but that doesn’t mean you have to settle for poor quality.
With the right approach, you can still enjoy a bright, sharp image on a large screen that easily outperforms a standard television in the same price range.
The key to success is focusing on what truly impacts your home theater experience. Prioritize essential projector performance indicators such as native resolution, brightness, and contrast, and pair them with the right screen type for your space.
By aligning your budget with your home entertainment priorities, you’ll maximize value and create a setup that feels impressive, immersive, and perfectly suited to your needs.
.
Allocating Funds Wisely
Your $400 budget needs to cover three primary components: the projector, the screen, and essential accessories.
Typically, the projector will take up the largest portion of this budget, but don’t skimp entirely on the screen or necessary cables.
Projector (approx. $200-$300): This is the heart of your home theater. Look for models offering good native resolution (at least 720p, ideally 1080p), decent brightness (lumens), and essential connectivity options.
Screen (approx. $50-$100): A dedicated screen dramatically improves picture quality compared to projecting on a bare wall. Options range from simple pull-down screens to fixed frames or even DIY solutions.
Accessories (approx. $20-$50): Don’t forget HDMI cables, a basic sound solution (if your projector lacks adequate speakers, which many budget models do), and potentially a mounting bracket.
By breaking down the budget, you can see where adjustments might be made. For instance, if you find an exceptional deal on a projector, you might have more leeway for a slightly better screen or improved audio.
Conversely, if a specific screen type is a must-have, you’ll need to find a projector that fits the remaining budget.
Choosing the Right Budget Projector
The projector is the cornerstone of your DIY home theater setup. Navigating the myriad of budget projectors can be daunting, but focusing on a few key specifications will simplify your choice and ensure you get the best bang for your buck.
When shopping for projectors under $300, you’ll primarily encounter LED projectors. These are generally more affordable, have longer lamp lives, and consume less power than traditional lamp-based projectors.
While they might not match the raw brightness of high-end models, many offer excellent performance for their price point, especially in moderately dark rooms.
Key Projector Specifications to Consider
Understanding these terms will empower you to compare models effectively and choose a projector that meets your viewing needs without overspending:
Native Resolution: This is the actual number of pixels the projector displays. Aim for at least 720p (1280×720) for a clear picture.
Many budget projectors advertise ‘1080p supported,’ which means they can accept a 1080p signal but downscale it to their native resolution. True 1080p (1920×1080) native resolution is ideal if you can find it within budget.
Brightness (Lumens): Measured in ANSI lumens or simply lumens. For a dark room, 2,000-3,000 lumens are usually sufficient. If you anticipate some ambient light, look for higher lumen counts. Be wary of exaggerated lumen claims; stick to reputable brands or user reviews for realistic expectations.
Contrast Ratio: This indicates the difference between the darkest blacks and brightest whites. A higher contrast ratio results in more vibrant and detailed images. While often a subjective measure, look for ratios above 2000:1 for a noticeable difference.
Connectivity: Ensure the projector has at least one HDMI input for connecting your streaming devices, gaming consoles, or laptops. USB ports are handy for playing media directly from a flash drive, and some may include VGA or AV ports for older devices.
Researching user reviews and watching video demonstrations of various budget projectors can provide valuable insights into real-world performance, helping you gauge if a particular model lives up to its advertised specifications and will be a good fit for your affordable home theater.
Selecting an Affordable Projector Screen
While projecting onto a plain white wall might seem like a cost-saving measure, a dedicated projector screen significantly enhances picture quality, brightness, and color accuracy.
Thankfully, there are many affordable screen options available that won’t push your DIY home theater setup over the $400 limit.
Projector screens are designed with specific gain factors and materials to reflect light evenly and optimize the projected image.
Using a proper screen will make your budget projector look much better than it would on a painted wall, which can absorb light and distort colors.
Types of Budget-Friendly Screens
Consider these options to find a screen that fits your space and budget:
Manual Pull-Down Screens: These are among the most common and affordable. They roll up into a housing when not in use, making them great for multi-purpose rooms. Look for sizes between 80-120 inches, which offer a substantial cinematic experience.
Fixed Frame Screens: While slightly more expensive, fixed frame screens offer a perfectly flat surface, which is crucial for a smooth image free of wrinkles. They require a dedicated wall space but provide a more premium look and feel.
Portable/Tripod Screens: Excellent for flexibility, these screens can be set up indoors or outdoors and then stored away. They are perfect if you don’t have a permanent space for your home theater.
DIY Screen Material: For the ultimate budget option, you can purchase screen material (e.g., blackout cloth or specific projector screen fabric) and build your own frame from wood or PVC pipes. This requires a bit more effort but offers significant savings.
When choosing a screen, pay attention to the gain factor (1.0 is neutral, higher numbers mean brighter but narrower viewing angles) and the viewing angle. For most home theater setups, a 1.0-1.1 gain screen with a wide viewing angle is ideal, ensuring everyone gets a good view.
Essential Accessories and Sound Solutions
A great picture is only half the battle; good sound is equally important for an immersive home theater experience.
Many budget projectors have built-in speakers, but their quality is often basic. Investing a small portion of your budget into sound and other essential accessories will elevate your DIY home theater setup significantly.
Beyond audio, thoughtful accessory choices can enhance convenience and overall enjoyment. These items don’t have to be expensive; often, you can repurpose existing equipment or find great deals on basic, yet effective, components.
Audio Upgrade Options
You don’t need a full 7.1 surround sound system to get great audio on a budget:
Portable Bluetooth Speaker: If you already own a decent portable Bluetooth speaker, you can often connect it to your projector via an auxiliary cable or Bluetooth (if your projector supports it). This is an instant and free upgrade.
Basic Soundbar: Entry-level soundbars can be found for under $50-$75, offering a significant improvement over built-in projector speakers. Look for models with optical or auxiliary inputs.
Old Stereo System: If you have an old stereo receiver and passive speakers lying around, you can often connect them to your projector’s audio output (usually a 3.5mm jack) using an adapter.
Remember that some budget projectors only have a 3.5mm audio output, so ensure your chosen audio solution can connect to this.
HDMI ARC (Audio Return Channel) is rare on budget projectors, so plan for direct audio connections.
Other Crucial Accessories
Don’t overlook these small but vital components for a smooth setup:
HDMI Cable: A good quality HDMI cable is essential for connecting your media source (Blu-ray player, streaming stick, laptop) to the projector. You might need a longer one depending on your setup.
Mounting (Optional): If you plan to ceiling mount your projector, a universal projector mount can be found for around $20-$40. Otherwise, a sturdy shelf or small table works perfectly well.
Streaming Device: If you don’t already have one, a budget-friendly streaming stick (like a Roku Express or Amazon Fire Stick Lite) can provide access to all your favorite content for around $25-$30.
By carefully considering your audio needs and ensuring you have the right cables and accessories, you can create a complete and enjoyable home theater experience that feels far more expensive than its actual cost.
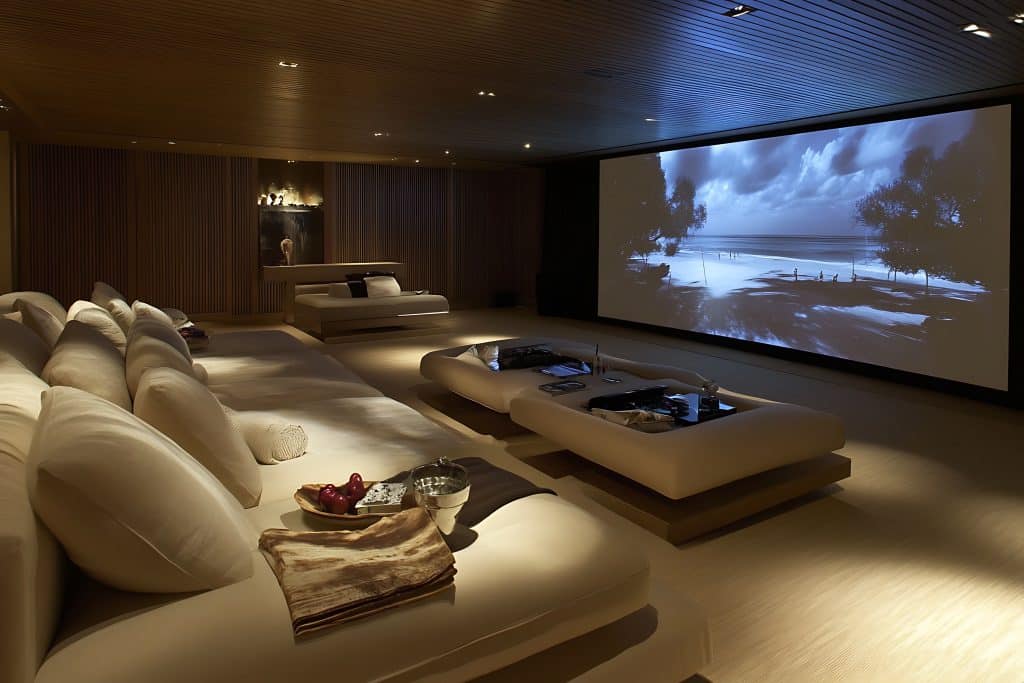
Setting Up Your DIY Home Theater Space
Once you have your projector, screen, and accessories, the next step is to set up your dedicated viewing space.
This involves more than just plugging things in; optimizing your room for projection will significantly impact the quality of your DIY home theater setup.
Even small adjustments can make a big difference, especially when working with a budget projector. The goal is to minimize ambient light and create an environment where your projector can shine its brightest and clearest.
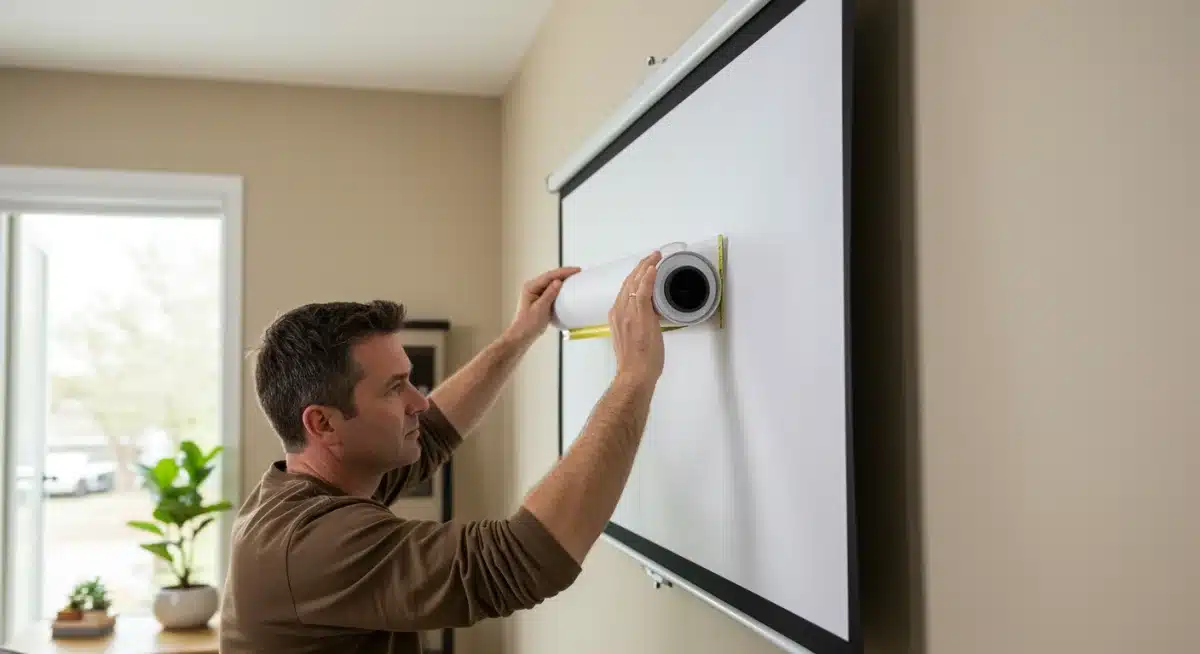
Room Preparation and Placement
Thoughtful placement and light control are key to maximizing your budget:
Light Control: The darker the room, the better your projector image will look. Use blackout curtains or blinds on windows. Even covering small indicator lights from other electronics can help.
Projector Placement: Determine the ideal distance from your screen. Most projectors have a throw ratio, which indicates how far it needs to be from the screen to achieve a certain image size. Consult your projector’s manual.
Screen Placement: Mount your screen firmly and as flat as possible. Ensure it’s centered and at a comfortable viewing height. The top edge of the screen should ideally be at or slightly below eye level when seated.
Seating Arrangement: Arrange your seating to optimize viewing angles. Generally, the best seats are directly in front of the screen.
Don’t forget about cable management. Running power and HDMI cables neatly along walls or under rugs not only makes your setup look cleaner but also prevents tripping hazards. Cable ties and adhesive clips are inexpensive solutions for this.
Calibration and First Run
After physically setting up your projector and screen, the final step before enjoying your movies is a quick calibration.
This ensures you’re getting the best possible picture quality from your budget equipment. Even without professional tools, a few simple adjustments can make a significant difference in your DIY home theater setup.
Think of calibration as fine-tuning your system. It allows you to correct any distortions, adjust brightness, and ensure colors are as accurate as possible, all contributing to a more immersive viewing experience.

Initial Adjustments for Optimal Viewing
Follow these steps to get your home theater ready for its debut:
Focus and Keystone Correction: Use the focus ring on your projector lens to sharpen the image. If the image is trapezoidal instead of rectangular, use the keystone correction feature (either manual or digital) to square it up. Be aware that digital keystone correction can sometimes slightly reduce picture quality.
Brightness and Contrast: Play a movie or a test pattern (you can find these online). Adjust the brightness so that blacks are deep but still show detail, and whites are bright without being washed out. Then, adjust contrast to ensure a good range between the darkest and lightest parts of the image.
Color and Tint: Many projectors have color and tint (hue) controls. While precise calibration requires specialized tools, you can often make subjective improvements by slightly adjusting these settings until skin tones look natural and colors appear vibrant but not oversaturated.
Picture Mode: Most projectors come with various picture modes (e.g., Standard, Cinema, Dynamic).
Experiment with these to see which one looks best in your room’s lighting conditions. ‘Cinema’ or ‘Movie’ modes are often a good starting point for a natural look.
Take your time with these adjustments.
A few minutes spent fine-tuning can dramatically improve your viewing experience, making your budget home theater feel much more premium.
Once you’re satisfied, sit back, relax, and enjoy the fruits of your DIY efforts!
| Key Component | Budget Allocation & Importance |
|---|---|
| Projector | Largest portion ($200-$300). Focus on native resolution (720p/1080p) and lumens for picture quality. |
| Screen | Essential for image quality ($50-$100). Choose manual pull-down or fixed frame for best value. |
| Audio | Crucial for immersion ($0-$75). Utilize existing speakers or a budget soundbar. |
| Accessories | HDMI cables, streaming stick, mounts ($20-$50). Small costs, big impact on usability. |
Frequently Asked Questions About DIY Home Theaters (Expanded Guide)
Can I really get a good home theater for under $400?
Yes—if you approach it strategically. A satisfying DIY home theater under $400 is absolutely achievable by prioritizing essentials and avoiding unnecessary extras.
Focus on a budget-friendly projector with at least 720p native resolution, pair it with a simple but effective screen (or a well-prepared alternative), and use affordable or repurposed audio solutions.
Shopping during sales, choosing refurbished items, and embracing DIY mounting or cable management can significantly stretch your budget.
While you won’t replicate a commercial cinema, you can achieve a cozy, immersive setup that’s perfect for movies, sports, and casual gaming.
What’s more important for picture quality: projector resolution or lumens?
Both matter, but they affect different aspects of image quality.
Resolution determines sharpness and detail. A native 720p projector is the minimum sweet spot for a budget setup; anything lower may look blurry on larger screens.
Lumens control brightness. If your room isn’t fully dark, brightness becomes critical. Aim for 2,500–3,000 lumens or more to maintain a clear image with some ambient light.
Ideally, you want a balance: sufficient resolution for clarity and enough lumens to suit your room conditions.
Do I need a special screen, or can I just use a white wall?
A white wall can work as a temporary solution, especially if it’s smooth, clean, and matte. However, a dedicated projector screen offers a noticeable upgrade.
Screens are engineered to reflect light evenly, which improves brightness, contrast, and color accuracy.
Even a low-cost pull-down screen or DIY fabric screen can dramatically enhance image quality compared to a standard wall, making movies feel more cinematic.
How can I get good sound without spending a lot?
Sound is often underestimated, but it’s a huge part of the experience. Fortunately, you have budget-friendly options:
Reuse existing gear like an old stereo system or powered speakers.
A portable Bluetooth speaker can work surprisingly well in small rooms.
If buying new, a basic soundbar under $75 is one of the best value upgrades you can make.
Just make sure your audio solution connects properly—via the projector’s audio-out port, Bluetooth, or an HDMI audio extractor if needed.
What are the most common mistakes to avoid in a budget home theater?
Several pitfalls can undermine an otherwise solid setup:
Unrealistic expectations: Sub-$400 gear won’t match high-end systems—set expectations accordingly.
Ignoring audio: Built-in projector speakers are rarely sufficient.
Poor room preparation: Not darkening the room reduces image quality dramatically.
Wrong screen size: Buying a screen that’s too small (or too large for your space) hurts immersion.
Skipping throw-distance planning: Always check how far the projector needs to be from the screen before buying.
Careful planning and a realistic approach are the keys to getting the best results on a tight budget.
With smart choices, a bit of DIY effort, and thoughtful setup, a budget-friendly home theater can deliver impressive performance and countless hours of entertainment—without breaking the bank.
Conclusion
Creating a captivating DIY home theater with a projector and screen for under $400 isn’t just possible—it’s a smart and rewarding upgrade that brings the excitement of the big screen directly into your home without stretching your budget.
By carefully selecting the right projector specifications, pairing it with an affordable screen, and thoughtfully improving audio and essential accessories, you can transform any room into a powerful home entertainment hub.
The secret to success lies in balancing realistic expectations with smart shopping choices and fully embracing the DIY mindset.
With a bit of planning and creativity, your home can become the perfect place to enjoy movies, games, and streaming marathons. Gather your gear, set up your space, and get ready to experience cinematic fun right at home—all while staying comfortably within budget.


