2026 DIY Furniture Restoration: New Life in 4 Easy Steps
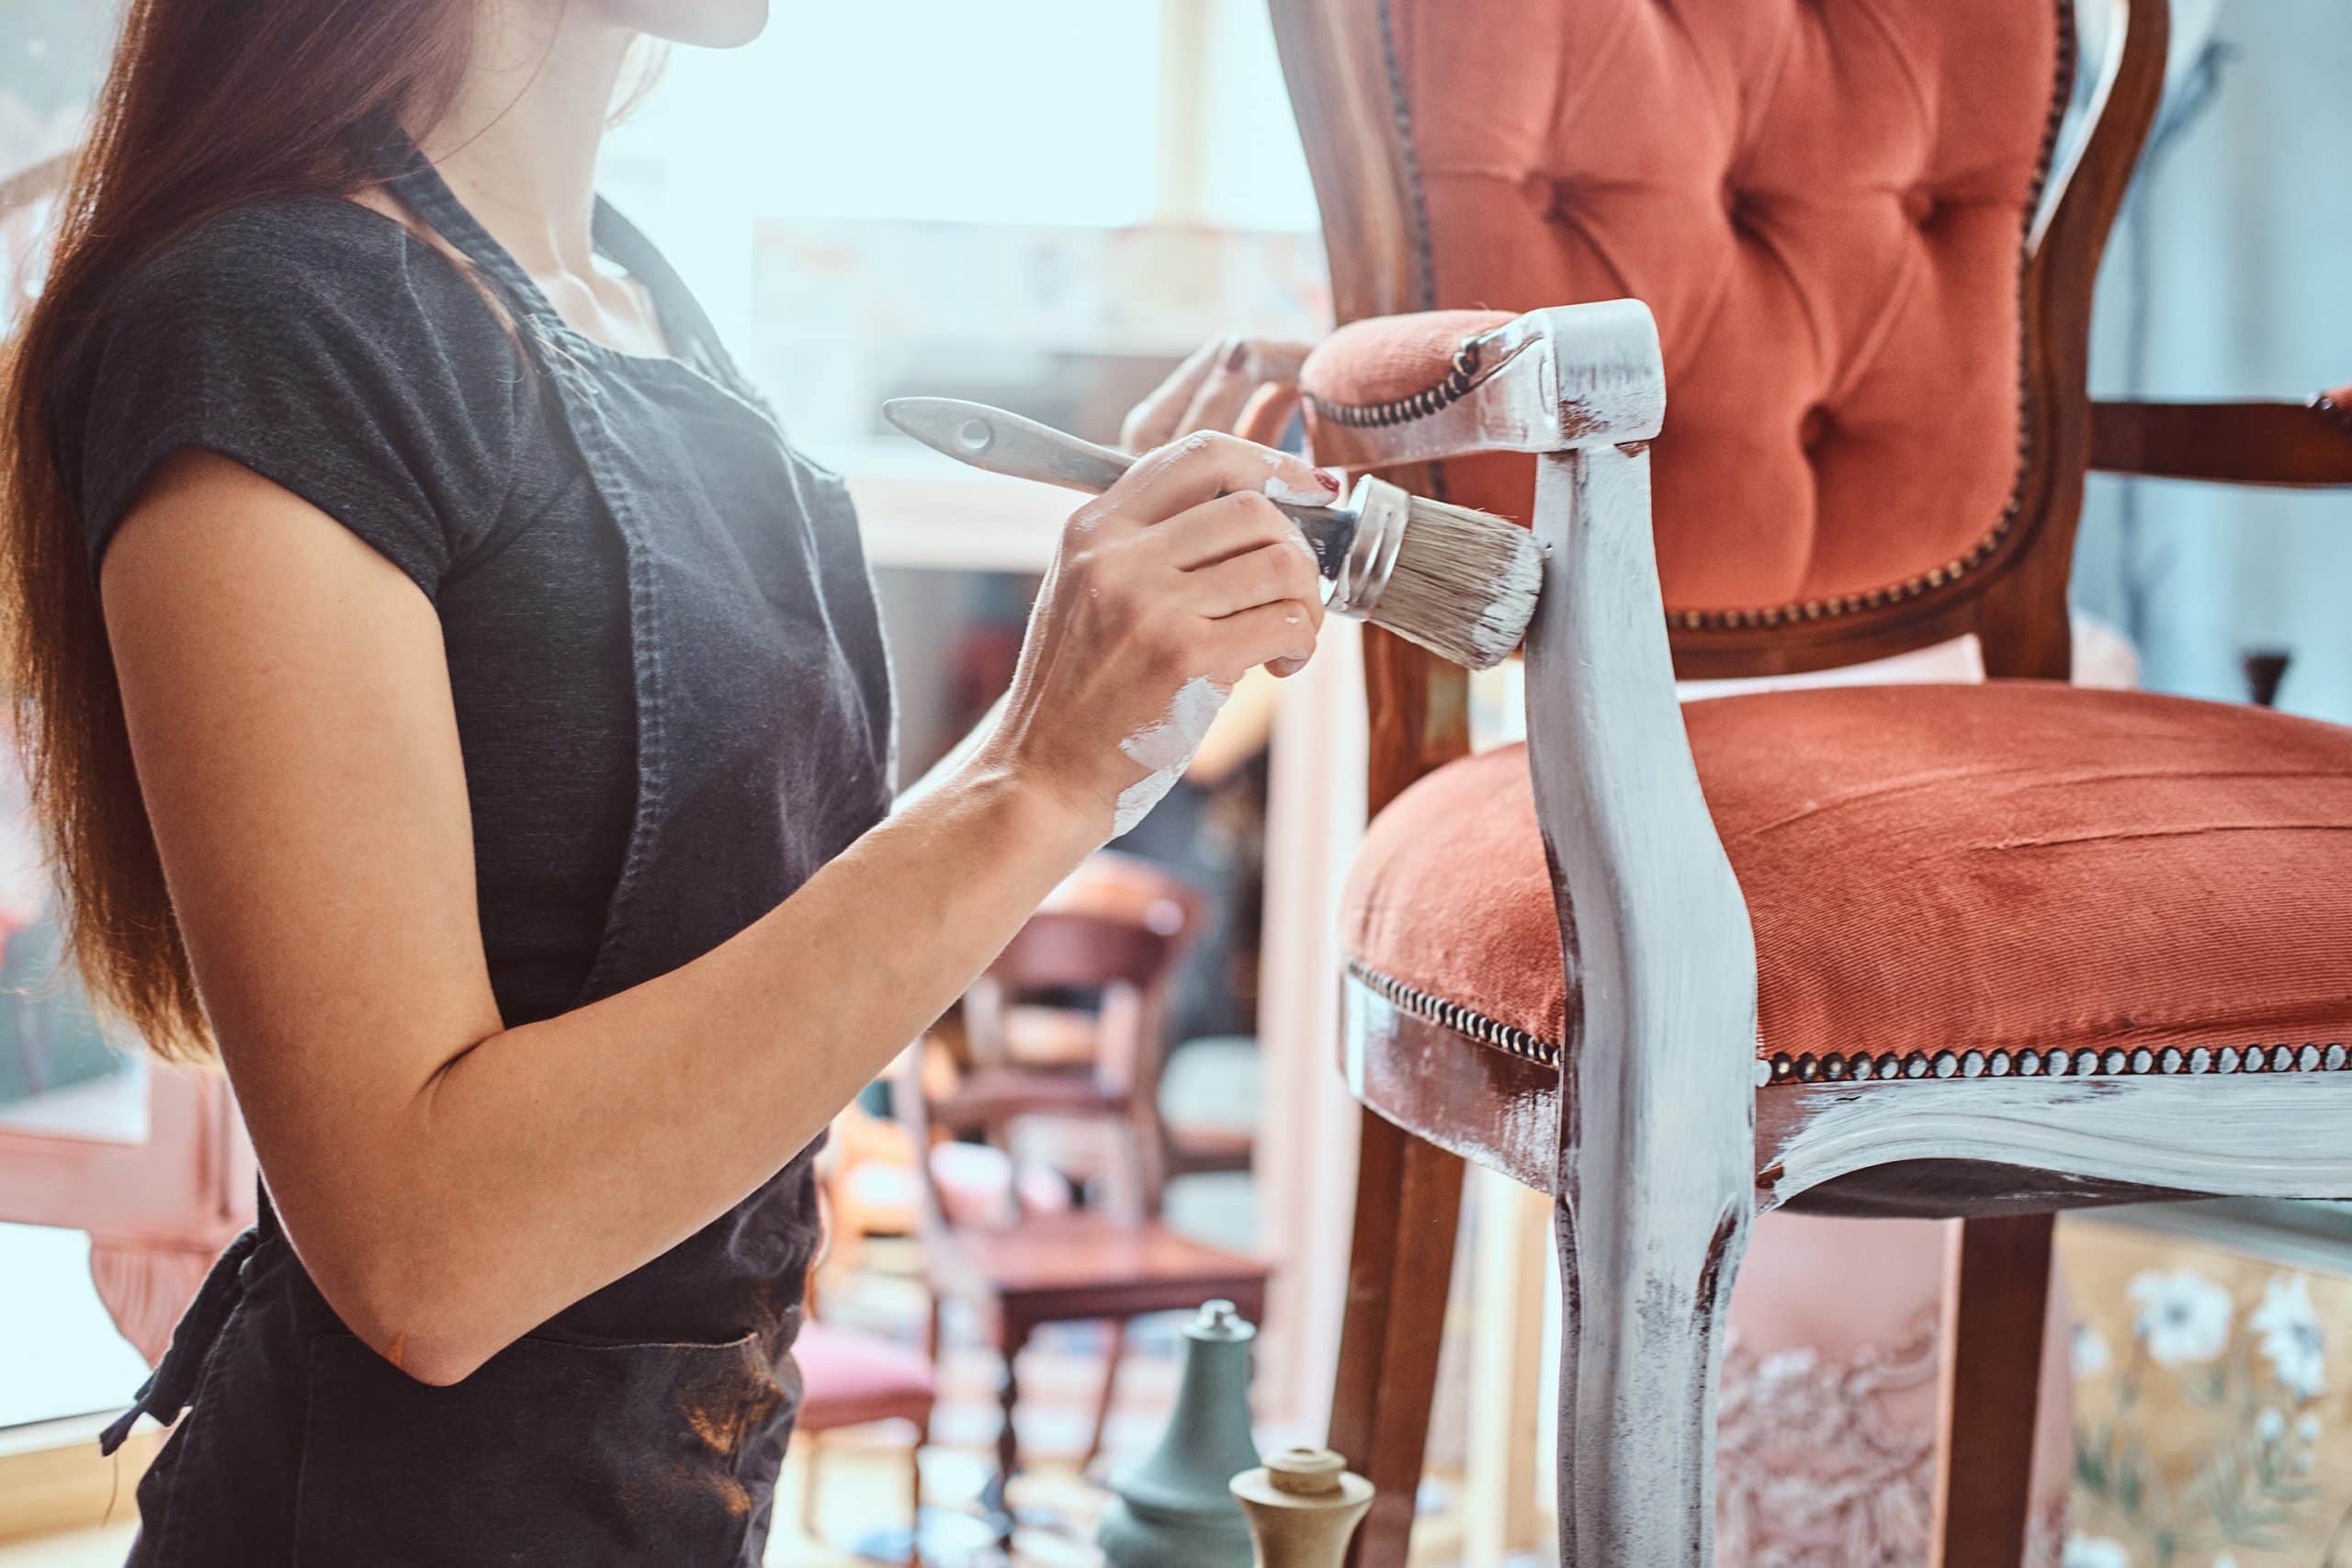
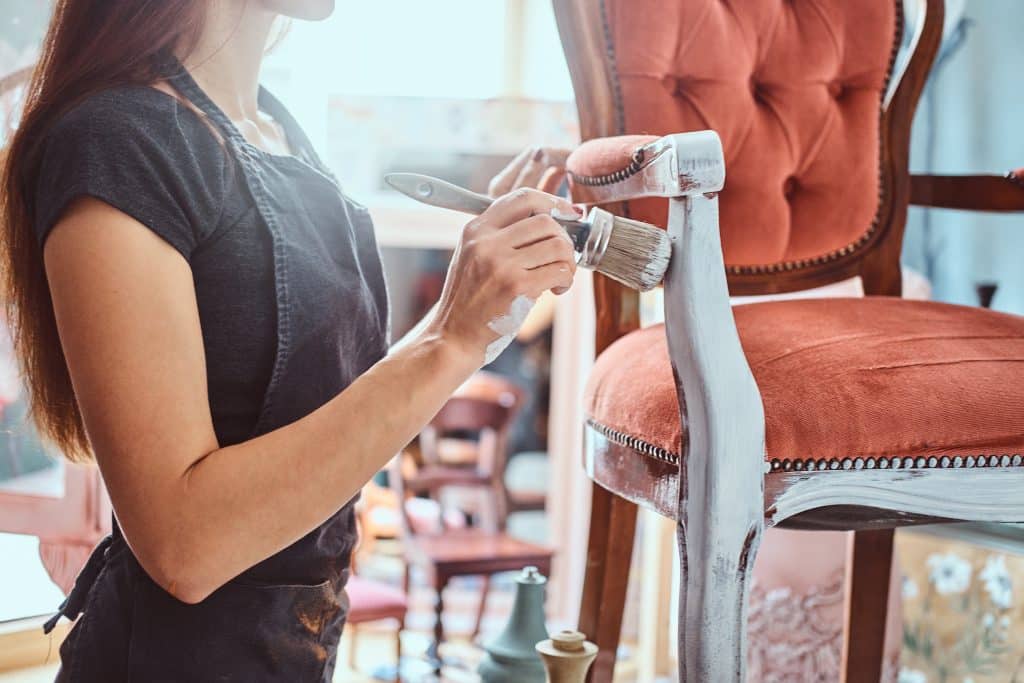 Transforming old furniture into stunning, functional pieces is achievable with our 2026 guide to DIY furniture restoration, offering four easy steps to revitalize your home decor affordably and sustainably.
Are you looking to refresh your living space without breaking the bank? DIY furniture restoration is a rewarding and cost-effective way to breathe new life into forgotten pieces.
This comprehensive guide will walk you through the essential steps and modern techniques to transform your old furniture, making it a centerpiece in your home for 2026 and beyond.
Understanding the Potential: Why Restore?
Furniture restoration isn’t just about saving money; it’s about sustainability, creativity, and preserving history. Many older pieces are crafted from high-quality, durable materials that are often superior to modern mass-produced items.
By restoring them, you contribute to a circular economy, reducing waste and giving these items a second, sometimes even more beautiful, life.
Beyond the environmental benefits, there’s immense personal satisfaction in transforming something worn into something wonderful.
Each project becomes a unique expression of your style, adding character and a personal touch that store-bought furniture simply cannot replicate. This section explores the inherent value in choosing restoration over replacement.
The Appeal of Vintage and Antique Pieces
Vintage and antique furniture often possess a charm and craftsmanship that modern items lack. Their unique designs and robust construction make them ideal candidates for restoration. You might find hidden gems at:
Thrift stores and consignment shops
Estate sales and auctions
Online marketplaces and local classifieds
Family attics and basements
These pieces tell a story, and with a bit of care, you can help them continue their narrative in your home. Restoring them also means you’re less likely to have the same furniture as your neighbors, fostering a truly individual aesthetic.
Choosing to restore rather than buy new also allows for a greater degree of customization. You can select the exact color, finish, and hardware that perfectly match your existing decor or inspire a completely new design scheme. This level of personalization is a significant draw for many DIY enthusiasts, enabling them to create truly bespoke items.
In essence, understanding the potential of old furniture means recognizing its inherent quality, its environmental advantage, and its capacity for unique personalization. It’s an investment in both your home and the planet, offering endless creative opportunities.
Step 1: Assessment and Preparation – Laying the Foundation
Before diving into sanding and painting, a thorough assessment and meticulous preparation are crucial. This initial phase dictates the success of your entire DIY furniture restoration project. Skipping steps here can lead to frustrating setbacks and a less-than-perfect finish.
Carefully examine your furniture for structural integrity, existing finishes, and any damage that needs addressing. This systematic approach ensures you have all the necessary tools and materials on hand, streamlining the restoration process significantly.
Initial Inspection and Damage Control
Start by cleaning the piece thoroughly to get a clear view of its condition. Use a mild detergent and water, then dry completely. Look for loose joints, missing parts, cracks, or deep scratches. These issues need to be stabilized and repaired before any cosmetic work begins.
Tighten screws and re-glue loose joints.
Fill small cracks and holes with wood filler.
Replace missing hardware or source suitable alternatives.
Address any pest damage or mold growth immediately.
Ensuring structural soundness is paramount. A wobbly chair or a drawer that sticks will detract from the beauty of your finished piece, no matter how perfect the paint job.
Once structural issues are resolved, turn your attention to the existing finish. Is it peeling, chipped, or simply faded? The condition of the old finish will determine the best removal or preparation method. Some pieces might only need a light scuff-sanding, while others will require complete stripping.
This preparatory stage, though sometimes tedious, is an investment in the longevity and aesthetic appeal of your restored furniture. A solid foundation is the key to a professional-looking result that will stand the test of time.
Step 2: Stripping and Sanding – Revealing the True Beauty
Once your furniture is structurally sound, it’s time to remove the old finish and prepare the surface for its new look. This step is often the most labor-intensive but yields the most dramatic results, revealing the natural beauty of the wood beneath years of wear and tear. Proper stripping and sanding are essential for a smooth, durable new finish.
There there are various methods for stripping, ranging from chemical strippers to heat guns, each with its own advantages and safety considerations. Choosing the right approach depends on the type of finish, the wood, and your comfort level with different tools.
Effective Stripping Techniques
Chemical strippers are effective for removing multiple layers of paint or varnish. Always work in a well-ventilated area and wear appropriate personal protective equipment (PPE), including gloves and eye protection. Apply the stripper evenly, allow it to work as directed, and then scrape off the softened finish with a plastic scraper to avoid damaging the wood.
Always read and follow product instructions carefully.
Use a natural bristle brush for intricate carvings.
Clean off all stripper residue with mineral spirits or water, as recommended.
For pieces with a thin or easily removed finish, or if you prefer a more eco-friendly approach, sanding alone might suffice. However, for heavily coated items, stripping first will save you a lot of time and effort during the sanding phase.
The Art of Sanding
Sanding is where the magic truly happens, creating a smooth, even surface ready for finishing. Start with a coarser grit sandpaper (e.g., 80-100 grit) to remove any remaining finish or imperfections, then progressively move to finer grits (e.g., 120-150, then 180-220 grit) for a silky-smooth feel. Always sand with the grain of the wood to prevent scratches.
For flat surfaces, an orbital sander can significantly speed up the process. For curved or detailed areas, hand-sanding is often necessary. After each sanding stage, wipe down the piece with a tack cloth to remove all dust, as dust can compromise the adhesion of your new finish.
The goal of this step is to achieve a pristine surface that will beautifully absorb or display your chosen finish. Patience and attention to detail during stripping and sanding will pay off immensely in the final appearance of your restored furniture.
Step 3: Finishing Touches – Staining, Painting, or Sealing
With the surface perfectly prepared, you’re ready for the exciting part: applying the new finish. This is where your creative vision truly comes to life, whether you opt for a rich stain to highlight natural wood, a vibrant paint color for a modern look, or a protective seal to preserve its original character. The choice of finish dramatically impacts the final aesthetic and durability of your piece.
Consider the intended use of the furniture and the overall style of your room when making your selection. A dining table will require a more robust, water-resistant finish than a decorative side table, for example.
Choosing Your Finish: Stain, Paint, or Sealant?
Staining: If you love the natural grain of the wood, a stain is an excellent choice. Stains penetrate the wood fibers, enhancing their color and bringing out the natural patterns. Apply stain evenly with a cloth or brush, wiping off excess before it dries to avoid blotchiness. Always test the stain on an inconspicuous area first to ensure you like the color.
Painting: Paint offers endless possibilities for color and style, allowing you to completely transform a piece. For best results, apply a high-quality primer first, especially if you’re painting over a dark stain or a challenging surface. Use thin, even coats of paint, allowing each coat to dry completely before applying the next. Consider chalk paint for a distressed, matte look, or a durable enamel for high-traffic items.
Applying Protective Topcoats
Regardless of whether you stain or paint, a protective topcoat is essential for durability and longevity. Polyurethane, lacquer, and wax are common choices, each offering different levels of protection and finishes.
Polyurethane: Provides a very durable, water-resistant finish, available in satin, semi-gloss, and high-gloss.
Lacquer: Dries quickly to a hard, durable finish, often favored for a professional look.
Wax: Offers a softer, natural finish, ideal for chalk paint or for enhancing the natural sheen of wood. It requires reapplication over time.
Apply topcoats in thin, even layers, following the manufacturer’s instructions. Lightly sand between coats with very fine-grit sandpaper (e.g., 400 grit) for an exceptionally smooth finish, wiping away dust before the next layer. This meticulous application ensures your restored piece will not only look fantastic but also withstand daily use for years to come.
Step 4: Hardware and Embellishments – The Finishing Touch
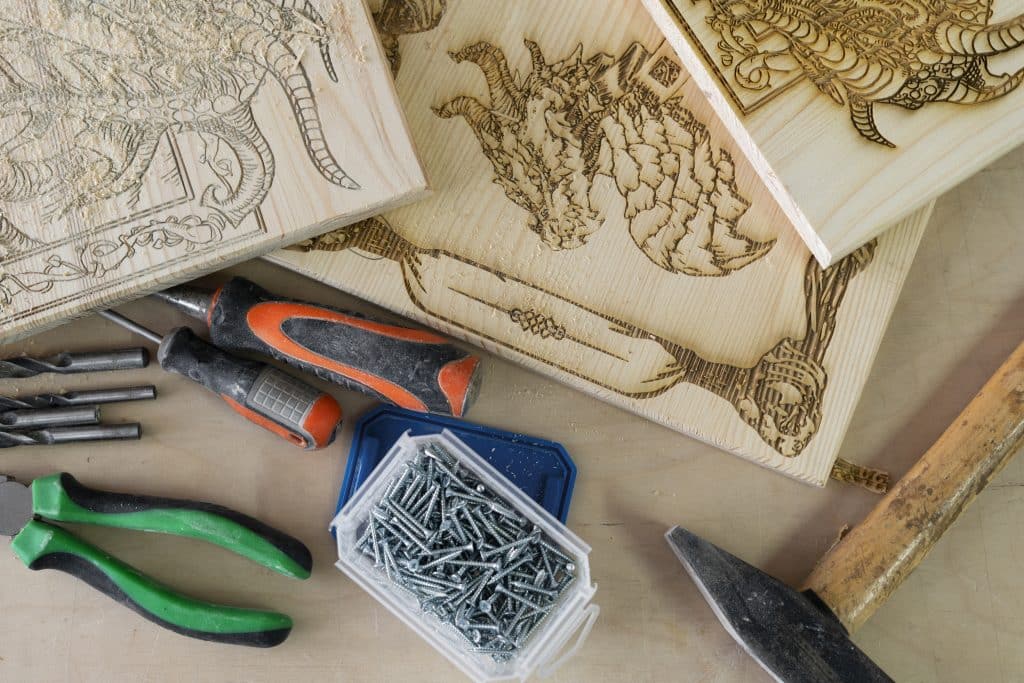
The final step in your DIY furniture restoration journey involves adding hardware and any desired embellishments. These seemingly small details can have a profound impact on the overall look and feel of your piece, elevating it from a simple restoration to a truly custom creation. Think of hardware as the jewelry for your furniture.
Choosing the right knobs, pulls, hinges, or even decorative appliques can tie your restored piece into your existing decor or introduce a completely new aesthetic. This stage allows for significant personalization and creative expression.
Selecting and Installing Hardware
Consider the style of your furniture and the desired aesthetic. For a vintage look, antique brass or ceramic knobs might be perfect. For a modern update, sleek brushed nickel or minimalist leather pulls could be ideal. Don’t be afraid to mix and match styles for an eclectic feel.
Measure existing holes carefully if you’re replacing hardware.
If drilling new holes, measure twice and drill once to ensure perfect alignment.
Explore different materials: metal, wood, ceramic, glass, or even reclaimed items.
New hardware can instantly update an old dresser or cabinet. Sometimes, simply cleaning and polishing existing hardware can make a significant difference, especially if it’s made from quality materials like solid brass.
Adding Decorative Embellishments
Beyond hardware, consider other embellishments to enhance your furniture’s character. Decoupage, stenciling, or even adding decorative trim can transform a plain piece into a work of art. These techniques allow you to inject personality and unique design elements.
For instance, you could use a stencil to add a subtle pattern to a tabletop or drawer fronts. Decoupage with interesting paper or fabric can create a completely unique surface. Even a simple decorative molding can add architectural interest to a flat panel.
Remember that less is often more. Choose one or two focal points for embellishment to avoid overwhelming the piece. The goal is to enhance, not detract from, the beauty of your newly restored furniture. This final step is where your piece truly becomes your own, reflecting your taste and craftsmanship.
Modern Techniques and Tools for 2026
The world of DIY furniture restoration is constantly evolving, with new techniques and tools emerging to make the process more efficient, eco-friendly, and accessible. Staying updated on these innovations can significantly enhance your restoration projects, offering better results with less effort. For 2026, several trends and technologies are making waves.
From advanced cordless power tools to innovative finishing products, these modern aids can help both beginners and seasoned restorers achieve professional-quality outcomes. Embracing these advancements can streamline your workflow and open up new creative possibilities.
Cordless Power Tools and Ergonomic Designs
The latest generation of cordless sanders, drills, and even small rotary tools offers unparalleled freedom and convenience. Improved battery life and ergonomic designs reduce fatigue, allowing for longer, more comfortable work sessions. Look for tools with variable speed settings for greater control over delicate tasks.
Orbital Sanders: Essential for large, flat surfaces, now lighter and more powerful.
Detail Sanders: Perfect for intricate areas and corners where larger sanders can’t reach.
Heat Guns: A safer alternative to chemical strippers for certain finishes, especially effective on thick paint layers.
Investing in quality cordless tools can dramatically cut down on restoration time and improve the quality of your finish. Their portability also means you can work in various locations without being tethered to an outlet.
Eco-Friendly and Advanced Finishes
Environmental consciousness is driving innovation in finishing products. Water-based paints and stains now offer excellent durability and a wider color palette, with significantly lower VOCs (Volatile Organic Compounds) compared to traditional oil-based options. This makes them safer for both you and the environment, particularly when working indoors.
Self-leveling topcoats and quick-drying formulas are also becoming more prevalent, reducing the waiting time between coats and ensuring a smoother finish with fewer brush marks. Additionally, specialized primers designed for difficult surfaces, like laminate or metal, mean fewer limitations on what you can restore.
Exploring these modern techniques and tools not only makes your DIY furniture restoration projects more enjoyable but also helps you achieve superior, long-lasting results that align with contemporary standards of craftsmanship and sustainability.
Troubleshooting Common Restoration Challenges
Even with careful planning and execution, DIY furniture restoration can present unexpected challenges. Knowing how to troubleshoot common issues can save you time, frustration, and potentially salvage a project that seems to be going awry. Anticipating these hurdles allows you to approach them with confidence and effective solutions.
From stubborn finishes to uneven paint applications, many problems have straightforward fixes. The key is to identify the issue early and apply the correct remedial action, preventing minor setbacks from becoming major obstacles.
Dealing with Stubborn Finishes and Imperfections
Sometimes, an old finish just won’t budge. If chemical strippers aren’t working effectively, you might need to try a stronger formulation or combine it with a heat gun, always exercising extreme caution. For deep scratches or gouges that wood filler can’t fully obscure, consider using wood epoxy for a more durable repair, then sand flush.
Bleed-through: If old stains or knots show through your paint, apply a shellac-based primer.
Uneven sanding: Go back to a slightly coarser grit and re-sand the uneven areas, then progress through finer grits.
Warped wood: For minor warping, try clamping the wood and applying moisture, but severe warping may require professional help or replacement.
Patience is crucial when dealing with persistent issues. Rushing a repair often leads to a less satisfactory result that might need to be redone later.
Fixing Paint and Topcoat Problems
Paint and topcoat issues are common but usually fixable. If you notice brush strokes or roller marks, you likely applied the coat too thickly or didn’t allow enough drying time between coats. Lightly sand the affected area with fine-grit sandpaper, clean the dust, and reapply a thinner coat.
Bubbles in your finish can be caused by applying in humid conditions, shaking the can too vigorously, or applying too thickly. Sand down the bubbles and reapply. If your finish feels tacky after drying, it might be due to improper mixing, high humidity, or applying too many thick coats too quickly. Allow more drying time, or in severe cases, remove the tacky layer and reapply.
Understanding these common restoration challenges and their solutions empowers you to tackle your projects with greater confidence, ensuring a beautiful and professional outcome for your revitalized furniture.
Maintaining Your Restored Treasures
After all the effort you’ve put into your DIY furniture restoration project, proper maintenance is key to preserving its beauty and extending its lifespan. A well-maintained piece will continue to be a source of pride and functionality for many years, resisting the wear and tear of daily life. This final stage ensures your hard work pays off in the long run.
Different finishes require different care routines, so understanding the specific needs of your restored furniture is essential. Simple, consistent care can prevent many common issues and keep your pieces looking their best.
Daily Care and Cleaning
For most restored furniture, a gentle approach to cleaning is best. Dust regularly with a soft, dry cloth to prevent abrasive particles from scratching the surface. For spills, wipe them up immediately with a slightly damp cloth, then dry the area thoroughly.
Avoid harsh chemical cleaners, which can strip finishes or cause discoloration.
Use coasters under drinks and placemats under dishes to prevent rings and heat damage.
Keep furniture out of direct sunlight to prevent fading and drying of the wood.
For pieces with a wax finish, reapply wax periodically (e.g., every 6-12 months) to maintain its protective layer and sheen. For polyurethane or lacquer finishes, a simple wipe-down is usually sufficient.
Addressing Wear and Tear Over Time
Even with the best care, furniture will experience some wear and tear. Small scratches can often be buffed out with furniture polish or a touch-up pen matching the finish. For deeper scratches in stained wood, you might need to gently sand the area and reapply stain and topcoat.
Loose joints can be re-glued, and hardware can be tightened or replaced as needed. Regularly inspect your restored pieces for any signs of damage or loosening components, addressing them promptly to prevent further deterioration. This proactive approach to maintenance ensures your furniture remains sturdy and attractive.
By implementing a consistent care routine and addressing minor issues as they arise, you can ensure your beautifully restored furniture continues to enhance your home for decades. Maintaining your treasures is a small effort that yields significant rewards in preserving their aesthetic appeal and functional integrity.
The Environmental and Economic Impact of Restoration
Beyond personal satisfaction, DIY furniture restoration carries significant environmental and economic benefits. In a world increasingly focused on sustainability, choosing to restore rather than replace aligns perfectly with eco-conscious living. This practice reduces waste, conserves resources, and offers substantial financial advantages.
Understanding these broader impacts adds another layer of value to every restoration project, making it not just a hobby, but a meaningful contribution to a more sustainable lifestyle and a smarter economic choice for your household.
Reducing Waste and Conserving Resources
Every piece of furniture you restore is one less item destined for a landfill. The production of new furniture consumes vast amounts of raw materials, energy, and generates pollution. By giving an old piece new life, you directly reduce this environmental burden.
Decreased landfill waste: Prevents usable items from being discarded.
Lower demand for new resources: Reduces logging, mining, and manufacturing impacts.
Reduced carbon footprint: Less energy is expended in transportation and production.
Many older furniture pieces are made from solid wood, a durable and renewable resource when managed properly. Restoring these items honors their original craftsmanship and extends the lifecycle of valuable materials, promoting a truly circular economy.
Economic Benefits for Your Household
The economic advantages of DIY furniture restoration are often immediate and tangible. Buying a new, high-quality piece of furniture can be expensive. Restoring a used item, even with the cost of materials, is typically far more affordable, allowing you to achieve a high-end look on a budget.
Furthermore, a well-restored piece can significantly increase in value, especially if it’s an antique or a unique design. This makes restoration not just a money-saving venture but potentially a profitable one. You can also customize pieces to perfectly fit your home’s aesthetic without paying custom furniture prices.
The skills learned through DIY furniture restoration are also valuable, empowering you to undertake other home improvement projects and potentially even create items for sale. This blend of environmental responsibility and financial prudence makes furniture restoration a truly smart choice for any homeowner in 2026.
The Future of DIY Furniture Restoration in 2026
As we look towards 2026, the landscape of DIY furniture restoration continues to evolve, driven by technological advancements, growing environmental awareness, and a persistent desire for unique, personalized home decor.
The future holds exciting possibilities for enthusiasts and newcomers alike, making restoration more accessible and innovative than ever before.
Emerging trends suggest a greater integration of smart tools, sustainable materials, and community-driven knowledge sharing. These developments are set to transform how we approach giving old pieces new life, pushing the boundaries of creativity and efficiency.
Technological Integration and Smart Tools
Expect to see more smart tools that assist in restoration, such as handheld scanners that analyze wood type and recommend optimal finishes, or augmented reality apps that allow you to visualize different paint colors and textures on your furniture before you even pick up a brush.
Cordless tools will continue to improve, offering longer battery life, lighter designs, and more precise control for intricate tasks.
AI-powered tutorials: Personalized guidance based on your project and skill level.
Advanced material composites: New fillers and repair compounds that are stronger and easier to work with.
3D printing for missing parts: Custom-made replacement hardware or decorative elements.
These technological aids will democratize restoration, lowering the barrier to entry for beginners and enabling experienced restorers to achieve even more complex and refined results.
Sustainability and Community Focus
The emphasis on sustainability will only grow, with a greater demand for truly eco-friendly stripping agents, low-VOC paints, and recycled or upcycled materials for embellishments. Community workshops and online forums will become even more vital hubs for sharing knowledge, techniques, and resources, fostering a collaborative spirit among restorers.
We will likely see a rise in modular furniture designs that are easier to disassemble, repair, and refinish, extending their lifespan even further. The aesthetic appeal of ‘perfectly imperfect’ finishes will also gain traction, celebrating the character and history of restored pieces rather than striving for factory-new flawlessness.
In 2026, DIY furniture restoration will be more than just a hobby; it will be a dynamic movement, blending tradition with innovation, driven by a passion for creativity, sustainability, and the enduring beauty of handcrafted items. It’s an exciting time to be part of the restoration community.
| Key Step | Brief Description |
|---|---|
| Assessment & Prep | Thoroughly inspect and repair structural issues before any cosmetic work begins. |
| Stripping & Sanding | Remove old finishes and smooth surfaces for optimal new finish adhesion. |
| Finishing Touches | Apply chosen stain, paint, or sealant, followed by a durable protective topcoat. |
| Hardware & Embellish | Install new hardware and add decorative elements for a personalized aesthetic. |
Frequently Asked Questions About Furniture Restoration
The most important first step is a thorough assessment and preparation. This includes cleaning, inspecting for structural damage, making repairs like tightening joints, and deciding on the best method for removing the old finish. Proper preparation ensures a solid foundation for all subsequent steps.
Choosing the right finish depends on the furniture’s intended use and desired aesthetic. Stains highlight wood grain, while paints offer color versatility. Consider durability needs: polyurethane for high-traffic items, wax for a natural look. Always test finishes on a hidden area first.
Eco-friendly products, such as water-based paints and low-VOC strippers, reduce exposure to harmful chemicals, making the restoration process safer for you and the environment. They also contribute to better indoor air quality and support sustainable practices in home improvement.
Absolutely! DIY furniture restoration is very beginner-friendly. Start with a simple piece, like a small table or chair. Focus on understanding each step, gather the right tools, and don’t be afraid to make mistakes. Online tutorials and community resources are invaluable for learning.
To prevent brush strokes, apply thin, even coats and use a high-quality brush. For bubbles, avoid shaking paint cans vigorously, apply in moderate humidity, and ensure thin layers. Lightly sanding between coats with fine-grit paper also helps achieve a smoother, professional-looking finish.
Conclusion
Embracing DIY furniture restoration is more than just a home improvement project; it’s a journey into sustainability, creativity, and economic savvy. By following these four essential steps—assessment and preparation, stripping and sanding, applying the new finish, and adding final embellishments—you can transform any old piece into a cherished treasure.
The satisfaction of giving furniture a second life, coupled with the environmental and financial benefits, makes this endeavor incredibly rewarding. As we move into 2026, with new tools and techniques making the process even more accessible, there’s never been a better time to pick up your tools and start restoring.