DIY Reclaimed Wood Coffee Table: Rustic Charm for Your Home
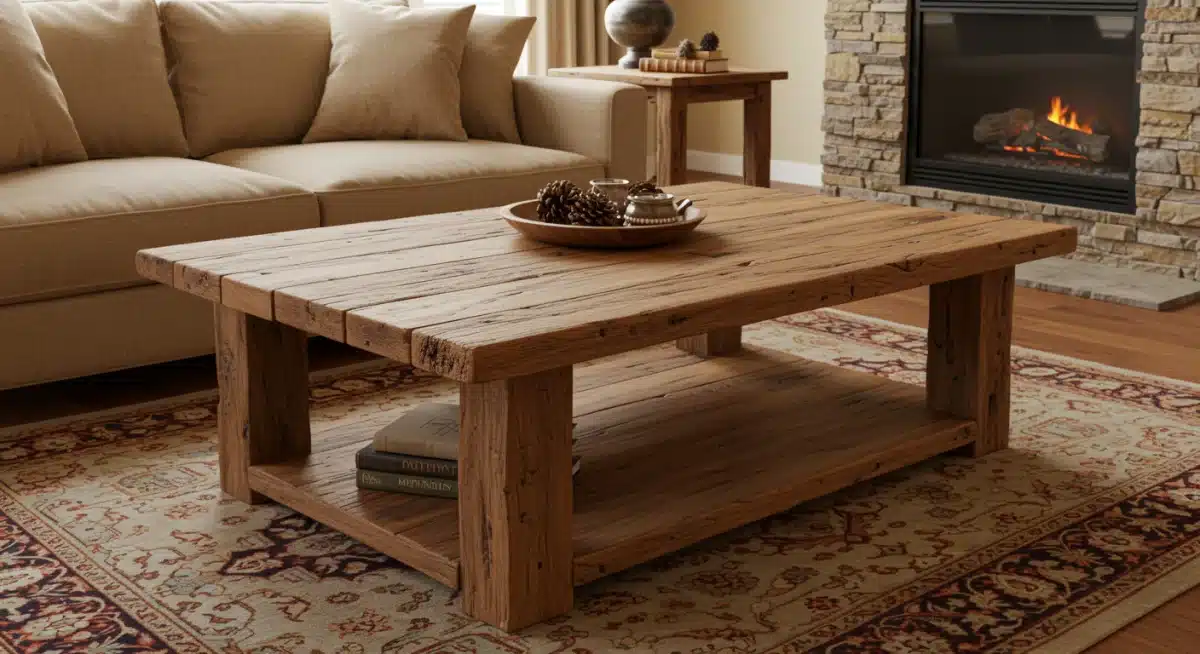
 Are you looking to add a touch of unique character and sustainable style to your home? Learning to build a coffee table: DIY project with reclaimed wood for a rustic look is not just about creating furniture; it’s about crafting a story and embracing the beauty of imperfection.
This guide will walk you through every step, transforming forgotten timber into a centerpiece that speaks volumes about your personal style and commitment to eco-conscious living.
The allure of reclaimed wood: more than just timber
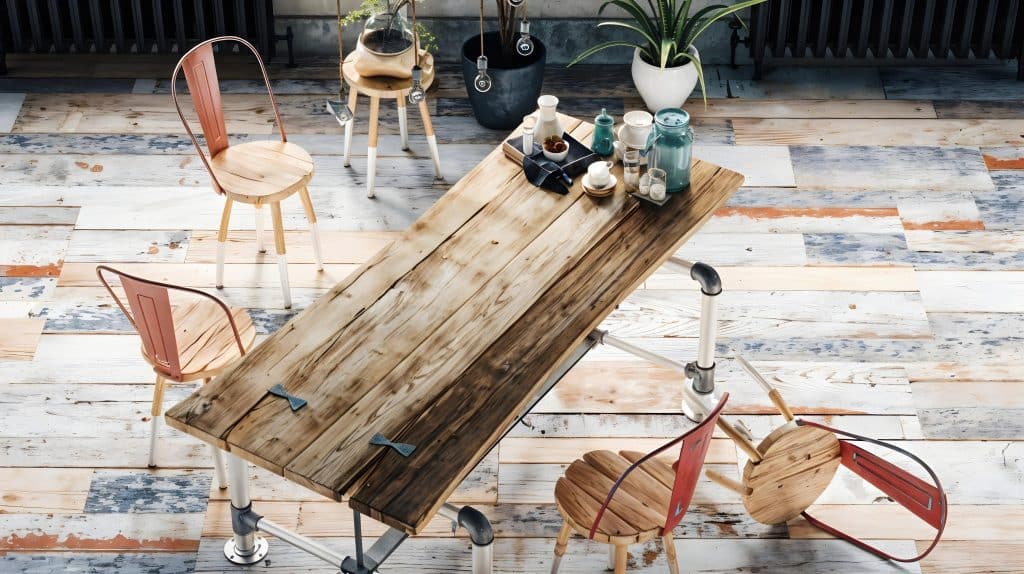
Reclaimed wood carries a history, a narrative etched into its grain that new lumber simply cannot replicate.
Choosing reclaimed wood for your coffee table project is a decision that impacts not only the aesthetic but also the environmental footprint of your furniture. It’s a choice that reflects a desire for authenticity and sustainability in an increasingly mass-produced world.
The beauty of reclaimed wood lies in its imperfections: nail holes, saw marks, and natural weathering patterns tell a story of its previous life.
These unique characteristics ensure that no two reclaimed wood coffee tables are ever exactly alike, making your DIY creation truly one-of-a-kind. Beyond its visual charm, reclaimed wood is often denser and more durable than new wood, having already withstood the test of time and environmental exposure.
Understanding reclaimed wood sources
Knowing where your reclaimed wood comes from is part of the story. Different sources offer varying types of wood and unique characteristics. Identifying the origin can also help you anticipate potential challenges like embedded metal or uneven surfaces.
Barns and old structures: Often yield hardwoods like oak, maple, and chestnut, known for their strength and rich patinas.
Deconstructed factories: Can provide large timbers and industrial-grade wood, perfect for robust designs.
Pallets and shipping crates: A readily available and cost-effective source, though often softer woods and may require more intensive preparation.
Old flooring and decking: Offers thinner planks, ideal for tabletops or decorative elements, frequently made from oak or pine.
Each source brings its own set of challenges and rewards. Sourcing from local demolition sites or specialized reclaimed wood suppliers can be an adventure, uncovering hidden gems that will define the character of your coffee table.
Always prioritize safety and ensure the wood is free from harmful chemicals or pests before bringing it into your home.
Planning your rustic coffee table design
Before you even pick up a tool, meticulous planning is crucial for a successful reclaimed wood coffee table project.
This phase involves envisioning your table, determining its dimensions, and considering the overall aesthetic you want to achieve. A well-thought-out plan saves time, prevents frustration, and ensures your finished piece perfectly complements your living space.
Consider the room where the coffee table will reside. What are the existing furniture styles and colors? How much space do you have available? These questions will guide your design choices, from the table’s overall size to the specific type of reclaimed wood you select.
Sketching out a few designs can help you visualize the final product and make necessary adjustments before cutting any wood.
Conceptualizing your table’s form and function
A coffee table is more than just a surface; it’s a functional piece of furniture that often serves as a focal point in a living room.
Think about how you intend to use it. Do you need storage? Will it hold drinks, books, or decorative items? These functional requirements will influence your design decisions.
Size and proportion: Ensure the table is proportional to your sofa and the room’s layout, typically 2/3 the length of your sofa.
Height: Aim for a height similar to or slightly lower than your sofa cushions for comfortable use.
Storage solutions: Integrate shelves, drawers, or cubbies for practical storage.
Leg design: Decide between solid wood legs, metal accents, or even casters for mobility.
The form should follow the function, but with reclaimed wood, there’s ample opportunity to infuse character.
Rough-hewn edges, a live-edge slab, or a patchwork top made from various wood pieces can all contribute to the rustic appeal. Don’t be afraid to experiment with different design elements to create a truly unique piece.
Gathering tools and materials: essential for success
Having the right tools and materials is paramount for any DIY project, especially when working with reclaimed wood.
This type of wood can be unpredictable, often requiring more robust tools and careful handling. A well-stocked workshop, or at least a thoughtfully curated collection of tools, will make the process smoother and safer.
Beyond the fundamental woodworking tools, consider specialized items that might be beneficial for working with aged and potentially irregular timber. Safety gear is non-negotiable; always protect your eyes, ears, and hands. Investing in quality tools not only ensures better results but also minimizes the risk of accidents during the build. Remember, patience and proper preparation are your best allies.
Key tools for reclaimed wood projects
Working with reclaimed wood often demands a slightly different approach than working with new lumber. The presence of hidden nails, uneven surfaces, and brittle spots requires specific tools and techniques.
Metal detector: Essential for finding hidden nails or screws in reclaimed wood, preventing damage to saw blades.
Wire brush: For thoroughly cleaning dirt, debris, and loose fibers from the wood surface.
Random orbital sander: To smooth surfaces while preserving some of the wood’s natural character.
Circular saw or miter saw: For precise cuts, especially when squaring up irregular pieces.
Drill/driver: For pre-drilling and fastening components securely.
Wood glue and clamps: For strong, lasting joints.
Personal protective equipment: Safety glasses, hearing protection, and gloves are critical.
Ensure your blades are sharp and suitable for cutting through potentially tough or dirty wood. Having a sturdy workbench and proper lighting will also contribute significantly to a more efficient and enjoyable building experience.
Don’t underestimate the importance of a reliable measuring tape and a good square for accurate cuts and assembly.
Preparing your reclaimed wood: cleaning and milling
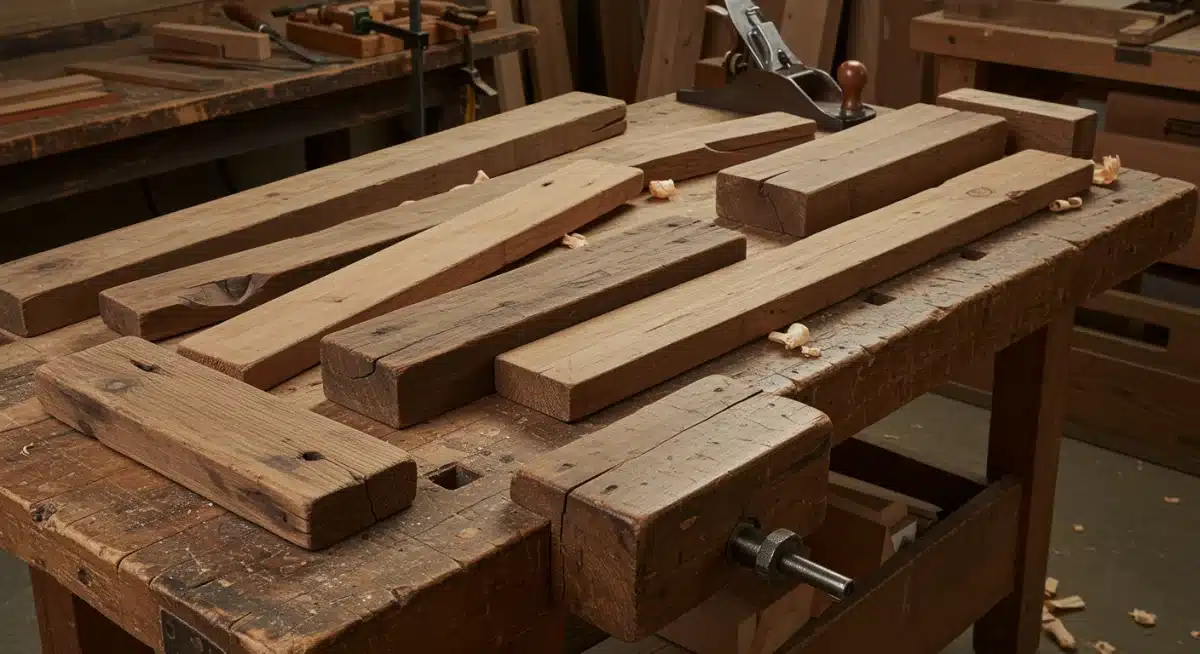
The preparation phase is arguably the most critical step when working with reclaimed wood. It’s where you transform rough, weathered timber into usable material while preserving its unique character.
This involves thorough cleaning, careful inspection, and sometimes milling to achieve the desired dimensions and flatness. Rushing this stage can lead to frustration and a less-than-perfect final product.
Start by removing all loose dirt, debris, and any lingering insects. A stiff brush, compressed air, and even a power washer (followed by thorough drying) can be useful here. After cleaning, carefully inspect each piece of wood for structural integrity, rot, or excessive damage. Remember, maintaining some of the wood’s original texture and imperfections is key to achieving that rustic look, so don’t over-process it.
Steps for effective wood preparation
Proper preparation ensures your reclaimed wood is safe to work with and structurally sound for your coffee table. It’s a methodical process that requires attention to detail.
Cleaning: Use a wire brush to remove loose dirt and grime. A power washer can be effective for heavily soiled pieces, but allow ample drying time.
Metal detection and removal: Use a metal detector to locate any hidden nails, screws, or other metal objects. Remove them carefully to protect your tools.
Pest inspection: Check for signs of insect infestation. If present, consider treatment or discarding the affected wood to prevent spread.
Squaring and dimensioning: Use a jointer and planer if available to flatten and square edges, or rely on careful measuring and straight cuts with a circular saw. Aim for consistent thickness if joining multiple boards for a tabletop.
Sanding: Begin with a coarser grit (e.g., 80-100) to remove rough spots, then progress to finer grits (e.g., 150-220) for a smooth finish, without erasing all signs of the wood’s past.
Take your time with each step.
The goal is to make the wood workable and safe, not to make it look brand new. The slight variations in thickness and texture are part of the charm of a reclaimed wood coffee table.
Assembling your coffee table: joinery and structure
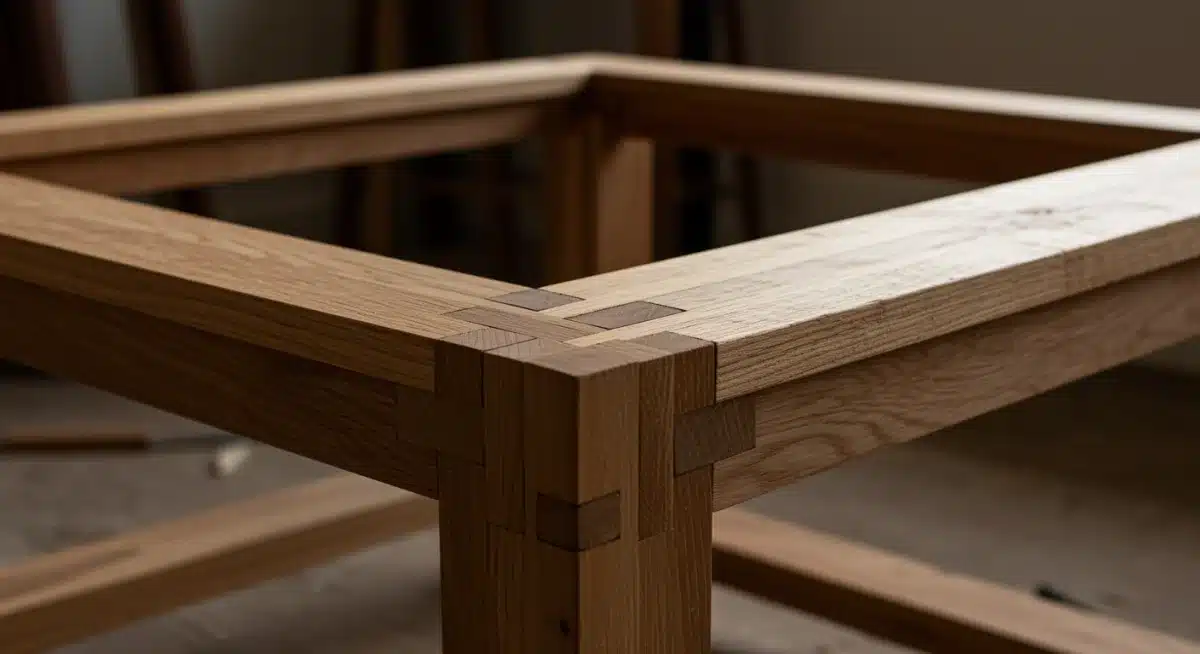
With your reclaimed wood meticulously prepared, the assembly phase brings your design to life. This stage focuses on creating strong, stable joints and constructing the overall structure of your coffee table.
The choice of joinery methods will significantly impact both the durability and the aesthetic of your rustic piece. Even for a rustic look, precision in assembly is important for structural integrity.
Before making any permanent connections, dry-fit all your components. This allows you to identify any misalignments or areas that need adjustment before applying glue or fasteners.
A sturdy, flat surface for assembly is essential, along with plenty of clamps to hold pieces securely while glue dries. Patience during this stage will pay dividends in the longevity and stability of your finished coffee table.
Building the frame and tabletop
The construction process typically involves building the base or legs first, followed by the tabletop. The method you choose for joining pieces will depend on your skill level and the tools available.
Leg and apron assembly: Use mortise and tenon joints for maximum strength, or simpler pocket hole joinery for ease of assembly. Ensure all legs are square and at the same height.
Tabletop construction: If using multiple planks for the top, use biscuits, dowels, or tongue-and-groove joints to connect them, reinforced with wood glue and clamps. Allow ample drying time.
Attaching the top: Secure the tabletop to the base using Z-clips, figure-8 fasteners, or cleats to allow for seasonal wood movement, preventing cracks or warping.
Reinforcement: Add corner blocks or stretchers if needed to enhance stability, particularly for larger tables.
Regularly check for squareness and levelness throughout the assembly process. Small adjustments made early on can prevent significant problems later.
Don’t be afraid to use a combination of fasteners, such as screws and glue, to ensure a robust structure that will stand the test of time, reflecting the enduring quality of reclaimed wood.
Finishing touches: enhancing the rustic appeal
Once your reclaimed wood coffee table is assembled, the finishing process is where you truly enhance its rustic charm and protect it for years to come.
The right finish can highlight the wood’s unique grain, deepen its color, and provide a durable barrier against spills and wear. This stage is about celebrating the wood’s natural beauty while ensuring its practicality.
Before applying any finish, a final sanding is crucial. Start with a fine-grit sandpaper (e.g., 220) to ensure a smooth, splinter-free surface, but be careful not to over-sand and remove the desirable distressed features.
Wipe down the table thoroughly to remove all dust before applying your chosen finish. Experiment with a scrap piece of the same wood to test different finishes and see how they interact with the unique characteristics of your reclaimed timber.
Choosing the right finish for a rustic look
The selection of a finish is critical for both aesthetics and protection. For a rustic look, you typically want a finish that enhances the wood’s natural appearance rather than masking it.
Oil finishes (e.g., Danish oil, tung oil, linseed oil): Penetrate the wood, providing a natural, matte look and enhancing the grain. Easy to apply and repair, but offer less protection against spills than film-forming finishes.
Wax finishes: Offer a soft, low-sheen look and a smooth feel. Provide minimal protection and require reapplication. Often used over oil finishes for added depth.
Polyurethane (oil-based or water-based): Creates a durable, protective film. Oil-based polyurethanes tend to impart an amber tone, enhancing warmth, while water-based versions dry clear. Available in various sheens from matte to glossy.
Stain: Can be used to even out color differences or to darken lighter woods, but choose transparent stains to allow the wood’s character to show through.
Consider the level of protection needed based on how the coffee table will be used. For a frequently used surface, a durable polyurethane might be more practical. For a more authentic, tactile feel, an oil or wax finish could be ideal. Apply finishes in thin, even coats, allowing adequate drying time between applications, and always follow the manufacturer’s instructions for best results.
Maintaining your reclaimed wood masterpiece
Congratulations, you’ve successfully built a stunning reclaimed wood coffee table! Now, to ensure your handcrafted piece retains its beauty and functionality for generations, proper maintenance is key.
Reclaimed wood, with its inherent durability, still benefits from regular care to protect its finish and preserve its unique character. A little attention goes a long way in safeguarding your investment of time and effort.
The specific maintenance routine will largely depend on the type of finish you applied. Generally, avoiding harsh chemicals, excessive moisture, and direct sunlight will help prolong the life of your table.
Educating yourself on the best practices for your chosen finish will empower you to keep your coffee table looking its best, making it a cherished heirloom rather than just another piece of furniture.
Tips for long-term care
Caring for your reclaimed wood coffee table isn’t complicated, but it does require consistency. Simple habits can prevent common issues and keep your table looking pristine.
Regular cleaning: Dust with a soft, dry cloth. For spills, wipe immediately with a damp cloth and mild soap, then dry thoroughly.
Avoid harsh chemicals: Do not use abrasive cleaners, silicone-based polishes, or multi-surface sprays, as these can damage the finish and dry out the wood.
Protect from moisture and heat: Use coasters for drinks and trivets for hot items to prevent rings and damage. Avoid placing the table near heat sources or in direct, prolonged sunlight.
Humidity control: Wood naturally expands and contracts with changes in humidity. Maintaining a stable indoor environment can minimize this movement and prevent cracking.
Re-finishing: Depending on the finish, periodic reapplication of oil or wax may be necessary to refresh its appearance and protection. For polyurethane, touch-ups can be done on scratches, or the entire surface can be lightly sanded and recoated if heavily worn.
By following these simple maintenance tips, your reclaimed wood coffee table will continue to be a beautiful and functional centerpiece in your home, proudly displaying its history and your craftsmanship for many years to come.
Embrace the natural aging process, as it only adds to the rustic charm and unique story of your handmade furniture.
| Key Project Phase | Brief Description |
|---|---|
| Wood Sourcing & Prep | Locate, clean, and mill reclaimed wood, ensuring all metal and debris are removed for safety and workability. |
| Design & Planning | Sketch desired dimensions, style, and functional needs, considering room aesthetics and wood characteristics. |
| Assembly & Joinery | Construct the table frame and top using strong joints, dry-fitting components before final fastening and gluing. |
| Finishing & Care | Apply a protective finish to enhance rustic appeal and ensure longevity, followed by regular cleaning and maintenance. |
Frequently asked questions about reclaimed wood coffee tables
Hardwoods like oak, maple, and chestnut are excellent choices due to their durability and beautiful grain patterns that develop rich patinas over time. Pine can also be used for a lighter, more rustic feel, especially if sourced from old barns or industrial pallets. Always prioritize structurally sound pieces.
Thoroughly clean the wood to remove dirt and debris. Use a metal detector to find and extract any hidden nails or screws. Inspect for signs of rot, mold, or insect infestation; treat or discard affected pieces. Ensuring the wood is dry and stable is also critical for a lasting project.
You’ll need basic woodworking tools like a circular saw or miter saw, drill/driver, sander, and clamps. A metal detector is highly recommended for reclaimed wood. Don’t forget safety gear: eye protection, hearing protection, and gloves are absolute necessities for safe and efficient work.
Embrace the wood’s natural imperfections like nail holes and saw marks. Choose a finish that enhances its character, such as an oil or matte polyurethane, rather than covering it completely. Consider live-edge slabs or a patchwork top from various wood pieces. Avoid excessive sanding that removes all texture.
Regular dusting with a soft cloth and immediate cleaning of spills with mild soap and water are essential. Avoid harsh chemical cleaners, direct sunlight, and excessive moisture. Depending on the finish, periodic reapplication of oil or wax may be needed to maintain its protective qualities and aesthetic appeal.
Conclusion
Embarking on a DIY project to build a coffee table from reclaimed wood is a deeply rewarding endeavor that transcends mere furniture creation.
It’s an opportunity to infuse your living space with a piece of history, rich in character and sustainable charm. From the meticulous sourcing and preparation of aged timber to the precise assembly and thoughtful finishing touches, each step contributes to a unique narrative embodied in your new rustic centerpiece.
This project not only hones your woodworking skills but also fosters a deeper appreciation for the beauty of repurposed materials, proving that with a little effort and creativity, you can transform forgotten resources into a functional work of art that will be cherished for years to come.


