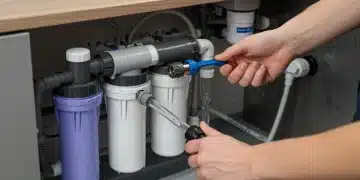
Save Up to $500 Annually: 6 DIY Plumbing Fixes This Weekend
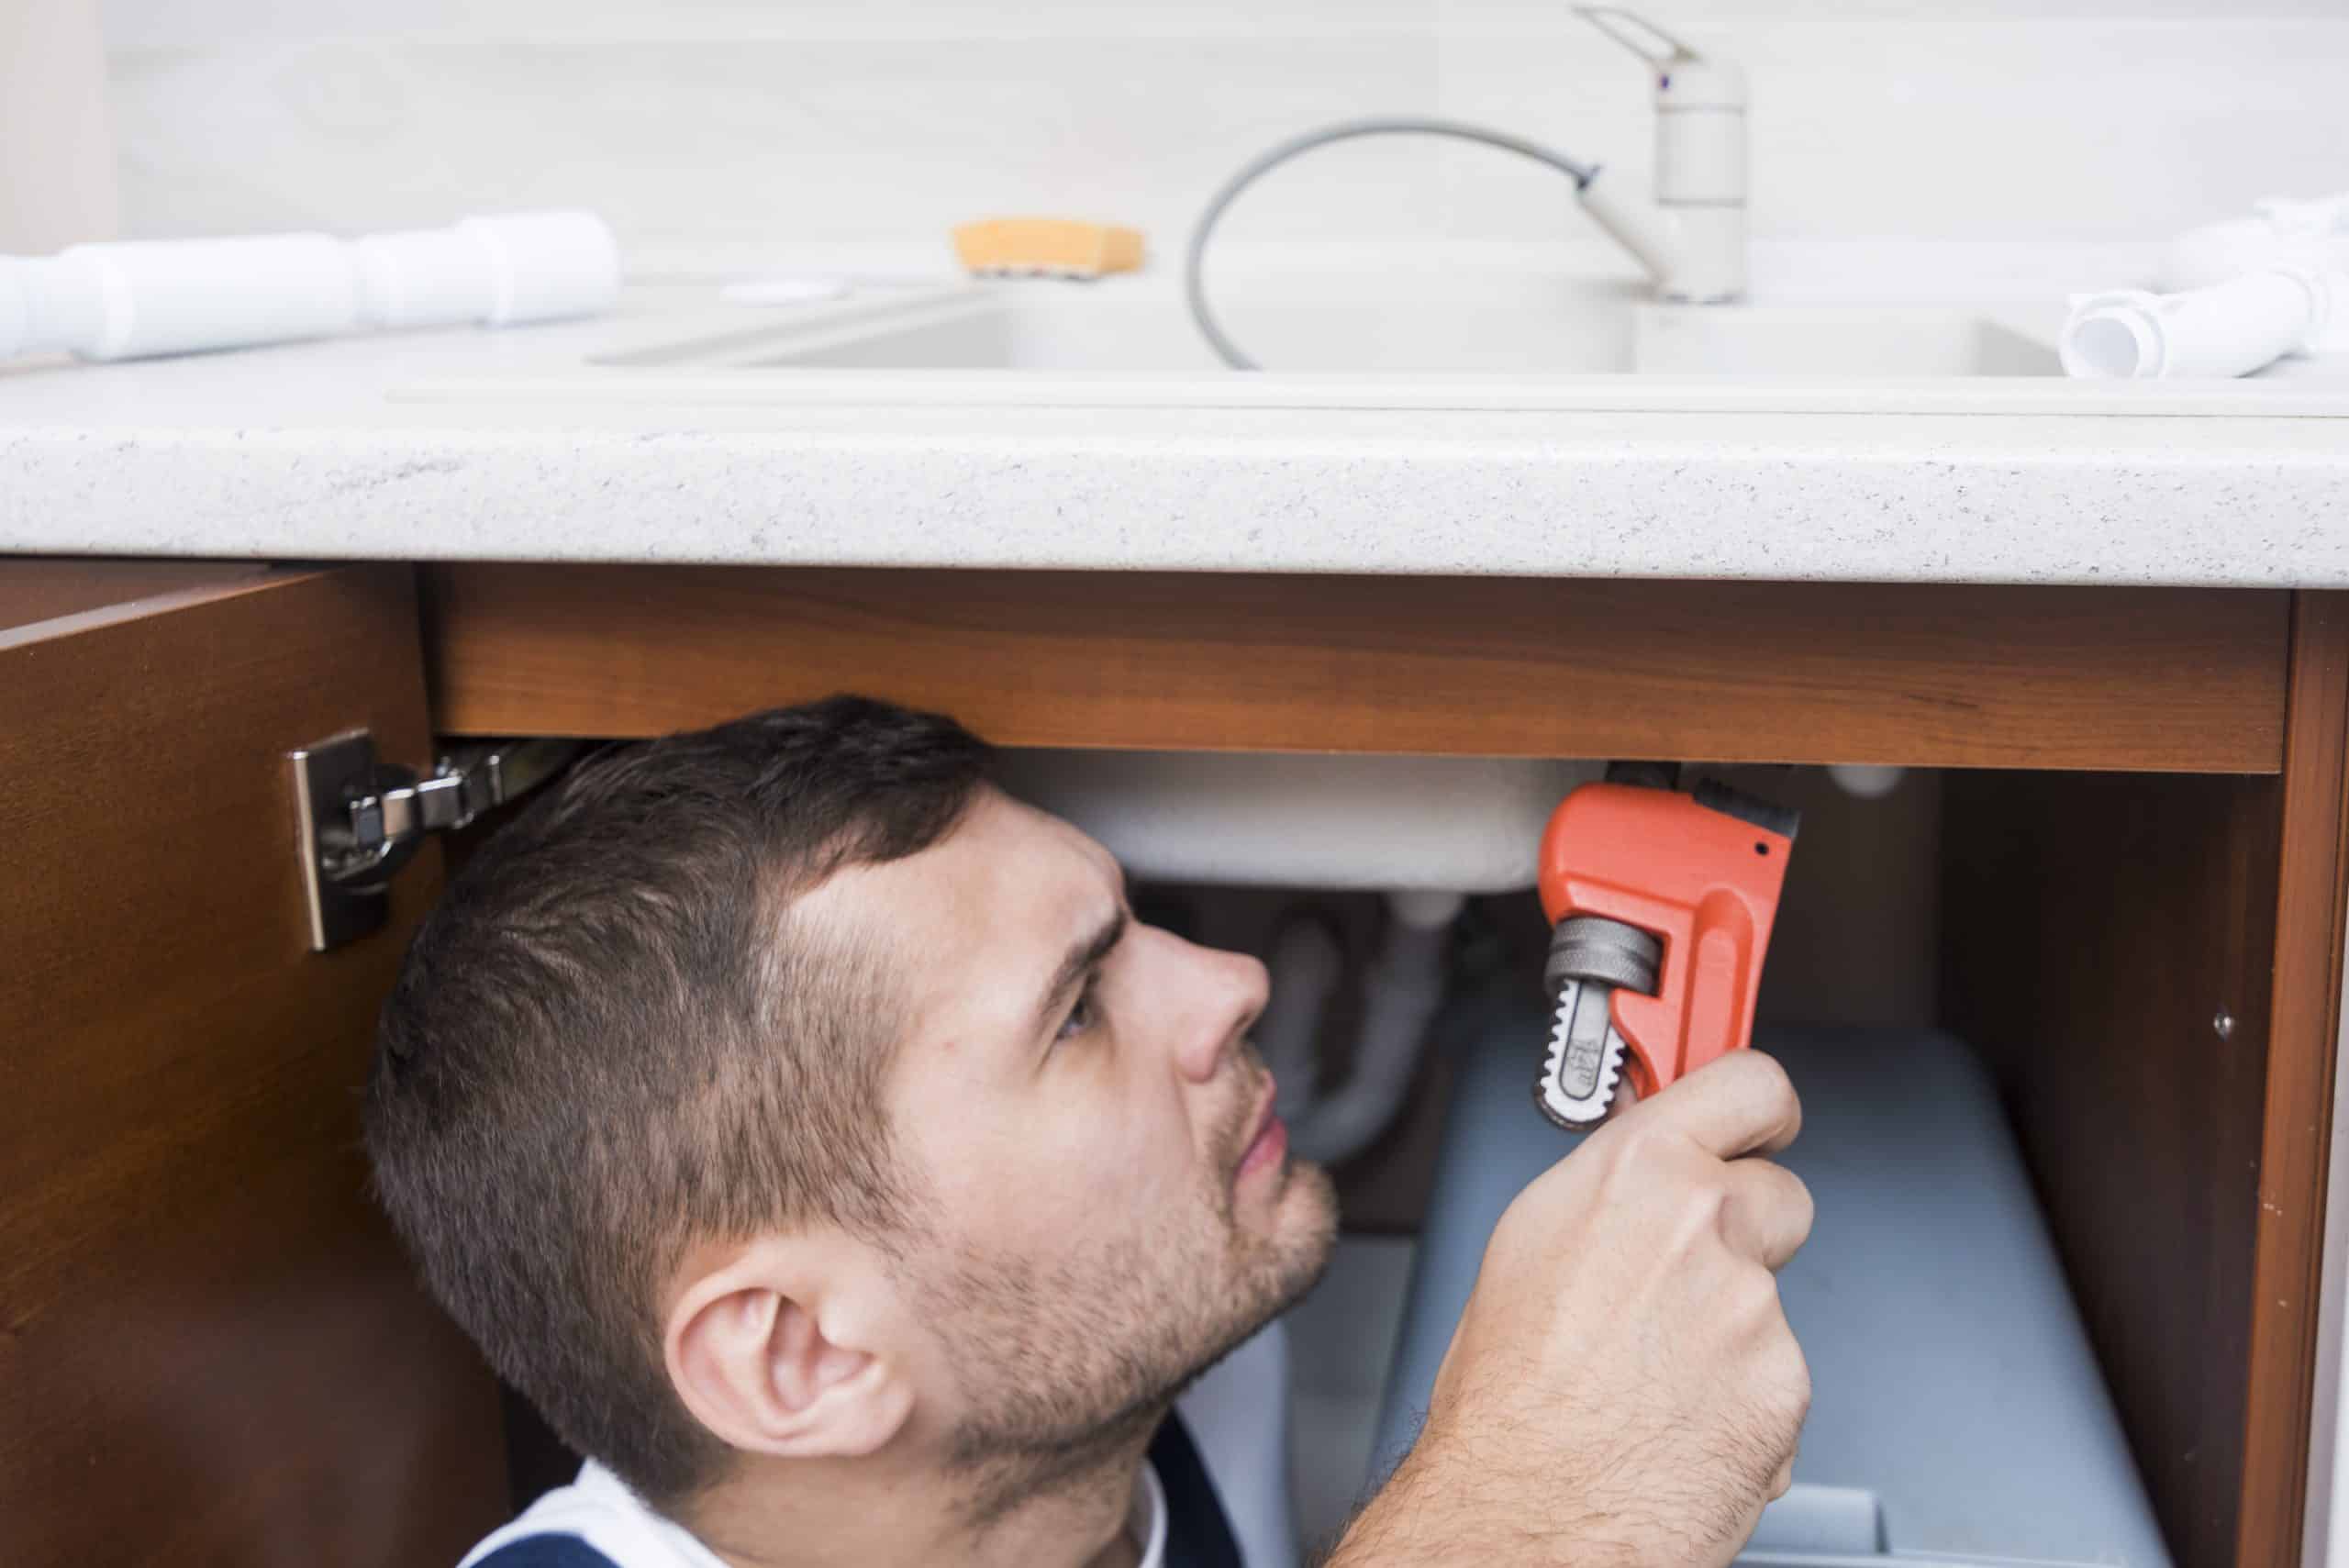
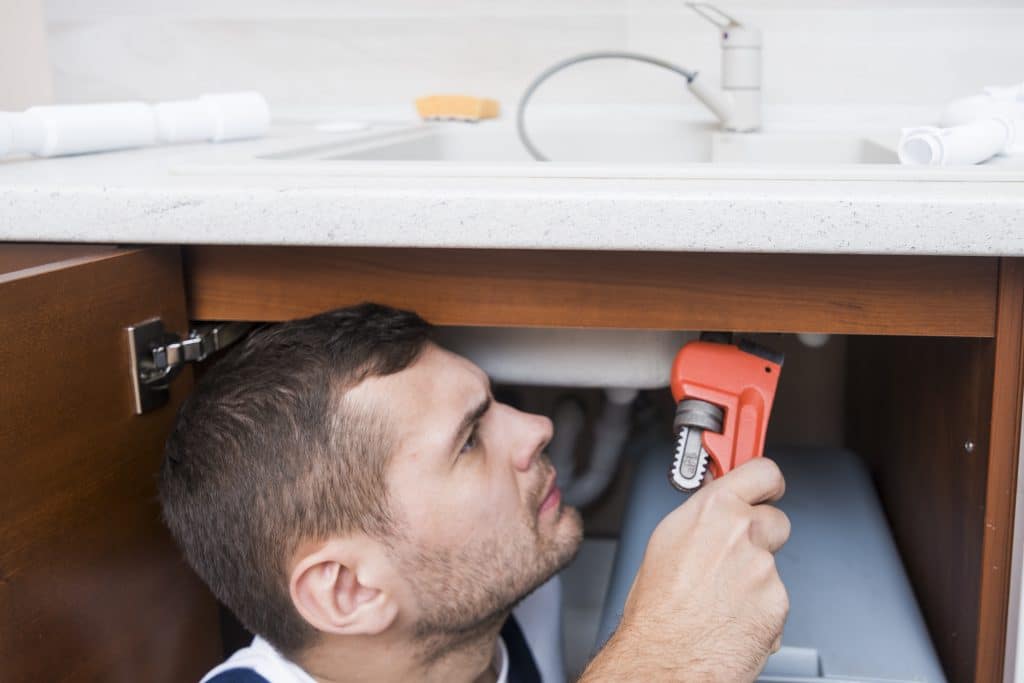 Implementing 6 straightforward DIY plumbing fixes this weekend can help homeowners save up to $500 annually on water bills by addressing common inefficiencies and leaks.
Are you tired of those surprisingly high water bills each month? It might be time to take matters into your own hands. You can save up to $500 annually on water bills: 6 DIY plumbing fixes you can do this weekend, transforming your home into a more water-efficient haven.
This guide will walk you through practical, easy-to-implement solutions that not only cut down your expenses but also contribute to water conservation efforts.
Tackling Leaky Faucets and Showerheads
Leaky faucets and showerheads are more than just an annoyance; they are silent water waste culprits, dripping away gallons of water and dollars each day. Addressing these seemingly minor issues can lead to significant savings on your water bill over time. The good news is that most of these repairs are straightforward and require only basic tools, making them perfect for a weekend DIY project.
Before you begin any repair, it’s crucial to turn off the water supply to the fixture you’re working on. This usually involves turning a small valve located under the sink or near the shower. Having a bucket or old towels handy can also prevent water damage during the repair process.
Identifying the Source of the Leak
Often, the first step to fixing a leak is accurately identifying its source. For faucets, this could be a worn-out washer, O-ring, or a corroded valve seat. For showerheads, mineral buildup or a damaged seal are common culprits. A simple visual inspection can often pinpoint the problem area, guiding your repair efforts.
Faucet Drips: Usually caused by a worn-out washer or O-ring in compression faucets, or a cartridge issue in newer models.
Showerhead Drips: Often due to mineral deposits clogging the spray nozzles or a loose connection at the arm.
Base Leaks: Water pooling at the base of a faucet might indicate a problem with the supply lines or the faucet’s mounting hardware.
Once you’ve identified the component causing the leak, finding replacement parts is relatively easy. Most hardware stores carry universal repair kits or specific parts for common faucet and showerhead brands. Taking the old part with you to the store can ensure you get an exact match.
Repairing and Replacing Components
Replacing a washer or O-ring in a compression faucet involves disassembling the handle and stem, removing the old component, and inserting a new one. For cartridge faucets, the entire cartridge may need to be replaced. Showerhead repairs often involve cleaning mineral deposits with vinegar or replacing a worn-out rubber washer at the connection point.
After replacing the faulty part, reassemble the fixture carefully, ensuring all connections are tight but not overtightened, which can cause new issues. Turn the water supply back on slowly and check for any remaining leaks. This quick fix can save hundreds of gallons of water annually, translating directly into lower water bills.
Addressing leaky faucets and showerheads is a fundamental step in reducing household water waste. These repairs are typically inexpensive and can be completed quickly, offering an immediate return on your time and minimal investment. By taking care of these small drips, you contribute to a more sustainable home and a healthier budget.
Fixing Running Toilets Efficiently
A running toilet can be one of the easiest sources of household water waste to overlook. A continuous trickle, frequent refilling, or an occasional “phantom flush” may indicate that water is escaping from the tank even when the toilet is not being used. Identifying the problem early can help you save water and prevent unnecessary increases in your utility bill.
Common causes include a worn flapper, an incorrectly adjusted float, problems with the fill valve, or other aging tank components. Fortunately, many of these parts are relatively inexpensive and can be inspected or replaced as a basic DIY project.
Taking the time to diagnose and repair a running toilet can help you save money while improving your home’s overall water efficiency. Regularly checking toilets for silent leaks and addressing problems promptly is a simple preventive habit that can save significant amounts of water over time and keep minor plumbing issues from becoming more expensive.
The first step in diagnosing a running toilet is often the simplest: the dye test. Add a few drops of food coloring to the toilet tank and wait for about 15-20 minutes without flushing. If color appears in the toilet bowl, you have a leak, usually from a faulty flapper valve.
Common Causes of Running Toilets
Several components within the toilet tank can cause it to run continuously. The most common culprit is a worn-out or ill-fitting flapper valve, which fails to create a proper seal at the bottom of the tank. Other issues include an improperly adjusted or faulty fill valve, a float ball that is set too high, or a kinked fill tube.
Flapper Valve: The most frequent cause; it may be old, stiff, or have mineral buildup preventing a good seal.
Fill Valve: If the fill valve doesn’t shut off completely, water will continue to flow into the overflow tube.
Float Ball/Cup: If set too high, water can constantly run into the overflow tube, mimicking a leak.
Kinked Fill Tube: A tube that is too long or improperly positioned can siphon water out of the tank.
Before attempting any repairs, turn off the water supply to the toilet using the shut-off valve located on the wall behind or next to the toilet. Flush the toilet to empty the tank, giving you clear access to its internal mechanisms.
DIY Steps for Repairing a Running Toilet
Replacing a flapper valve is a relatively easy task. Simply unhook the old flapper from the flush chain and the overflow pipe, then attach the new one. Ensure the chain has a slight slack when the flapper is closed to allow for a complete seal. Adjusting the float ball or cup is also straightforward; lower it slightly to prevent water from overflowing.
If the fill valve is the issue, it might need to be replaced. This is a slightly more involved process but still manageable for most DIY enthusiasts. It typically involves disconnecting the water supply line, unscrewing the old fill valve, and installing a new one according to the manufacturer’s instructions. Always ensure all connections are secure to prevent new leaks.
After completing the repair, turn the water supply back on and observe the toilet’s operation. The tank should fill, and the water flow should stop completely without any running sounds. This simple fix can save hundreds of gallons of water per day, leading to significant reductions in your annual water bill and conserving a precious resource.
Installing Water-Saving Devices
Beyond fixing existing leaks, proactively installing water-saving devices is an excellent way to reduce your water consumption and lower your utility bills. These devices are designed to minimize water flow without compromising performance, making them a smart investment for any homeowner looking to save money and money. Many of these installations are simple and can be completed in an afternoon.
The market offers a wide array of water-saving devices, from low-flow showerheads to aerators for faucets and toilet tank displacement bags. Each plays a role in reducing the amount of water used for everyday tasks, contributing to overall household efficiency. Understanding which devices are most beneficial for your home is the first step.
Low-Flow Showerheads and Faucet Aerators
Replacing old, inefficient showerheads with low-flow models can drastically cut down on water usage during showers. Modern low-flow showerheads use advanced technology to maintain strong water pressure while using significantly less water. Similarly, faucet aerators, small devices screwed onto the end of faucets, mix air with water, reducing flow without a noticeable difference in pressure for tasks like handwashing or brushing teeth.
Showerhead Installation: Simply unscrew the old showerhead, clean the threads on the shower arm, apply plumber’s tape, and screw on the new low-flow model.
Faucet Aerator Installation: Unscrew the existing aerator (if any), clean the faucet threads, and screw on the new water-saving aerator.
Benefits: Both devices reduce water consumption by 30-50% for their respective uses, leading to considerable savings.
These devices are relatively inexpensive and can be found at any home improvement store. The installation process is straightforward, requiring minimal tools, usually just an adjustable wrench for showerheads and sometimes a pair of pliers for stubborn aerators. The immediate impact on water consumption makes them a highly effective DIY project.
Toilet Tank Displacement Bags and Dual-Flush Converters
For toilets that do not need a complete replacement, simple water-saving upgrades may help you save water without the expense of installing an entirely new fixture. Depending on the toilet’s design, compatible retrofit devices can provide an affordable way to reduce unnecessary water consumption while maintaining everyday convenience.
One option is a compatible dual-flush converter kit, which can allow certain existing toilets to use different flush volumes depending on the type of waste. When properly matched to the toilet, this type of upgrade may help you save water by avoiding a full-volume flush when it is not necessary.
Some homeowners also consider tank displacement devices designed specifically for toilets. However, avoid improvised solutions such as bricks or objects that could deteriorate, interfere with internal components, or prevent the toilet from flushing correctly. Always confirm that any water-saving device is compatible with your toilet before installation.
Save Water With the Right DIY Upgrade
Installing a compatible toilet retrofit can be a manageable DIY project for homeowners who are comfortable performing basic plumbing maintenance. Before beginning, read the product instructions carefully and inspect the existing tank components to make sure the new device will not interfere with the fill valve, flapper, overflow tube, or other moving parts.
Dual-flush conversion kits generally require more work than simple tank accessories because components of the existing flushing mechanism may need to be replaced or adjusted. Correct installation is important because an improperly adjusted toilet may require multiple flushes, leak continuously, or fail to deliver the expected water savings.
Insulating Water Pipes for Efficiency
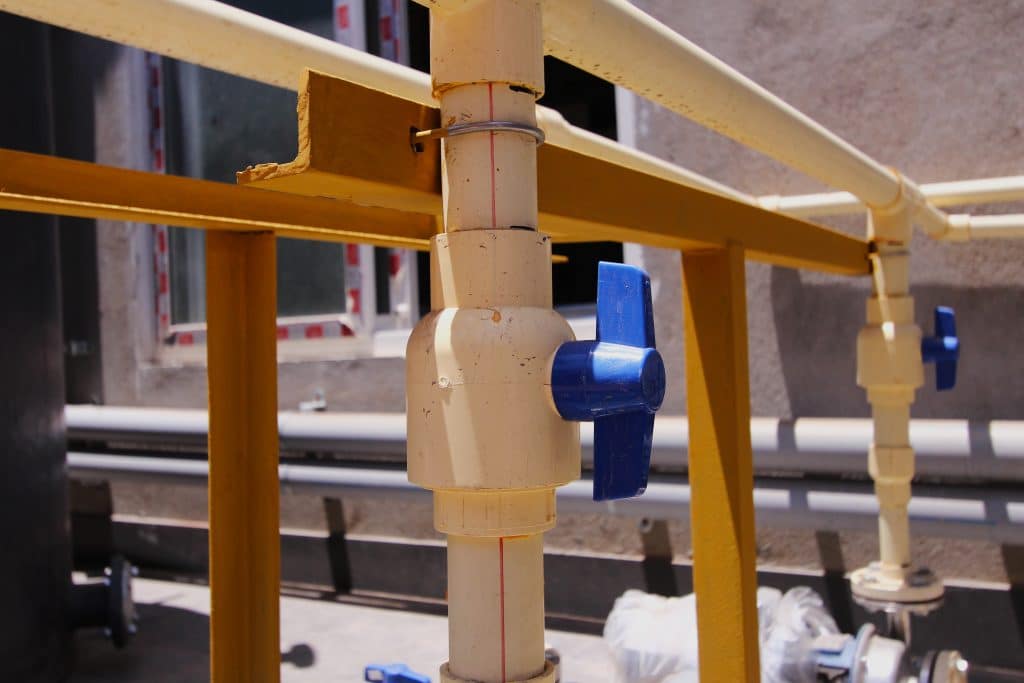
Insulating your home’s water pipes is a simple yet often overlooked DIY project that can contribute to significant energy and water savings, especially in colder climates.
While it doesn’t directly reduce water usage, it prevents heat loss from hot water pipes and can protect pipes from freezing, which can lead to costly bursts and extensive water damage. This preventative measure ensures your hot water heater works more efficiently and your plumbing system remains intact.
The principle behind pipe insulation is straightforward: by wrapping your hot water pipes, you reduce the amount of heat that escapes as water travels from the heater to your taps.
This means hot water arrives faster, and you don’t have to run the tap as long to get the desired temperature, thereby saving water and energy. For cold water pipes, insulation can prevent condensation, which can lead to mold growth and water damage in wall cavities.
Benefits of Pipe Insulation
Insulating your water pipes offers a dual benefit: it saves energy by reducing heat loss from hot water and prevents pipes from freezing in winter. When pipes don’t freeze, you avoid the headache and expense of burst pipes, which can cause significant water damage and require professional plumbing intervention. This proactive step is an investment in your home’s long-term health and your wallet.
- Energy Savings: Hot water reaches fixtures faster, reducing the amount of water wasted while waiting for it to heat up.
- Freeze Protection: Insulated pipes are less susceptible to freezing and bursting during cold weather.
- Condensation Control: Insulation on cold water pipes prevents condensation, safeguarding against moisture-related damage.
Materials for pipe insulation are readily available at hardware stores and come in various forms, such as foam sleeves, fiberglass wrap, or rubber insulation. Foam sleeves are particularly popular for their ease of installation, as they often come pre-slit and can be simply slipped over the pipes.
Simple Steps for Pipe Insulation
To insulate your pipes, first, measure the length and diameter of the pipes you intend to cover. Cut the insulation material to size, ensuring a snug fit. For foam sleeves, simply open the slit along the length and press it around the pipe. Secure the insulation with zip ties, tape, or clamps, especially around bends and joints, to ensure full coverage.
Pay special attention to pipes in unheated areas like basements, crawl spaces, and exterior walls, as these are most vulnerable to temperature fluctuations. While insulating all exposed hot water pipes is beneficial, prioritizing those closest to the water heater and those running through unconditioned spaces will yield the best results.
Insulating your water pipes is a straightforward DIY task that yields long-term benefits. It reduces energy consumption, minimizes water waste by speeding up hot water delivery, and provides crucial protection against freezing pipes. This weekend project can contribute significantly to your annual savings and enhance your home’s overall efficiency and resilience.
Checking for Hidden Leaks
Hidden leaks are perhaps the most deceptive and costly form of water waste. Unlike dripping faucets or running toilets, these leaks are often out of sight, silently adding to your water bill and potentially causing structural damage to your home.
Discovering and repairing hidden leaks is paramount for both financial savings and maintaining your home’s integrity. Fortunately, there are several DIY methods to detect these elusive problems.
The first and most effective way to check for hidden leaks is to monitor your water meter. This method can reveal if water is being used when all fixtures are turned off, indicating a leak somewhere in your system. Regular checks of your water meter can prevent a small leak from becoming a major, expensive problem.
Water Meter Test and Beyond
To perform a water meter test, ensure no water is being used inside or outside your home. This means no flushing toilets, running dishwashers, or sprinklers. Locate your water meter and note the reading. Wait for about 15-30 minutes, then check the meter again. If the reading has changed, you likely have a leak. If your meter has a small red dial or triangle, it will spin even with minimal water flow, making detection easier.
- Meter Monitoring: A change in meter reading when no water is in use indicates a leak.
- Damp Spots: Look for unexplained damp spots on walls, floors, or ceilings, which can signal a pipe leak.
- Musty Odors: Persistent musty smells can point to hidden moisture and potential leaks.
- Unexplained Water Bill Spikes: A sudden increase in your water bill without a change in usage patterns is a strong indicator of a hidden leak.
Once you suspect a hidden leak, locating the source should become a priority. Finding the problem early can help you save water, reduce unnecessary utility costs, and prevent moisture from causing more serious damage to your home. Common locations for hidden leaks include irrigation systems, underground pipes, water heaters, supply lines, and plumbing concealed behind walls or underneath floors.
Some leaks are relatively easy to identify through visible warning signs such as damp spots, water stains, peeling paint, warped flooring, or unexplained moisture. Others may be more difficult to detect.
You might hear faint dripping or running water when fixtures are turned off or notice unexplained changes in your household water consumption. Paying attention to these warning signs can help you save money by identifying problems before they become more extensive.
Save by Repairing Leaks Early
If you discover a leak, the appropriate repair will depend on its location, severity, and the type of plumbing involved. Minor problems involving accessible plumbing may sometimes be manageable for homeowners with suitable DIY experience.
Certain pipe clamps or repair products can provide temporary solutions when they are compatible with the pipe material and used according to manufacturer instructions.
However, a temporary patch should not automatically be considered a permanent repair. Leaks located behind walls, beneath flooring, under foundations, or around major appliances may require specialized equipment and more extensive work.
Maintaining Your Water Heater to Save Energy and Money
Your water heater works every day to provide hot water for showers, laundry, dishwashing, and other household needs. Because it can account for a meaningful portion of household energy consumption, keeping the system in good condition may help you save energy while reducing the risk of unexpected plumbing problems.
Regular maintenance can support efficient operation and may extend the useful life of the equipment. It can also help homeowners identify leaks, corrosion, unusual noises, and other warning signs before they develop into more expensive problems.
Sediment buildup can occur in tank-style water heaters, particularly in areas with mineral-rich water. As sediment accumulates, it may interfere with efficient operation. Following the manufacturer’s recommended maintenance schedule can help control buildup and potentially save energy over time.
Flush Your Water Heater and Save Energy
Some tank-style water heaters benefit from periodic flushing to remove accumulated sediment. Because procedures vary by model, always check the manufacturer’s instructions before attempting this maintenance.
The process typically involves safely shutting off the energy source and water supply before draining the tank according to the manufacturer’s directions. Hot water can cause serious burns, and gas and electrical systems introduce additional hazards. If you are unsure about any part of the process, hiring a qualified professional is the safer option.
A few additional maintenance practices may help you save:
- Regular Maintenance: Follow the manufacturer’s recommended inspection and maintenance schedule to support efficient operation.
- Temperature Management: An appropriate thermostat setting can help save energy while providing sufficient hot water.
- Leak Checks: Inspect around the tank and plumbing connections for moisture that could indicate water loss.
- Safety Inspections: Make sure important safety components are inspected according to manufacturer recommendations.
The temperature and pressure relief valve is an important safety component on many tank-style water heaters. Because incorrect testing can expose you to very hot water or steam, follow the manufacturer’s instructions carefully. If you notice persistent leaking, corrosion, or another problem with the valve, consider professional service.
Insulate Your Water Heater to Save More
Certain older water heaters located in colder spaces may benefit from additional insulation. If your model permits it, an appropriate insulation blanket may reduce standby heat loss and help you save energy.
Always check the manufacturer’s instructions before adding insulation. Controls, thermostats, vents, safety components, warning labels, and other required openings must remain accessible and unobstructed.
Routine water-heater maintenance is ultimately about more than preventing breakdowns. Keeping the system operating efficiently can help you save energy, reduce unnecessary expenses, and maintain a dependable hot water supply.
Optimize Outdoor Water Use and Save
Outdoor water use can increase significantly during warmer months. Watering lawns, maintaining gardens, washing vehicles, and other outdoor activities can contribute to higher utility bills when water is used inefficiently.
Fortunately, a few simple changes can help you save water while maintaining an attractive outdoor space. The key is to deliver the appropriate amount of water where it is actually needed rather than allowing it to evaporate, run off, or reach areas that do not require irrigation.
Smart Watering Practices to Save Water
Timing and irrigation methods can make a major difference in outdoor efficiency. Watering according to local climate conditions and plant needs can help reduce unnecessary consumption.
Targeted watering systems, including drip irrigation and soaker hoses, deliver water closer to plant roots. This can help you save water compared with poorly adjusted sprinklers that spray sidewalks, driveways, or other non-landscaped areas.
Consider these practical strategies:
- Choose Appropriate Watering Times: Follow local recommendations and avoid unnecessary irrigation during conditions that encourage rapid evaporation.
- Use Targeted Irrigation: Drip systems and soaker hoses can concentrate water around plants.
- Install Rain Sensors: Prevent automatic irrigation systems from operating unnecessarily during or after rainfall.
- Add Mulch: Mulch can help soil retain moisture and potentially reduce watering frequency.
- Repair Irrigation Leaks: Regularly inspect hoses, sprinkler heads, valves, and connections to help save water.
Plant selection also matters. Native and drought-tolerant plants that are appropriate for your region may require less supplemental irrigation once established. Grouping plants according to similar water requirements can make your watering routine more efficient.
Save Water With Rainwater Harvesting
Rainwater harvesting provides another opportunity to save treated municipal water. A properly installed rain barrel can collect roof runoff that may be used for appropriate outdoor purposes, subject to local regulations.
When installing a rain barrel, make sure overflow is directed safely away from the home’s foundation and follow appropriate mosquito-control and maintenance practices.
Car washing is another area where simple habits can help you save. Instead of allowing a hose to run continuously, use a bucket when practical and equip your hose with an automatic shut-off nozzle. Depending on local options, a commercial car wash with water-recycling systems may provide another efficient alternative.
Combining smarter irrigation, leak prevention, appropriate landscaping, and rainwater collection can help you save water throughout the year without sacrificing the appearance of your outdoor space.
Replace Inefficient Fixtures to Save Water and Money
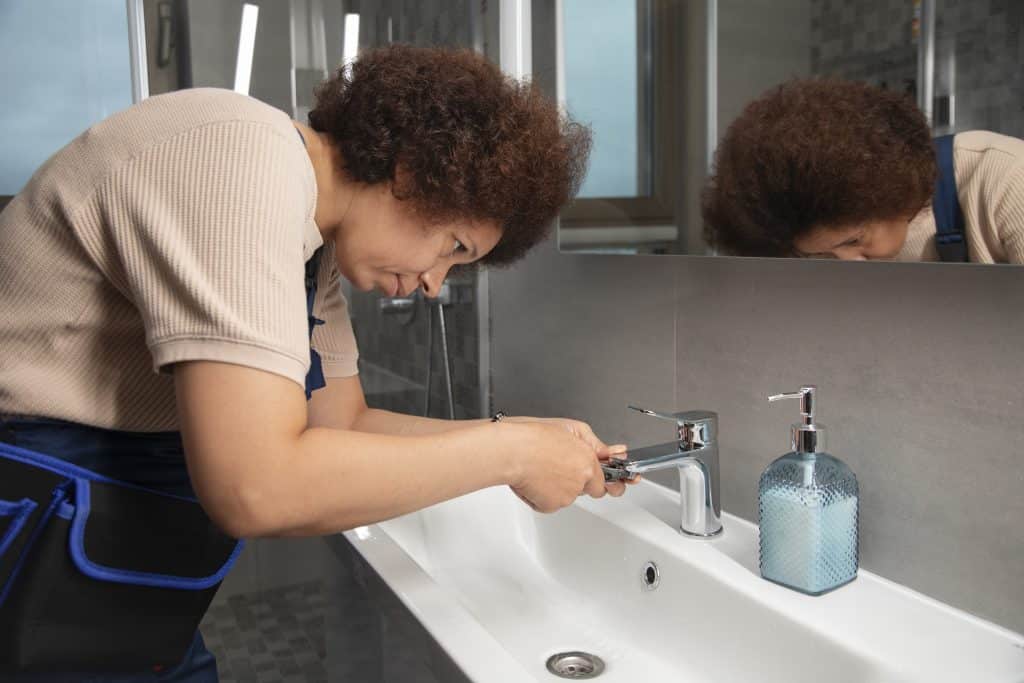
Repairing leaks is important, but sometimes replacing an inefficient fixture is the more practical long-term solution. Older toilets, faucets, showerheads, washing machines, and dishwashers may use considerably more water or energy than efficient modern alternatives.
That doesn’t mean every older appliance should immediately be replaced. Instead, evaluate its condition, operating costs, expected remaining lifespan, and the cost of an upgrade. Replacing equipment strategically can help you save without spending unnecessarily.
Save With High-Efficiency Toilets and Showerheads
If you have an older toilet that uses substantially more water per flush, replacing it with an efficient model may reduce household water consumption. WaterSense-labeled toilets are designed to meet specific efficiency and performance requirements.
Showerheads and faucet aerators can provide additional opportunities to save water. These upgrades are generally smaller and less expensive than replacing major appliances, making them practical starting points for many homeowners.
Consider these options:
- Efficient Toilets: Look for WaterSense-labeled models when replacing an older toilet.
- Low-Flow Showerheads: Reduce water consumption during showers while maintaining useful performance.
- Faucet Aerators: An inexpensive upgrade that can help save water at bathroom and kitchen sinks.
- Efficient Appliances: Consider ENERGY STAR-certified models when an existing washer or dishwasher needs replacement.
Some homeowners may be comfortable replacing a toilet themselves. However, installation errors can result in leaks and water damage. Problems involving a damaged flange, deteriorated flooring, unusual plumbing configurations, or persistent leaks may require professional assistance.
Save With Efficient Washing Machines and Dishwashers
Washing machines and dishwashers can consume both water and energy, making efficiency important when it is time for replacement. Modern efficient appliances may incorporate sensors and optimized cycles that adjust resource consumption based on the load.
When your existing appliance reaches the end of its useful life, selecting an efficient replacement may help you save water and energy for years to come. ENERGY STAR certification can provide a useful starting point when comparing models.
However, purchasing a new appliance solely to reduce utility costs may not always produce immediate financial savings. Compare the upfront price, installation expenses, expected energy and water consumption, and remaining life of your current appliance before making a decision.
The best approach is to focus on upgrades that make financial and practical sense for your household. By repairing leaks, maintaining plumbing equipment, improving outdoor water habits, and choosing efficient fixtures when replacement becomes necessary, you can save water, conserve energy, and reduce avoidable household expenses over the long term.
| Key DIY Fix | Brief Description |
|---|---|
| Leaky Faucets/Showerheads | Replace worn washers/O-rings to stop water waste and conserve gallons daily. |
| Running Toilets | Fix faulty flapper valves or fill mechanisms to prevent continuous water flow. |
| Install Water-Saving Devices | Add low-flow aerators and showerheads to reduce water consumption without losing pressure. |
| Check for Hidden Leaks | Monitor your water meter for unexplained usage to detect and repair unseen leaks. |
Frequently Asked Questions About Saving on Water Bills
By addressing common issues like leaky faucets, running toilets, and optimizing water use, you can realistically save up to $500 annually on your water bills. The exact amount depends on your current water consumption, the severity of existing leaks, and local water rates. Consistent application of these fixes yields significant long-term savings.
Most of the suggested DIY plumbing fixes, such as replacing a flapper valve or installing a low-flow showerhead, are designed to be straightforward and accessible for beginners. They require basic tools and a careful approach. For more complex issues like hidden pipe leaks, professional help might be advisable after initial detection.
It’s recommended to perform a visual check for obvious leaks (faucets, toilets) monthly. A water meter test for hidden leaks should be done at least every three to six months. Proactive and regular checks help catch problems early, preventing significant water waste and potential property damage.
Faucet aerators and low-flow showerheads are among the easiest water-saving devices to install. They typically screw on directly to existing fixtures with minimal effort. Toilet tank displacement bags are also very simple to implement, requiring only placement inside the toilet tank without any tools.
Yes, insulating hot water pipes helps save money indirectly by reducing heat loss. This means hot water reaches your tap faster, so you don’t run the water as long while waiting for it to heat up, thus saving water. It also improves energy efficiency for your water heater and protects against costly pipe bursts in winter.
Conclusion
Taking control of your home’s water consumption doesn’t require a professional plumber or a hefty budget. By dedicating a weekend to these six practical DIY plumbing fixes, you can significantly reduce your water bills, potentially saving up to $500 annually.
From repairing leaky faucets and running toilets to installing water-saving devices and optimizing outdoor usage, each step contributes to a more efficient and sustainable living household. These efforts not only benefit your wallet but also play a vital role in conserving a precious natural resource. Embrace these straightforward projects to transform your home into a water-wise haven and enjoy the financial and environmental rewards.