Bathroom Renovation Under $1,000: 7 DIY Projects for 2026 ROI
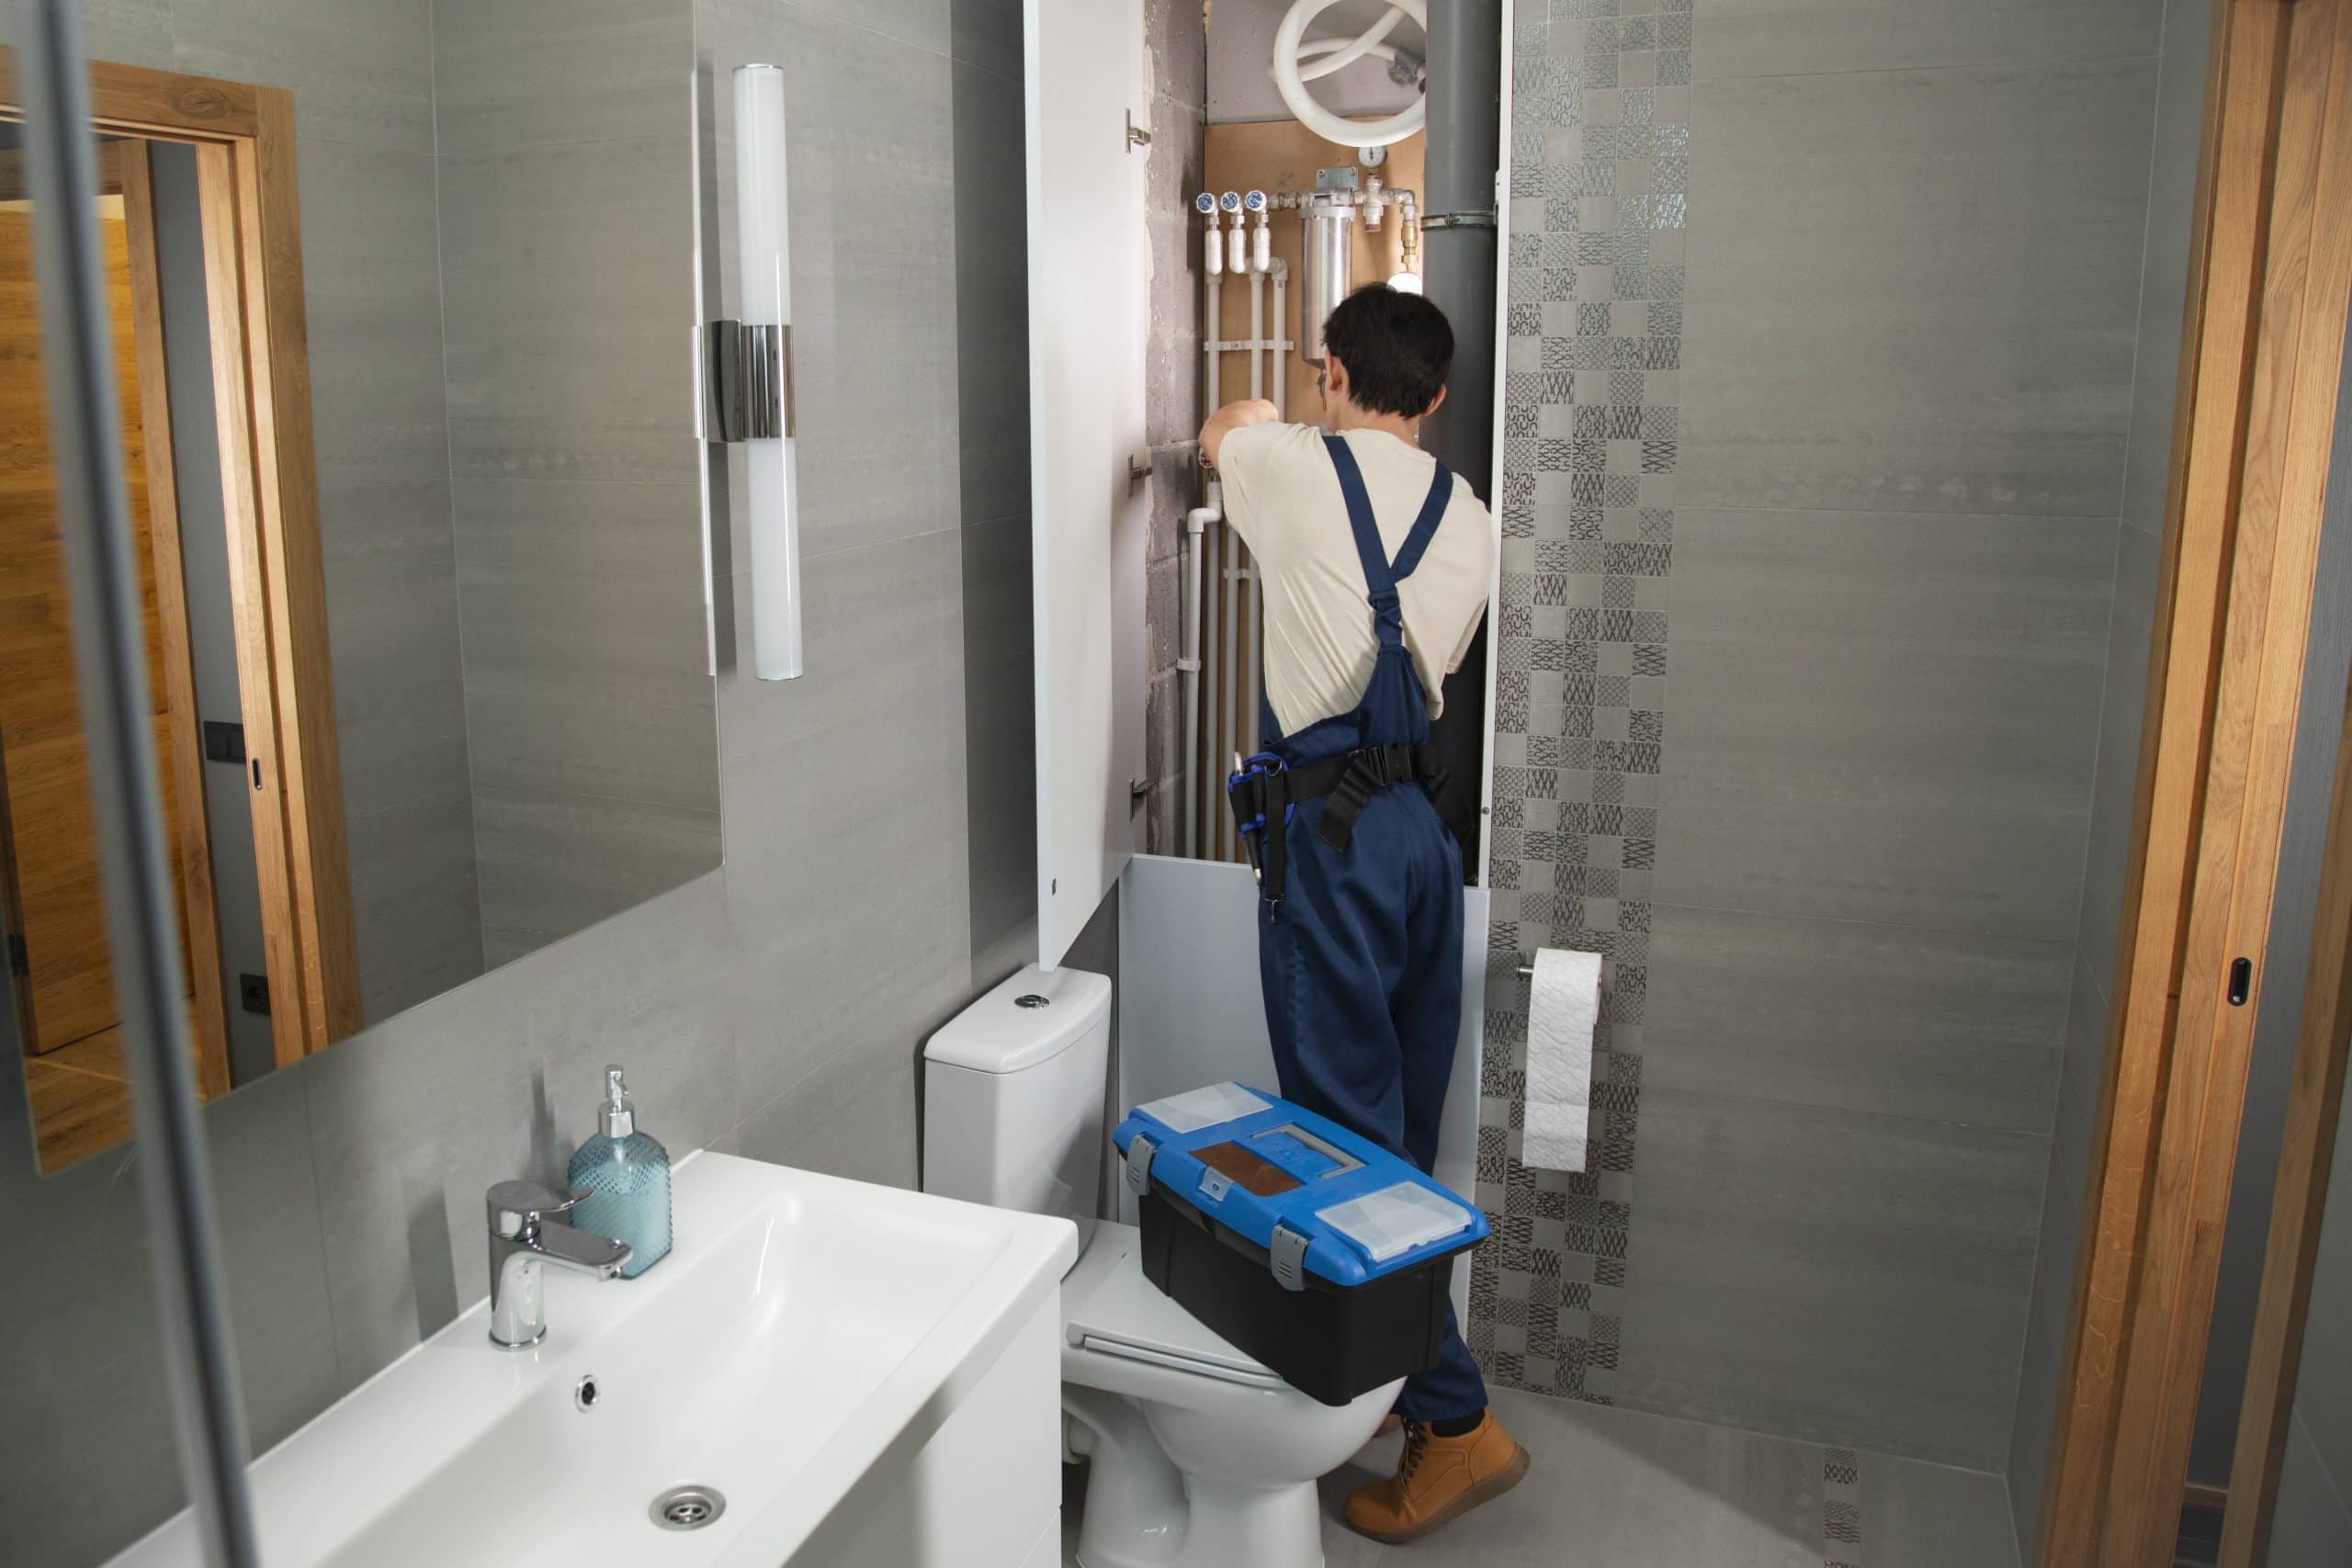
 Are you dreaming of a refreshed bathroom but constrained by a tight budget? Many homeowners believe a significant upgrade requires a hefty investment, but that’s simply not true.
With careful planning and a willingness to get hands-on, you can renovate your bathroom for under $1,000: 7 DIY Projects with High ROI in 2026, transforming your space into a modern oasis without breaking the bank. This guide will walk you through achievable, high-impact projects that promise both aesthetic appeal and a strong return on your effort and minimal expenditure.
Understanding High ROI in Budget Bathroom Renovations
Before diving into specific projects, it’s crucial to understand what constitutes a high return on investment (ROI) in the context of budget bathroom renovations. For under $1,000, ROI isn’t just about increasing resale value, though that’s a welcome bonus. It’s also about enhancing daily living, improving functionality, and boosting the overall aesthetic appeal of your home. These smaller, strategic upgrades can make a significant difference, often perceived as more valuable than their actual cost.
When we talk about ROI for budget projects, we’re looking at improvements that deliver maximum visual impact and user satisfaction for minimal financial outlay. This often means focusing on cosmetic changes, smart material choices, and efficient use of existing structures.
The goal is to create a fresh, updated look that feels luxurious without the luxury price tag. By targeting key areas that show wear and tear or appear outdated, you can achieve a dramatic transformation that feels both satisfying and smart.
Prioritizing Impactful Upgrades
Not all renovations are created equal, especially when working with a limited budget. Identifying which projects offer the most bang for your buck is key to a successful and affordable bathroom makeover. Consider elements that are immediately noticeable and frequently used.
Visual Appeal: Projects that dramatically alter the room’s look, such as paint or updated fixtures.
Functionality: Upgrades that improve how you use the space, like better storage or lighting.
Perceived Value: Changes that make the bathroom feel more modern, clean, or spacious.
Focusing on these aspects ensures your efforts and dollars are spent on improvements that truly matter. For instance, a fresh coat of paint can make a room feel completely new, while replacing an old, stained faucet can elevate the entire sink area. These small changes accumulate to create a cohesive, updated environment.
In conclusion, high ROI in budget bathroom renovations means making smart, impactful choices that enhance both the beauty and utility of your space without exceeding your financial limits. It’s about being resourceful and creative, understanding that sometimes the simplest changes yield the greatest results.
Project 1: Fresh Paint and Caulk Refresh
A fresh coat of paint is arguably the most impactful and cost-effective way to transform any room, and the bathroom is no exception. It can instantly brighten the space, make it feel cleaner, and set a completely new mood. Coupled with a thorough caulk refresh, this project provides a significant aesthetic uplift for minimal investment.
Choosing the right paint color is crucial. Lighter shades can make a small bathroom feel larger and more open, while bold colors can add personality and depth. Always opt for moisture-resistant paint, specifically designed for bathrooms, to prevent mold and mildew growth. This small detail ensures the longevity of your fresh look.
Painting Techniques for a Professional Finish
Achieving a smooth, professional-looking paint job requires a bit of preparation and technique. Start by cleaning your walls thoroughly, repairing any imperfections, and taping off areas you don’t want painted.
Use a good quality primer, especially if you’re changing colors dramatically or painting over glossy surfaces. Apply paint in thin, even coats, allowing adequate drying time between each. This attention to detail will prevent streaks and ensure a durable finish.
Beyond the walls, consider painting your ceiling with a fresh coat of white paint to further brighten the room. Don’t forget to remove or cover light fixtures, mirrors, and other accessories before painting to protect them from splatters. A little extra time spent on prep work saves a lot of cleanup later.
The Importance of New Caulk
Old, cracked, or discolored caulk can instantly make a bathroom look dated and unsanitary. Replacing it is a simple yet incredibly effective way to refresh the space and improve hygiene. New caulk creates a clean, crisp seal around tubs, showers, and sinks, preventing water damage and mold growth.
Remove Old Caulk: Use a caulk removal tool or utility knife to carefully scrape away all existing caulk.
Clean the Surface: Ensure the area is completely dry and free of debris, soap scum, or mildew.
Apply New Caulk: Use a high-quality silicone caulk, applying an even bead with a caulk gun. Smooth it with a wet finger or caulk tool for a professional finish.
This dual project of painting and caulking can make your bathroom feel brand new, providing a clean canvas for other upgrades. It’s a foundational step that sets the stage for a truly transformative renovation under budget.
Project 2: Updating Vanity and Hardware
Your bathroom vanity is often the focal point of the room. An outdated vanity can drag down the entire aesthetic, but a full replacement can be costly. Instead, consider a budget-friendly update by painting your existing vanity and replacing its hardware.
This project offers a surprising amount of impact for minimal expense, giving your bathroom a custom, high-end look without custom prices.
Start by assessing the condition of your current vanity. If the structure is sound, a fresh coat of paint can work wonders. Choose a durable paint designed for cabinets or furniture, as it will withstand daily wear and tear and moisture. Light colors can make a small vanity feel less imposing, while darker hues can add a touch of sophistication.
Painting Your Vanity Like a Pro
Proper preparation is key to a lasting paint job on your vanity. Remove all drawer fronts and cabinet doors, and take off all existing hardware.
Clean the surfaces thoroughly to remove any grime or grease. Lightly sand the vanity to create a good surface for the paint to adhere to, then wipe away any dust. Apply a high-quality primer, followed by two thin coats of your chosen paint. Allow ample drying time between coats and before reassembling.
This process, while requiring a bit of patience, yields results that look professionally done. You’ll be amazed at how a simple color change can modernize the entire vanity and, by extension, the bathroom.
The Magic of New Hardware
Once your vanity is painted, the next step is to replace the old, worn-out hardware. New drawer pulls, knobs, and cabinet handles are like jewelry for your vanity. They are relatively inexpensive but can dramatically change the style and feel of the piece. Look for styles that complement your new paint color and the overall aesthetic you’re aiming for.
Matching Finishes: Consider matching the finish of your new hardware to other fixtures in the bathroom, like the faucet or light fixtures, for a cohesive look.
Style Selection: From sleek modern to classic farmhouse, a wide variety of hardware styles are available at affordable prices.
Easy Installation: Most hardware replacements are straightforward, requiring only a screwdriver.
By combining a fresh paint job with updated hardware, your vanity will look completely transformed, giving your bathroom a stylish and cohesive upgrade that feels far more expensive than it actually was.
Project 3: Upgrading Lighting Fixtures
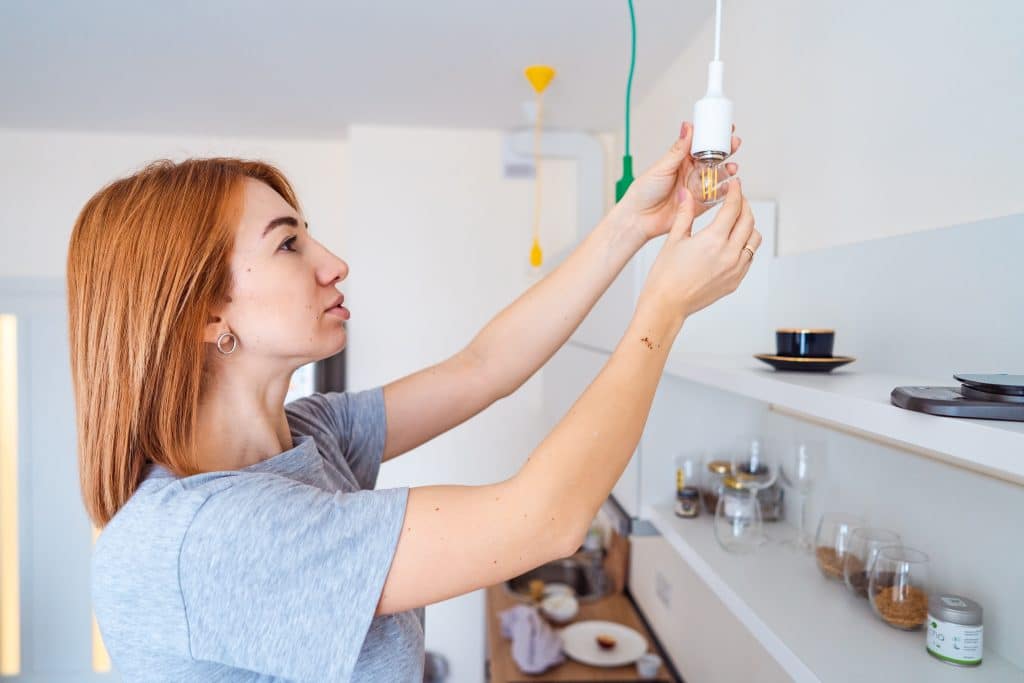
Lighting plays a pivotal role in the ambiance and functionality of any bathroom. Outdated or insufficient lighting can make a space feel dim, cramped, and unwelcoming.
Upgrading your lighting fixtures is a relatively inexpensive DIY project that offers a significant return on investment by dramatically improving both the aesthetics and usability of your bathroom.
Modern light fixtures come in a vast array of styles and finishes, allowing you to easily match your desired aesthetic. Look for fixtures that provide ample illumination, especially around the vanity mirror, where good task lighting is essential. Consider LED bulbs for energy efficiency and a longer lifespan, further enhancing your ROI.
Choosing the Right Fixtures
When selecting new fixtures, think about the overall design of your bathroom. Are you going for a minimalist look, a farmhouse feel, or something more industrial? The right fixture can reinforce your chosen style.
Also, consider the size of your bathroom and the amount of natural light it receives. A small, dark bathroom might benefit from brighter, multi-bulb fixtures, while a larger, naturally lit space might allow for more decorative, subtle options.
Vanity Lights: Crucial for grooming tasks; consider sconces on either side of the mirror or a multi-bulb fixture above.
Ceiling Lights: Provide general ambient lighting; flush mounts or semi-flush mounts are popular choices.
Dimmers: Add dimmers to control light intensity and create different moods.
Remember to check the electrical ratings and ensure the new fixtures are suitable for damp environments, as bathrooms are prone to moisture.
DIY Installation Tips
While electrical work can seem daunting, replacing a light fixture is often a straightforward DIY task for those comfortable with basic home repairs. Always remember to turn off the power at the circuit breaker before beginning any electrical work. Carefully disconnect the old fixture, following the wiring instructions provided with your new fixture.
If you’re unsure about the wiring, it’s always best to consult a qualified electrician. However, for a simple swap, many homeowners can confidently complete this project. The visual impact of new, stylish lighting is immediate and transformative, making your bathroom feel more modern and inviting.
By investing in new lighting, you’re not just changing a fixture; you’re changing the entire mood and functionality of your bathroom, making it a brighter, more enjoyable space.
Project 4: Installing a New Faucet and Showerhead
Old, leaky, or tarnished faucets and showerheads can quickly detract from an otherwise clean bathroom. Replacing these fixtures is an excellent DIY project that significantly updates the look and feel of your bathroom while also potentially improving water efficiency.
Modern faucets and showerheads are available in a wide range of styles and finishes, allowing you to personalize your space without a major overhaul.
This upgrade offers a high ROI because it directly impacts your daily experience. A new faucet can instantly modernize your sink area, and an upgraded showerhead can transform your daily shower into a more luxurious experience. Plus, many newer models are designed to be water-efficient, potentially saving you money on utility bills over time.
Choosing Stylish and Efficient Fixtures
When selecting a new faucet, consider the existing holes in your sink or countertop to ensure compatibility. For showerheads, think about the spray patterns you prefer and whether you want features like handheld options or water-saving modes. Matching the finish of your new fixtures to your vanity hardware and lighting creates a cohesive and polished look.
Faucet Finishes: Popular choices include brushed nickel, chrome, matte black, and brass, each offering a distinct aesthetic.
Showerhead Types: Rain showerheads, high-pressure models, and multi-function options are widely available.
WaterSense Certified: Look for this label to ensure your new fixtures meet EPA criteria for water efficiency.
Investing in quality fixtures, even on a budget, ensures durability and a satisfying user experience. Many reputable brands offer stylish and affordable options that are built to last.
DIY Installation Guide
Installing a new faucet or showerhead is a manageable DIY task for most homeowners. For a faucet, you’ll typically need to turn off the water supply to the sink, disconnect the old supply lines, remove the old faucet, and then install the new one by reversing the steps. Always use plumber’s tape on threaded connections to prevent leaks.
Replacing a showerhead is even simpler: unscrew the old one, clean the threads, apply plumber’s tape, and screw on the new one. Ensure all connections are hand-tightened, then test for leaks.
These projects are relatively quick and can be completed in an afternoon, providing immediate gratification and a noticeable upgrade to your bathroom’s functionality and style.
Project 5: Installing Peel-and-Stick Floor Tiles
Replacing bathroom flooring can be an expensive and labor-intensive project. However, peel-and-stick floor tiles offer an incredible alternative for a budget-friendly renovation with a high visual impact. These tiles are designed for easy DIY installation, making them perfect for transforming an outdated floor without the need for professional tools or extensive experience.
Peel-and-stick tiles come in a vast array of styles, patterns, and colors, mimicking everything from ceramic and porcelain to wood and even natural stone. This versatility allows you to achieve a sophisticated, custom look for a fraction of the cost and effort of traditional tiling. They are also durable and water-resistant, making them suitable for the unique demands of a bathroom environment.
Preparation is Key for Longevity
While installation is simple, proper preparation of your subfloor is crucial for the longevity and appearance of peel-and-stick tiles. The existing floor must be clean, dry, and smooth. Any bumps or debris will show through the new tiles and could compromise adhesion. If your current floor is uneven, you may need to use a self-leveling compound first.
Clean Thoroughly: Remove all dirt, dust, wax, and grease from the existing floor.
Repair Imperfections: Fill any cracks or holes to create a perfectly flat surface.
Acclimation: Allow the tiles to acclimate to the room temperature for at least 48 hours before installation.
Taking the time for these preparatory steps will ensure your new floor looks fantastic and holds up well over time, maximizing your investment in this DIY project.
Simple Installation Process
The beauty of peel-and-stick tiles lies in their straightforward installation. Start by planning your layout, often beginning in the center of the room or along the longest wall. Peel off the backing and carefully align the tile before pressing it firmly into place. Use a roller to ensure maximum adhesion across the entire surface of each tile.
Cutting tiles to fit around obstacles or edges can be done with a utility knife and a straightedge. While the process is generally forgiving, working slowly and accurately will yield the best results. The transformation of your bathroom floor can be achieved in a single weekend, leaving you with a fresh, modern look that significantly elevates the entire space without breaking your under $1,000 budget.
Project 6: Enhancing Storage with Shelving and Organizers
Clutter can make even the most beautifully renovated bathroom feel messy and uninviting. Enhancing storage with clever shelving and organizers is a high-ROI project that improves both the functionality and aesthetics of your bathroom. This DIY upgrade helps maintain a tidy space, making your other renovations shine, all while staying well within your budget.
From floating shelves to over-the-toilet storage units, there are numerous affordable options to add much-needed storage without undertaking major construction. These solutions not only hide away toiletries and linens but can also serve as decorative elements, adding personality to your bathroom.
Strategic Placement of Shelving
When planning your storage solutions, consider underutilized vertical space. Floating shelves are a popular choice for their minimalist look and ease of installation. They can be placed above the toilet, next to the vanity, or in any corner that needs a functional and decorative touch. Choose materials and finishes that complement your existing decor to ensure a cohesive design.
Above the Toilet: An excellent spot for extra toilet paper, small decorative items, or frequently used toiletries.
Corner Shelves: Ideal for maximizing space in smaller bathrooms.
Recessed Shelves: If you’re comfortable with minor drywall work, recessed shelves offer a built-in look and save space.
Ensure that any shelves you install are securely anchored to wall studs, especially if they will hold heavier items. Safety and stability are paramount for any wall-mounted storage.
Smart Organization Solutions
Beyond permanent shelving, incorporating smart organizers can further enhance your bathroom’s tidiness. Baskets, bins, and drawer dividers are inexpensive tools that can make a huge difference in keeping items sorted and out of sight. Consider acrylic organizers for drawers to keep makeup and smaller items neat, or stylish fabric bins for larger linens under the sink.
Also, don’t underestimate the power of a good medicine cabinet. If yours is old, consider replacing it with a new, larger model that offers more storage.
Even simple additions like a shower caddy or wall-mounted soap dispensers can reduce counter clutter and improve the overall functionality of your bathroom. These small investments in organization pay dividends in daily convenience and a perpetually tidy space.
Project 7: Upgrading Mirrors and Wall Decor
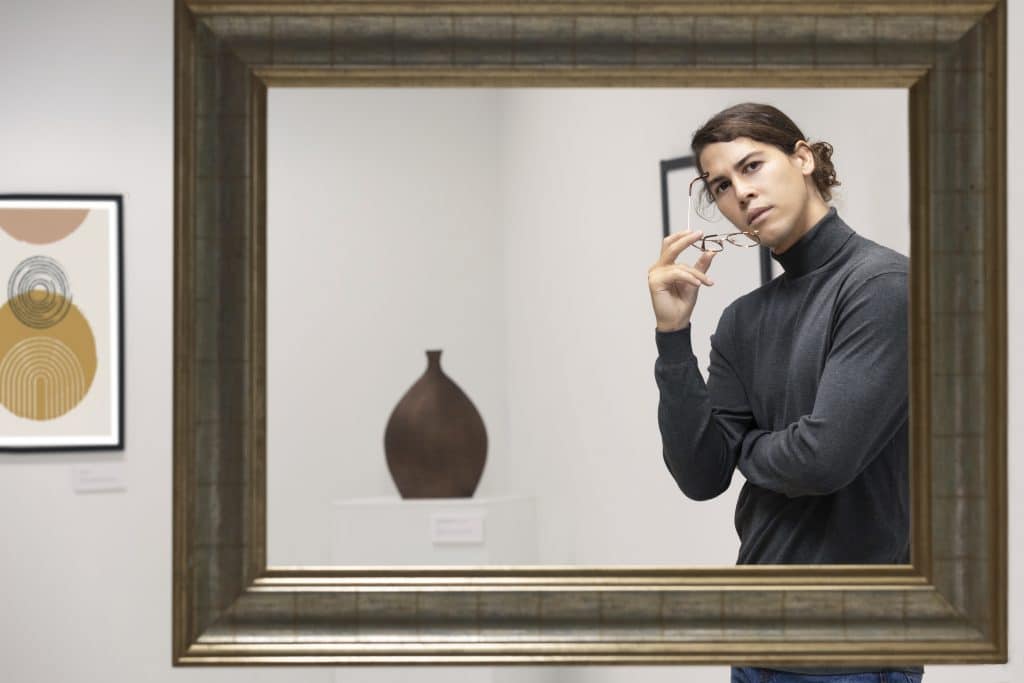
The mirror in your bathroom is more than just a functional item; it’s a significant design element that can influence the perception of space and light. Upgrading an outdated mirror or adding new wall decor is a high-impact, low-cost DIY project that can dramatically refresh your bathroom’s aesthetic.
This simple change can make a small bathroom feel larger and brighter, contributing significantly to your renovation goals under $1,000.
Many bathrooms come with standard, builder-grade mirrors that lack character. Replacing these with a framed mirror, or even adding a frame to an existing unframed mirror, can instantly elevate the room. Similarly, carefully chosen wall decor can add personality and warmth, turning a utilitarian space into a stylish retreat.
Choosing the Perfect Mirror
When selecting a new mirror, consider its size, shape, and frame style. A larger mirror can make a small bathroom feel more expansive by reflecting light and space.
Round mirrors offer a softer, more modern look, while rectangular or ornate frames can add a touch of elegance or vintage charm. Ensure the mirror’s style complements your newly painted vanity and updated fixtures.
Framed Mirrors: Easily found at home decor stores, offering a wide range of styles.
DIY Framing: You can add a custom frame to an existing unframed mirror using trim or molding.
Medicine Cabinet Mirrors: Consider upgrading to a new medicine cabinet with a more stylish mirror if extra storage is needed.
Always measure your space carefully before purchasing to ensure the new mirror fits proportionally and doesn’t overwhelm the wall.
Adding Thoughtful Wall Decor
Beyond the mirror, strategically placed wall decor can infuse your bathroom with personality and complete the refreshed look. Choose pieces that are appropriate for a bathroom environment, avoiding anything that could be damaged by humidity. Art prints, small shelves with plants, or even a chic towel rack can add visual interest.
Consider creating a small gallery wall with a few framed prints, or a single statement piece of art. For a spa-like feel, incorporate natural elements like a small succulent or a piece of driftwood.
The key is to select items that enhance the overall ambiance without cluttering the space. These finishing touches are often the most affordable yet make the biggest difference in creating a cohesive and inviting bathroom environment.
| Project | High ROI Impact |
|---|---|
| Paint & Caulk | Instant freshness, improved hygiene, and a clean base for other updates. |
| Vanity & Hardware | Modernizes the focal point, adding custom appeal without high cost. |
| Lighting Fixtures | Enhances ambiance, functionality, and perceived luxury of the space. |
| Peel-and-Stick Tiles | Affordable floor transformation, easy installation, and durable finish. |
Frequently Asked Questions About Budget Bathroom Renovations
▼
Painting and recaulking are typically the most cost-effective renovation projects. They provide an immediate and dramatic visual refresh for minimal cost, making the bathroom feel cleaner and more modern, which significantly boosts its perceived value without a large investment.
▼
Yes, absolutely. By focusing on DIY cosmetic upgrades like painting, updating fixtures, and smart storage solutions, you can achieve a significant transformation for under $1,000. Strategic choices and careful budgeting are key to maximizing your impact within this budget.
▼
Projects that enhance both aesthetics and functionality tend to add the most value. These include updating vanity hardware and paint, upgrading lighting fixtures, and installing new faucets and showerheads. These changes are noticeable, improve daily use, and contribute to a modern feel.
▼
Modern peel-and-stick tiles are surprisingly durable and water-resistant, making them a suitable option for bathroom floors. Proper subfloor preparation and careful installation are crucial for their longevity. They offer an excellent, affordable alternative to traditional tiling for a fresh look.
▼
You can significantly improve storage with simple additions like floating shelves, over-the-toilet storage units, and internal drawer organizers. These solutions utilize vertical space and cabinet interiors effectively, reducing clutter and enhancing the bathroom’s overall tidiness and functionality without any demolition.
Conclusion
Renovating your bathroom for under $1,000 in 2026 is not just a pipe dream; it’s an achievable reality with careful planning and a DIY spirit.
By focusing on these seven high-ROI projects—fresh paint and caulk, updated vanity and hardware, new lighting, modern faucets and showerheads, peel-and-stick flooring, enhanced storage, and upgraded mirrors and decor—you can transform your bathroom into a stylish, functional, and inviting space.
These strategic upgrades prove that significant impact doesn’t always require a significant budget, empowering you to create the bathroom you’ve always wanted while maximizing your home’s appeal and value.