DIY Pet Bed Made Easy: Soft, Stylish & Under $30
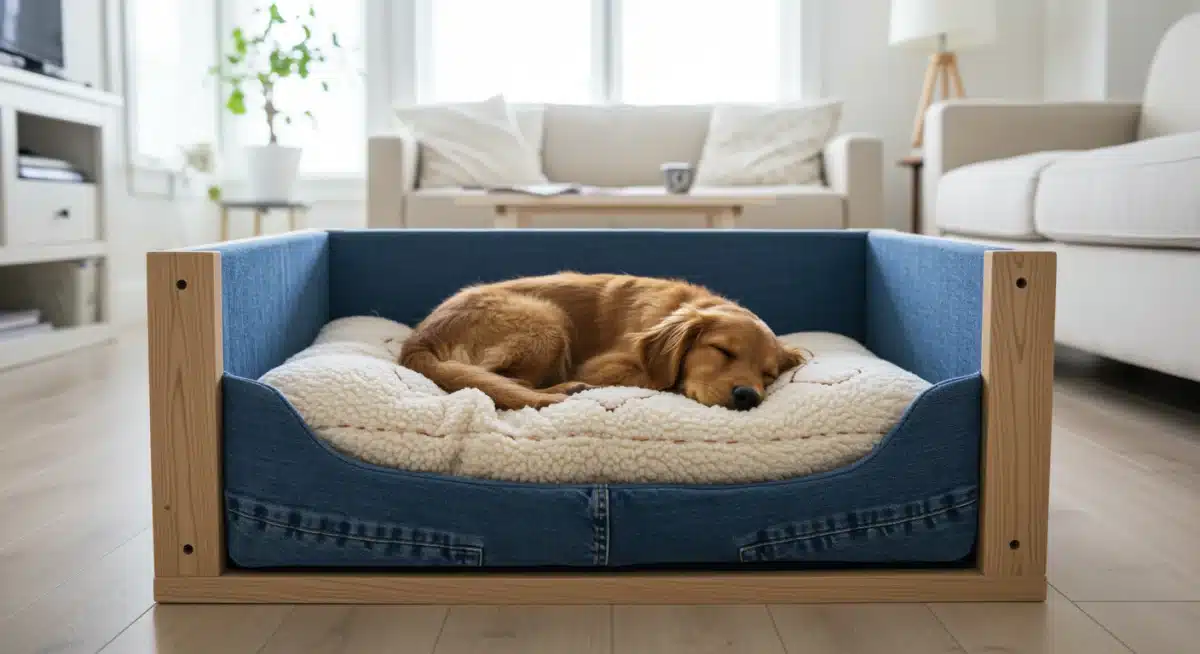
 Creating a comfortable and stylish resting place for your beloved pet doesn’t have to break the bank. This guide will show you how to construct a DIY pet bed for under $30, combining affordability with personalized comfort and style.
Why create a DIY pet bed?
The decision to embark on a DIY project for your pet’s bed goes beyond simple cost savings. It’s an opportunity to tailor a product specifically to your pet’s unique needs and preferences, something mass-produced items often fail to achieve.
By taking the reins of design and material selection, you ensure the bed is not only comfortable but also perfectly suited to your furry friend’s size, sleeping habits, and even any special health considerations.
Moreover, a homemade pet bed offers the chance to integrate it seamlessly with your home’s decor. You can select fabrics and colors that complement your existing furniture, transforming a functional item into an attractive accessory.
This personal touch adds character to your living space while providing a beloved spot for your pet. The satisfaction of crafting something with your own hands for a creature you adore is immeasurable, fostering a deeper bond and a sense of accomplishment.
Personalized comfort and style
One of the primary advantages of a DIY pet bed is the ability to customize every aspect. Does your dog prefer to sprawl out, or does your cat love to curl up in a nest?
You can design the bed’s dimensions and shape to accommodate these specific behaviors. This level of personalization ensures maximum comfort, which is crucial for your pet’s well-being and restful sleep.
Tailored dimensions: Match the bed size exactly to your pet’s measurements for optimal support.
Material choice: Select fabrics that are soft, durable, and easy to clean, considering your pet’s coat type and any allergies.
Aesthetic integration: Choose colors and patterns that blend beautifully with your home’s interior design.
Ultimately, a DIY pet bed offers a unique blend of practicality, creativity, and love. It’s a testament to the care you have for your pet, providing them with a special place that is truly their own, all while adhering to a budget-friendly approach.
Gathering your budget-friendly materials
Starting any DIY project successfully hinges on having the right materials, especially when aiming for a budget of under $30.
For a DIY pet bed, this means getting creative with sourcing and prioritizing affordability without compromising on comfort or durability. Think about items you might already have around the house or materials that can be repurposed, significantly reducing your overall expenditure.
Flea markets, thrift stores, and discount fabric outlets are your best friends in this endeavor. These places often hold hidden gems that can be transformed into key components of your pet’s new bed.
The goal is to find materials that are soft, resilient, and safe for your pet, while keeping a keen eye on the price tag.
Your resourcefulness here will directly impact how much you save.
Essential materials and where to find them cheaply
The core components of a comfortable pet bed typically include a sturdy base, soft filling, and a durable cover. Each of these can be acquired economically with a bit of strategic shopping.
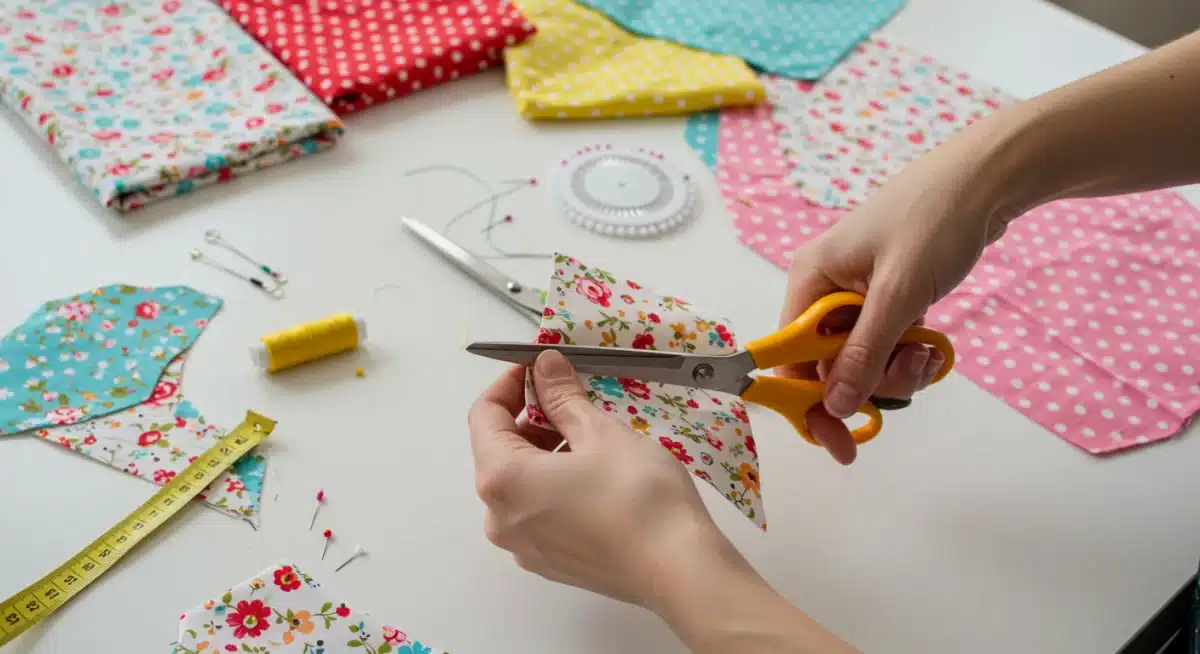
Fabric for the cover: Look for sturdy, washable fabrics like canvas, denim, or even old blankets and curtains. Thrift stores often have large pieces of fabric or ready-made items that can be repurposed. Discount fabric stores also offer remnants at significantly reduced prices.
Filling for cushioning: Old pillows, foam scraps from craft stores, shredded clothing, or even plastic grocery bags (when properly contained) can serve as excellent, free or low-cost filling. Ensure whatever you choose is non-toxic and comfortable for your pet.
Base or structure: A cardboard box, an old suitcase, a laundry basket, or even wooden pallets can form the foundation of your bed. The key is to find something stable and appropriately sized for your pet.
By carefully selecting and sourcing these materials, you can easily stay within your $30 budget, proving that comfort and style don’t have to come at a high cost.
This mindful approach not only saves money but also promotes recycling and creative reuse.
Designing your pet’s perfect retreat
The design phase of your DIY pet bed is where your vision truly comes to life. This isn’t just about aesthetics; it’s about functionality, choosing a design that caters to your pet’s specific needs and seamlessly integrates into your home environment.
Consider your pet’s size, how they typically sleep, and any preferences they might have, such as preferring a raised edge for head support or a flat surface for sprawling.
Sketching out a few ideas can be incredibly helpful. Don’t feel limited by traditional pet bed shapes; a rectangular, round, or even a more unconventional design could be perfect. Think about the space where the bed will reside.
Will it be in a corner, under a window, or as a central piece in a room? These considerations will guide your material choices and structural decisions, ensuring the final product is both practical and pleasing to the eye.
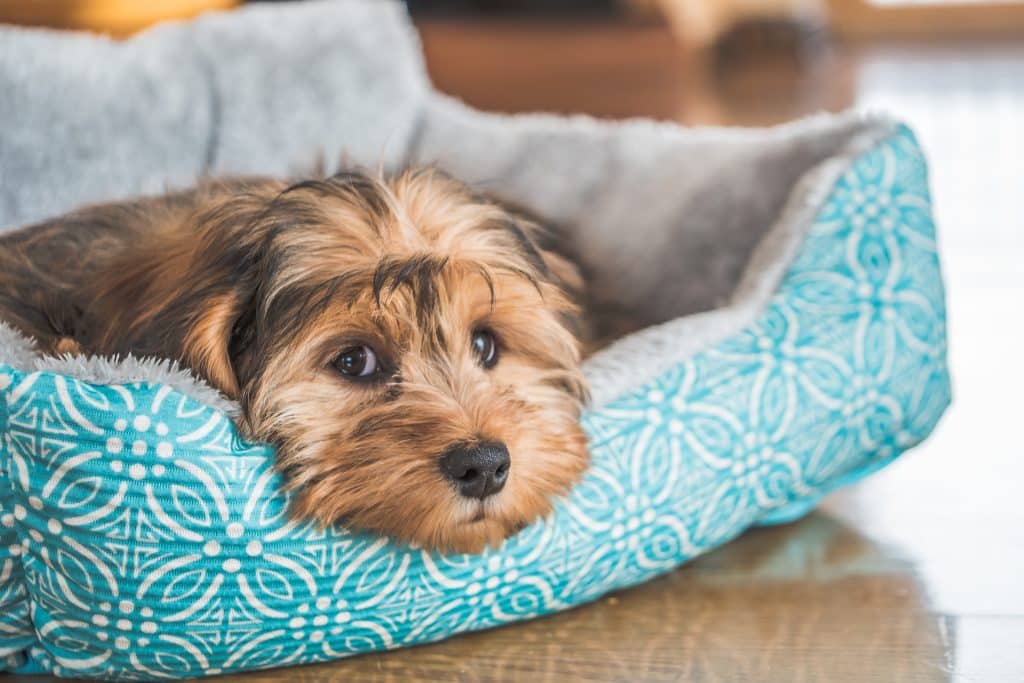
Choosing a design that fits your pet and home
There are numerous design options, each offering different benefits. A simple pillow-style bed is easy to make and versatile, while a bolstered bed provides extra security and warmth.
For pets who like to feel enclosed, a covered bed or a bed made from an old suitcase can offer a den-like comfort.
Pillow bed: Ideal for pets who like to stretch out. Requires only fabric and filling.
Bolstered bed: Great for pets who enjoy leaning or curling up, providing a sense of security with raised sides.
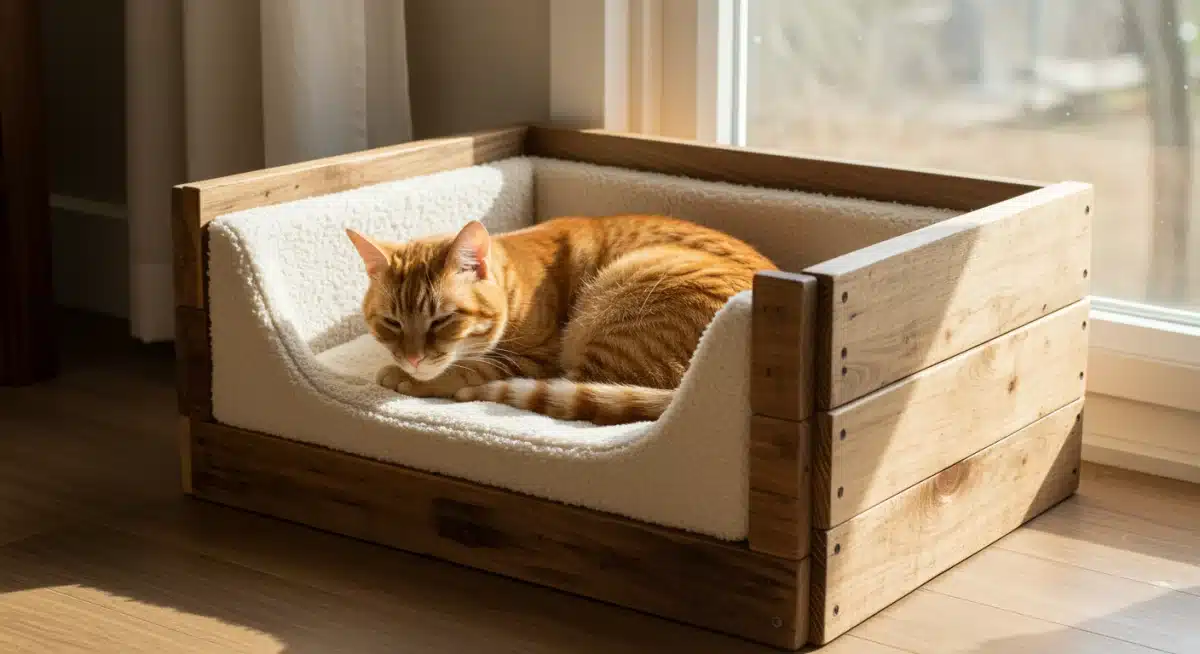
Upcycled furniture bed: An old drawer, tire, or suitcase can be repurposed into a unique bed with minimal effort, often providing a sturdy frame and an interesting aesthetic.
When finalizing your design, always prioritize your pet’s comfort and safety. Ensure there are no sharp edges, small parts that could be ingested, or toxic materials.
The best design is one that makes your pet happy and healthy, creating a beloved spot they’ll return to time and again.
Step-by-step construction guide
With your materials gathered and design chosen, it’s time to bring your DIY pet bed to life. This section will walk you through the general steps for constructing a basic, yet comfortable and stylish, pet bed.
While specific instructions may vary based on your chosen design, the fundamental principles of cutting, stuffing, and assembling remain consistent. Patience and attention to detail will be your best tools here, ensuring a durable and safe product for your furry companion.
Remember, this is a creative process. Don’t be afraid to adapt or modify steps as you go along, especially if you encounter unexpected challenges or discover a better way to achieve a particular look or function.
The beauty of DIY lies in its flexibility and the personal touch you infuse into every stitch and seam. Even if you’re not an expert crafter, simple techniques can yield impressive results.
Simple instructions for assembly
Let’s outline a general approach to constructing a popular design, a rectangular pillow-style bed with a removable cover for easy cleaning.
Measure and cut fabric: Based on your pet’s size, cut two rectangular pieces of fabric for the inner cushion and two for the outer cover. Remember to add a seam allowance (about 1/2 inch) to all sides. For bolstered beds, you’ll need additional strips for the sides.
Sew the inner cushion: Place the two inner fabric pieces right sides together and sew along three sides. Turn it right side out, stuff it firmly with your chosen filling, then hand-stitch or machine-sew the remaining opening closed.
Create the outer cover: Sew the two outer fabric pieces right sides together along three sides. For the fourth side, consider adding a zipper or an envelope closure for easy removal and washing. If you opt for an envelope closure, overlap the fabric edges by several inches to create a secure opening.
Finish and inspect: Once the outer cover is complete, insert the stuffed inner cushion. Give the bed a thorough inspection for any loose threads, sharp elements, or weak points. Ensure all seams are strong and the bed is stable.
Congratulations! You’ve successfully constructed a custom, affordable pet bed. This step-by-step process, while simplified, covers the core actions needed for most DIY pet bed projects, providing a solid foundation for your crafting journey.
Adding personal touches and enhancements
Once the basic structure of your DIY pet bed is complete, the real fun begins: adding personalized touches and enhancements. This is where you can truly make the bed unique, reflecting your pet’s personality and your home’s aesthetic.
Small details can make a big difference, transforming a simple sleeping spot into a cherished haven for your furry friend. Think beyond just the fabric; consider elements that add comfort, style, and even a bit of whimsy.
These enhancements don’t have to be expensive or complicated. Often, the most impactful additions are those that are thoughtfully chosen and lovingly crafted.
From embroidered names to custom-shaped pillows, each detail contributes to making the bed a special place. This stage is an opportunity to express your creativity and show your pet just how much they mean to you, all while staying within your initial budget.
Creative ways to make it unique
Personalizing your pet’s bed can involve a variety of techniques and additions. Here are a few ideas to spark your imagination:
Embroidery or appliques: Add your pet’s name, paw prints, or a cute design using embroidery floss or fabric appliques. This instantly makes the bed uniquely theirs.
Removable covers: If you haven’t already, ensure the cover is easily removable and washable. This is a practical enhancement that will save you time and effort in the long run.
Extra cushioning or blankets: Include a small, soft blanket or an additional, smaller cushion that your pet can burrow into, especially if they enjoy nesting.
Scratch-resistant fabric panels: For cats or dogs who tend to scratch, sewing in panels of more durable, scratch-resistant fabric on certain areas can prolong the bed’s life.
Consider adding a small, hidden pocket on the side of the bed for a favorite toy or a sachet of calming lavender (kept out of reach for consumption).
These thoughtful details elevate the bed from a mere accessory to a truly special piece of furniture, enhancing your pet’s comfort and your home’s charm.
Maintaining your DIY pet bed
Creating a DIY pet bed is just the first step; ensuring its longevity and hygiene requires a commitment to regular maintenance. Pets, by nature, can be messy, and their beds often bear the brunt of shed fur, dirt, and occasional accidents.
A well-maintained pet bed not only looks better but also contributes significantly to your pet’s health by minimizing allergens and bacteria. Establishing a routine for cleaning and care will protect your investment and keep your furry friend comfortable.
The beauty of a homemade bed is that you know exactly what materials went into it, which simplifies the cleaning process.
Unlike some commercial beds with obscure fabric compositions, you can confidently wash, air out, or spot clean your DIY creation without worrying about damaging it. This knowledge empowers you to keep the bed fresh and inviting for your pet, year-round.
Tips for Hygiene and Longevity
Regular cleaning is essential for maintaining a healthy environment and extending the lifespan of a DIY bed. Consistent care helps prevent odors, buildup, and wear, ensuring long-lasting comfort and cleanliness. Below are practical, easy-to-follow tips to keep your DIY bed fresh and durable.
Wash covers frequently:
If the bed includes a removable cover, wash it weekly or bi-weekly depending on usage. Use a mild, hypoallergenic detergent and always follow the fabric’s care instructions to prevent shrinkage or damage.
Spot clean as needed:
Address spills, dirt, or stains as soon as they appear. Use a damp cloth and a gentle, non-toxic cleaner to prevent stains from setting and reduce the need for full washes.
Vacuum regularly:
A handheld vacuum or upholstery attachment works well for removing loose fur, dust, and debris from the bed’s surface several times a week. This routine is especially helpful in maintaining cleanliness between washes.
Air out the bed:
Take the entire bed outdoors periodically and let it air out in direct sunlight. Sun exposure helps neutralize odors naturally and acts as a gentle disinfectant, keeping the bed fresh longer.
By following these simple maintenance tips, your DIY pet bed will remain a clean, comfortable, and cherished spot for your pet for years to come.
It’s a small effort that yields significant benefits for both your pet’s well-being and the cleanliness of your home.
Beyond the basics: advanced DIY pet bed ideas
Once you’ve mastered the art of creating a basic DIY pet bed, you might find yourself inspired to explore more complex and innovative designs.
The world of DIY offers endless possibilities for customization, allowing you to create truly unique and specialized sleeping arrangements for your pets.
These advanced projects often involve more intricate carpentry, sewing, or repurposing techniques, but the reward is a one-of-a-kind piece that perfectly suits your pet’s distinct personality and your home’s specific needs.
Consider beds that integrate storage, multi-level designs for multiple pets, or even beds that double as furniture.
These projects not only provide unparalleled comfort for your pet but also serve as functional and stylish additions to your home.
They are a testament to your craftsmanship and dedication, transforming a simple pet bed into a statement piece. Don’t be afraid to challenge yourself; the skills you gain are just as valuable as the finished product.
Creative and complex designs to explore
For those ready to take their DIY skills to the next level, here are some ideas for more advanced pet bed constructions:
Built-in beds: Integrate a pet bed directly into existing furniture, such as a coffee table with a cozy nook underneath, or a custom-built end table with a dedicated pet sleeping area. This saves space and creates a cohesive look.
Elevated beds: Construct an elevated bed using PVC pipes or wood. These are great for keeping pets cool in warmer climates and can be particularly beneficial for older pets who struggle with getting up from the floor.
Heated or cooled beds: For ultimate comfort, consider incorporating heating pads (designed for pets) or cooling gel inserts within the bed’s structure. Ensure all electrical components are safely enclosed and pet-proof.
- Themed beds: Design a bed to match a specific theme or holiday. For example, a miniature teepee bed, a pirate ship bed, or a cozy igloo-style bed for winter. These add a fun, decorative element to your home.
These advanced projects require more planning and potentially a greater investment in materials and tools, but the result is a highly personalized and functional piece that will be cherished by your pet for years. The journey of creating something truly special for your companion is as rewarding as the destination itself.
| Key Aspect | Brief Description |
|---|---|
| Cost-Effectiveness | Achieve a comfortable and stylish pet bed for under $30 by repurposing materials and smart shopping. |
| Customization | Tailor the bed’s size, shape, and materials to perfectly match your pet’s needs and your home decor. |
| Materials Sourcing | Utilize thrift stores, fabric remnants, and household items for affordable and sustainable components. |
| Maintenance | Regular cleaning and airing ensure hygiene and extend the lifespan of the DIY pet bed. |
Frequently Asked Questions About DIY Beds for Animals
What are the best budget-friendly materials for a DIY bed?
The most budget-friendly materials often come from repurposed household items. Old blankets, towels, or denim work well for covers, while shredded foam scraps, worn pillows, or clean, shredded clothing can be used as filling.
For the base, creative options like old suitcases, laundry baskets, or sturdy cardboard boxes provide structure at little to no cost.
How can I ensure a DIY bed is safe to use?
Safety should always come first. Make sure all materials are non-toxic and free of small parts that could be swallowed.
Avoid sharp edges, exposed staples, or rough surfaces. If foam is used, confirm it is safe for household animals. Regularly inspect the bed for wear and tear—especially if chewing is common—to prevent potential hazards.
Can I make a DIY bed without sewing?
Yes, no-sew options are simple and effective. Fabric glue, iron-on adhesive, or knot-tied closures work well for assembling covers.
Fleece blankets are ideal because their edges don’t fray. Repurposing items like old sweaters or pillowcases can also create a cozy bed with little to no crafting experience required.
How do I choose the right size for a DIY bed?
Pay attention to sleeping habits. Some animals curl up tightly, while others stretch out fully.
Measure the body length in the most common resting position and add approximately 6–12 inches to both length and width. This ensures comfort without making the bed feel cramped.
What are some ways to make a DIY bed more stylish?
To elevate the look, choose fabrics that complement your home’s décor. Add visual interest with contrasting panels, piping, or textured materials.
Upcycling items like vintage suitcases or wooden crates can result in a stylish, furniture-like piece that blends seamlessly into your living space.
Conclusion
Crafting a DIY pet bed for under $30 is a rewarding endeavor that offers numerous benefits beyond just cost savings.
It provides an opportunity to create a truly personalized, comfortable, and stylish resting place tailored specifically to your beloved companion’s needs and your home’s aesthetic.
From selecting budget-friendly materials to adding unique finishing touches and maintaining its hygiene, every step in this process allows for creativity and a deeper connection with your pet.
The satisfaction of providing a cherished, handmade haven for your furry friend, all while adhering to a smart budget, is an invaluable experience that enriches both your life and theirs.


