Winterizing Your Home 2026: 6 DIY Steps to Save 10% on Heating Costs
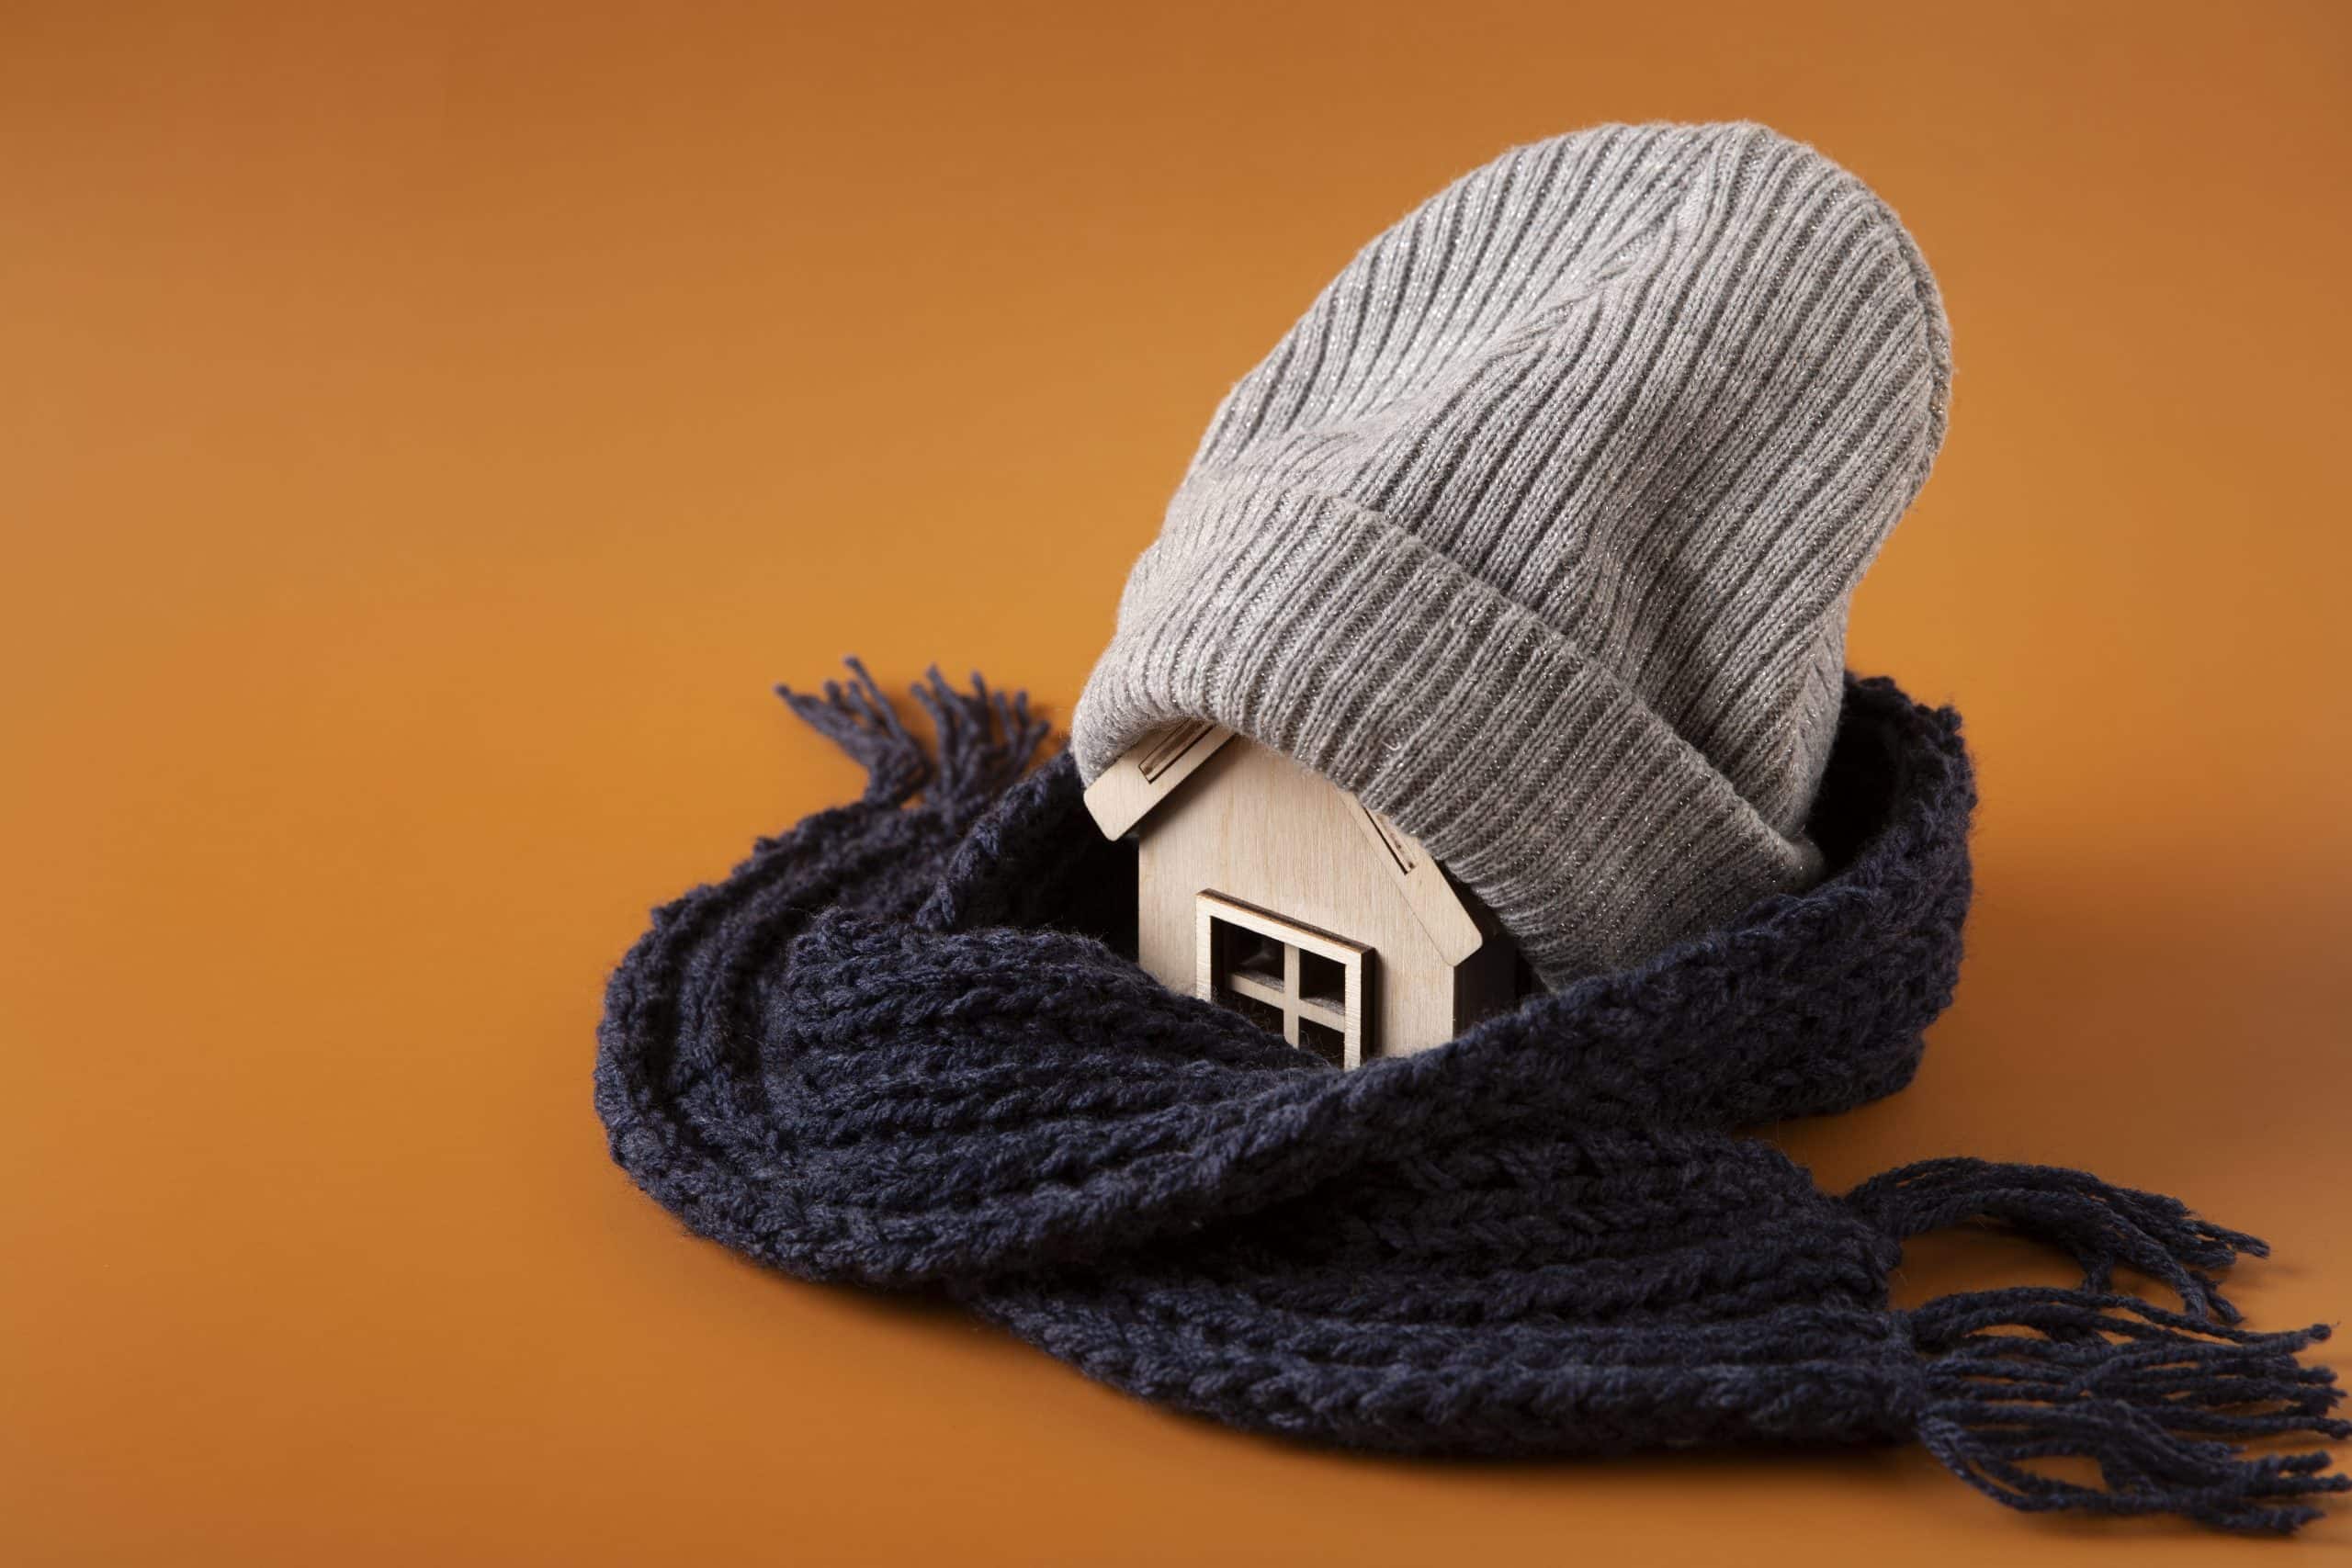
 As the chill of winter approaches, preparing your home becomes not just a chore, but a smart investment. This guide on Winterizing Your Home in 2026: 6 DIY Steps to Save 10% on Heating Costs will walk you through essential, do-it-yourself strategies to keep your living space warm and your energy bills manageable. Get ready to transform your home into a cozy, cost-effective haven.
Seal up drafts and air leaks
Drafts are notorious for letting warm air escape and cold air creep in, making your heating system work harder than necessary. Addressing these hidden culprits is often the first and most impactful step in winterizing your home. Many homeowners underestimate the cumulative effect of small air leaks around windows, doors, and utility penetrations.
Identifying these leaks can be simpler than you think. A common method is the ‘candle test’ where you hold a lit candle or incense stick near potential leak points; if the flame flickers or smoke drifts, you’ve found a draft. Alternatively, a thermal leak detector can pinpoint temperature differences more precisely, offering a high-tech solution for those who prefer it.
Weatherstripping and caulk: your best friends
Once identified, sealing these drafts is typically a straightforward DIY task. Weatherstripping is ideal for movable components like windows and doors, providing a flexible barrier against air intrusion. Caulk, on the other hand, is perfect for stationary gaps and cracks, offering a more permanent seal.
Windows: Apply self-adhesive weatherstripping around the sashes. For older windows, consider plastic film kits for an extra layer of insulation.
Doors: Install weatherstripping around the door frame and a door sweep at the bottom to block drafts.
Cracks and gaps: Use acrylic latex caulk for gaps up to 1/4 inch wide around window and door frames, and where different building materials meet.
Proper application is key. Ensure surfaces are clean and dry before applying any sealing material for optimal adhesion and effectiveness. Taking the time to meticulously seal all identified leaks can lead to noticeable improvements in your home’s warmth and a significant reduction in energy consumption. This foundational step sets the stage for further energy savings throughout the colder months.
Insulate your pipes to prevent freezing
Frozen pipes are a winter nightmare for any homeowner, leading to costly bursts, water damage, and inconvenient plumbing interruptions. Proactive insulation of exposed pipes is a crucial preventative measure that is both effective and relatively simple for the average DIY enthusiast. This step protects your plumbing infrastructure and contributes to overall home efficiency.
Pipes most at risk are those located in unheated areas such as basements, crawl spaces, garages, and exterior walls. Even pipes in well-insulated homes can be vulnerable if they run through cold pockets or are exposed to external temperatures. Identifying these high-risk areas is the first step in safeguarding your home against potential winter disasters.
Easy pipe insulation methods
Several types of insulation are readily available at hardware stores, designed for easy installation by homeowners. Foam pipe insulation, often pre-slit, is a popular choice for its simplicity and effectiveness. Heat tape or cables offer an additional layer of protection for extremely cold climates or particularly vulnerable pipes, though they do consume electricity.
Foam pipe sleeves: Measure and cut foam sleeves to fit snugly around pipes. Ensure all exposed sections are covered, especially at joints and bends.
Fiberglass insulation: For larger pipes or areas needing more robust insulation, fiberglass wraps can be used, secured with tape or wire. Always wear gloves and a mask when handling fiberglass.
Heat cables: Wrap electric heat cables around pipes in areas prone to freezing, securing them with electrical tape. Follow manufacturer instructions carefully for safe operation.
Beyond insulation, consider adding extra protection to outdoor spigots by disconnecting hoses and draining them. For prolonged cold snaps, allowing a small trickle of water to run from faucets can also prevent freezing.
Insulating your pipes not only saves you from potential repair costs but also helps maintain water temperature, reducing the energy needed to heat water for household use. This small effort yields big peace of mind.
Optimize your heating system
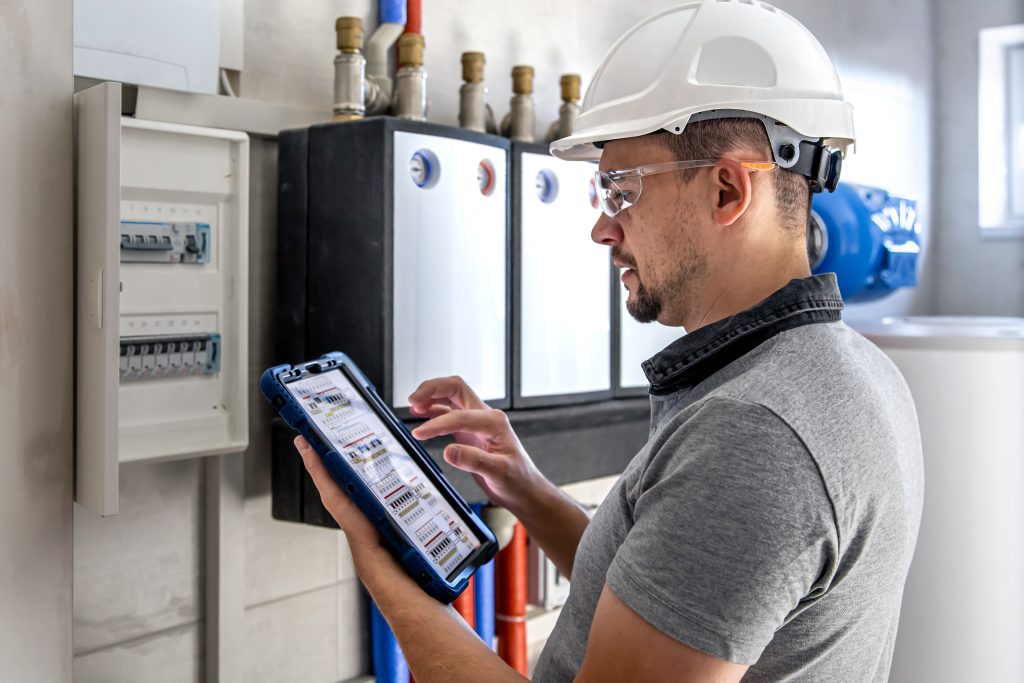
Your heating system is the heart of your winter comfort, and ensuring it runs efficiently is paramount to saving on energy bills. Regular maintenance and smart adjustments can significantly impact its performance, preventing unnecessary wear and tear while maximizing heat output. Overlooking these simple steps can lead to higher utility costs and unexpected breakdowns when you need heat the most.
Before the peak heating season begins, a thorough check-up is advisable. This doesn’t always require a professional; many basic optimization tasks are well within the capabilities of a diligent homeowner. Thinking about your heating system as a finely tuned machine will help you appreciate the importance of each component working in harmony.
DIY heating system tune-ups
A few key DIY actions can make a substantial difference. Replacing air filters regularly is perhaps the easiest and most effective. A dirty filter restricts airflow, forcing your furnace to work harder and consume more energy. Cleaning vents and registers ensures that heated air can circulate freely throughout your home, preventing cold spots and improving overall comfort.
Change air filters: Replace furnace filters every 1-3 months, especially during heavy use, to maintain optimal airflow and efficiency.
Clean vents and registers: Dust and vacuum all heating vents and registers to ensure unobstructed airflow into your living spaces.
Bleed radiators (if applicable): For hot water radiator systems, bleeding them releases trapped air, allowing hot water to circulate more effectively.
Beyond these physical checks, consider programming your thermostat effectively. A smart thermostat can learn your schedule and adjust temperatures automatically, saving energy when you’re away or asleep.
Even a basic programmable thermostat can be set to lower temperatures during off-peak hours. Optimizing your heating system is about making it work smarter, not harder, directly translating into tangible savings on your heating costs.
Improve attic and wall insulation
A significant portion of heat loss in homes occurs through the attic and walls. Warm air naturally rises, and without adequate insulation, it simply escapes through your roof, forcing your heating system to constantly replenish the lost warmth.
Enhancing your home’s insulation is one of the most effective long-term strategies for reducing energy consumption and maintaining a consistent indoor temperature. It’s an investment that pays dividends in comfort and savings.
Before adding insulation, it’s crucial to assess your current levels. In the attic, you should ideally see insulation above the floor joists. If the insulation is level with or below the joists, or if it appears thin and compressed, you likely need more. For walls, assessing current insulation can be trickier, often requiring a small exploratory hole or a thermal camera, but signs like consistently cold walls can indicate a deficiency.
DIY insulation boosts
Adding insulation to an accessible attic is a common DIY project. Blown-in cellulose or fiberglass batts are popular choices. For walls, while more complex, some homeowners opt for dense-pack cellulose or foam insulation blown into cavities, though this often requires specialized equipment or professional help. Focus on areas where you can safely and effectively add insulation.
Attic batts: Lay fiberglass or mineral wool batts perpendicular to existing joists to cover them and prevent thermal bridging. Ensure proper ventilation is maintained.
Blown-in insulation: Rent a blower and use cellulose or fiberglass for a quick and effective way to add a thick, uniform layer of insulation in the attic.
Seal attic penetrations: Before insulating, seal any gaps around pipes, wires, and light fixtures in the attic floor with caulk or expanding foam to prevent air leaks.
Improving insulation is not just about adding material; it’s about creating a continuous thermal barrier that minimizes heat transfer. This effort ensures that the heat generated by your furnace stays within your living space, reducing the burden on your heating system and leading to substantial savings. A well-insulated home feels more comfortable throughout the winter, eliminating cold spots and drafts.
Maintain your fireplace and chimney
For homes with fireplaces, winterizing isn’t complete without proper attention to this inviting, yet potentially inefficient, heat source. While a crackling fire adds ambiance, an unmaintained fireplace and chimney can be a significant source of heat loss and a safety hazard. Regular cleaning and inspection are vital to ensure both efficiency and safety throughout the colder months.
A chimney that isn’t regularly cleaned can accumulate creosote, a highly flammable substance that poses a serious fire risk. Additionally, a damper that doesn’t seal properly can act as an open window, allowing warm air to escape even when the fireplace isn’t in use. Understanding these risks is the first step towards responsible fireplace ownership.
DIY fireplace and chimney care
While professional chimney sweeps are recommended for annual inspections and thorough cleaning, there are several DIY checks and maintenance tasks you can perform. Ensuring the damper operates correctly and seals tightly is a simple yet effective way to prevent heat loss. Cleaning the firebox and inspecting the flue for blockages can also be done by the homeowner.
Check damper seal: Ensure your fireplace damper closes completely when not in use to prevent warm air from escaping up the chimney.
Clean the firebox: Regularly remove ash and debris from the firebox to maintain efficient airflow and prevent blockages.
Inspect for blockages: Shine a flashlight up the chimney from below to check for obvious obstructions like bird nests or excessive creosote buildup.
Beyond maintenance, consider using a chimney balloon or top-sealing damper when the fireplace is not in use. These devices provide a more effective seal than a traditional throat damper, further minimizing heat loss.
By actively maintaining your fireplace and chimney, you not only improve its safety and efficiency but also ensure that any heat generated contributes positively to your home’s warmth, rather than becoming a source of energy waste.
Protect outdoor plumbing and spigots
As temperatures plummet, outdoor plumbing becomes highly susceptible to freezing, which can lead to burst pipes and extensive water damage. Many homeowners overlook these exterior components until it’s too late, facing costly repairs that could have been easily prevented. Protecting your outdoor spigots and any exposed pipes is a crucial, yet often simple, step in comprehensive home winterization.
The primary culprits for outdoor pipe freezing are garden hoses left connected to spigots and unprotected pipes in unheated areas like garages or utility sheds. Even a short period of freezing temperatures can be enough to cause water inside pipes to expand, leading to cracks or bursts. Identifying and addressing these vulnerabilities before the first hard freeze is essential.
Simple steps for outdoor plumbing safety
The good news is that most outdoor plumbing protection can be handled with minimal effort and cost. Disconnecting garden hoses is the most fundamental step, as water trapped within them can freeze and expand back into the spigot, causing damage. Draining the spigot itself ensures no residual water remains to freeze. For more exposed pipes, insulation or covers provide an extra layer of defense.
Disconnect hoses: Remove all garden hoses from outdoor spigots and drain them completely before storing for winter.
Drain outdoor spigots: If your spigot has an interior shut-off valve, turn off the water supply and open the outdoor faucet to drain any remaining water.
Insulate exposed pipes: Use foam pipe insulation or specialized spigot covers for any outdoor pipes or faucets that cannot be drained or are in particularly vulnerable locations.
For homes with irrigation systems, remember to properly winterize them according to manufacturer instructions, typically involving blowing out the lines with an air compressor.
Taking these preventative measures for your outdoor plumbing safeguards your entire water system from potential damage, saving you from headaches and expensive emergency repairs when winter weather strikes. This diligence ensures your home remains intact and functional, even in the harshest conditions.
Consider smart thermostat installation
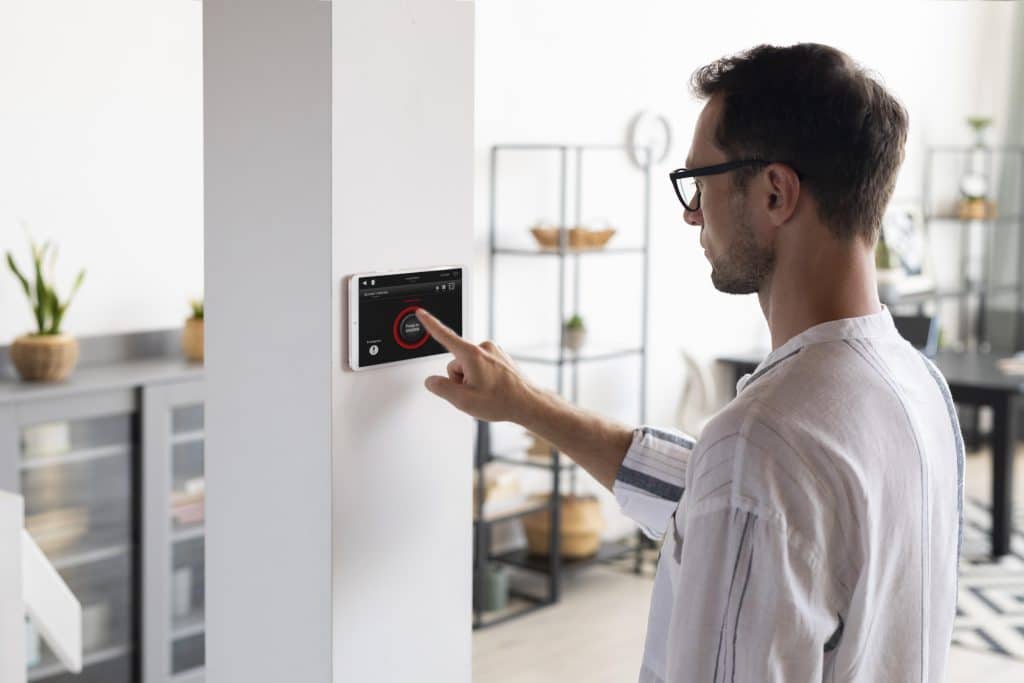
In the quest to reduce heating costs and enhance home comfort, installing a smart thermostat stands out as one of the most effective modern upgrades. Unlike traditional programmable thermostats, smart thermostats offer advanced features that learn your habits, provide detailed energy usage reports, and can be controlled remotely, giving you unprecedented control over your home’s climate. This technology moves beyond simple scheduling to truly optimize your heating system’s operation.
Many homeowners struggle with traditional thermostats, either forgetting to adjust them or finding the programming too complicated. Smart thermostats eliminate these common pain points by automating temperature adjustments, ensuring your home is warm when you need it and conserving energy when you don’t. The initial investment often pays for itself through significant energy savings over time.
Benefits and installation of smart thermostats
Beyond convenience, smart thermostats offer tangible benefits for energy efficiency. Features like geofencing can detect when you leave or return home, automatically adjusting the temperature. Occupancy sensors ensure heating is only provided to occupied rooms, and integration with other smart home devices can create a seamless, energy-efficient ecosystem. Installation is often a straightforward DIY task, especially for those comfortable with basic wiring.
DIY installation: Most smart thermostats come with clear instructions and can be installed by following simple wiring diagrams, often requiring only a screwdriver.
Learning capabilities: Allow the thermostat to learn your daily routines for automatic temperature adjustments, reducing manual input.
Remote control: Use smartphone apps to adjust your home’s temperature from anywhere, ensuring you never heat an empty house unnecessarily.
Before purchasing, check compatibility with your existing HVAC system. Most smart thermostats are designed for common systems, but some older or more complex setups might require professional installation.
By embracing smart thermostat technology, you’re not just upgrading a device; you’re investing in a more energy-efficient, comfortable, and intelligent home. This final step in winterizing your home in 2026 can lead to substantial, ongoing savings on your heating costs, making your home smarter and warmer.
| Key Winterization Step | Benefit & DIY Action |
|---|---|
| Seal Drafts | Reduces heat loss through gaps around windows and doors using weatherstripping and caulk. |
| Insulate Pipes | Prevents costly pipe bursts and water damage in unheated areas with foam sleeves. |
| Optimize Heating System | Ensures efficient operation by changing filters and cleaning vents, lowering energy use. |
| Improve Insulation | Minimizes heat escape through attic and walls, maintaining consistent indoor temperatures. |
Frequently Asked Questions About Winterizing Your Home
The ideal time to begin winterizing your home is typically in late summer or early fall, before the first significant cold snap. This allows you ample time to complete all necessary tasks without the pressure of freezing temperatures, ensuring your home is fully prepared for the colder months ahead.
By implementing comprehensive winterization strategies, homeowners can realistically expect to save anywhere from 5% to 20% on their heating costs. The exact savings depend on your home’s initial condition, the extent of your efforts, and local energy prices, but 10% is a very achievable goal.
Yes, several effective winterization methods cost nothing. These include arranging furniture to block drafts, closing vents in unused rooms, opening curtains during sunny days for passive solar heating, and ensuring your fireplace damper is tightly closed when not in use. Small habits can make a big difference.
During peak heating season, it’s recommended to replace your furnace filter every one to three months. Homes with pets, allergies, or higher dust levels might benefit from more frequent changes. A clean filter ensures optimal airflow, efficiency, and indoor air quality, contributing to lower heating costs.
While many winterization tasks are DIY-friendly, professional help is recommended for complex tasks like major insulation upgrades, extensive HVAC system overhauls, or chimney inspections and deep cleaning. For safety and optimal results, know your limits and call a professional when needed.
Conclusion
Successfully winterizing your home in 2026 is a proactive approach that blends practical DIY efforts with smart energy management.
By systematically addressing drafts, insulating vulnerable pipes, optimizing your heating system, improving overall insulation, maintaining your fireplace, and considering smart thermostat technology, you create a more efficient and comfortable living environment.
These six steps not only safeguard your home against the harshness of winter but also empower you to achieve significant savings on heating costs, making your home a truly warm and welcoming sanctuary throughout the colder months.